• To suspend your activity and resume at a later time,
select
Resume Later
.
Navigating to a Destination
You can navigate to waypoints, tracks, routes, geocaches,
POIs, and GPS coordinates. You can also navigate using
TracBack
®
or Sight 'N Go.
1
Select
START
>
Navigate
.
2
Select a type of destination.
3
Follow the on-screen prompts to select a destination.
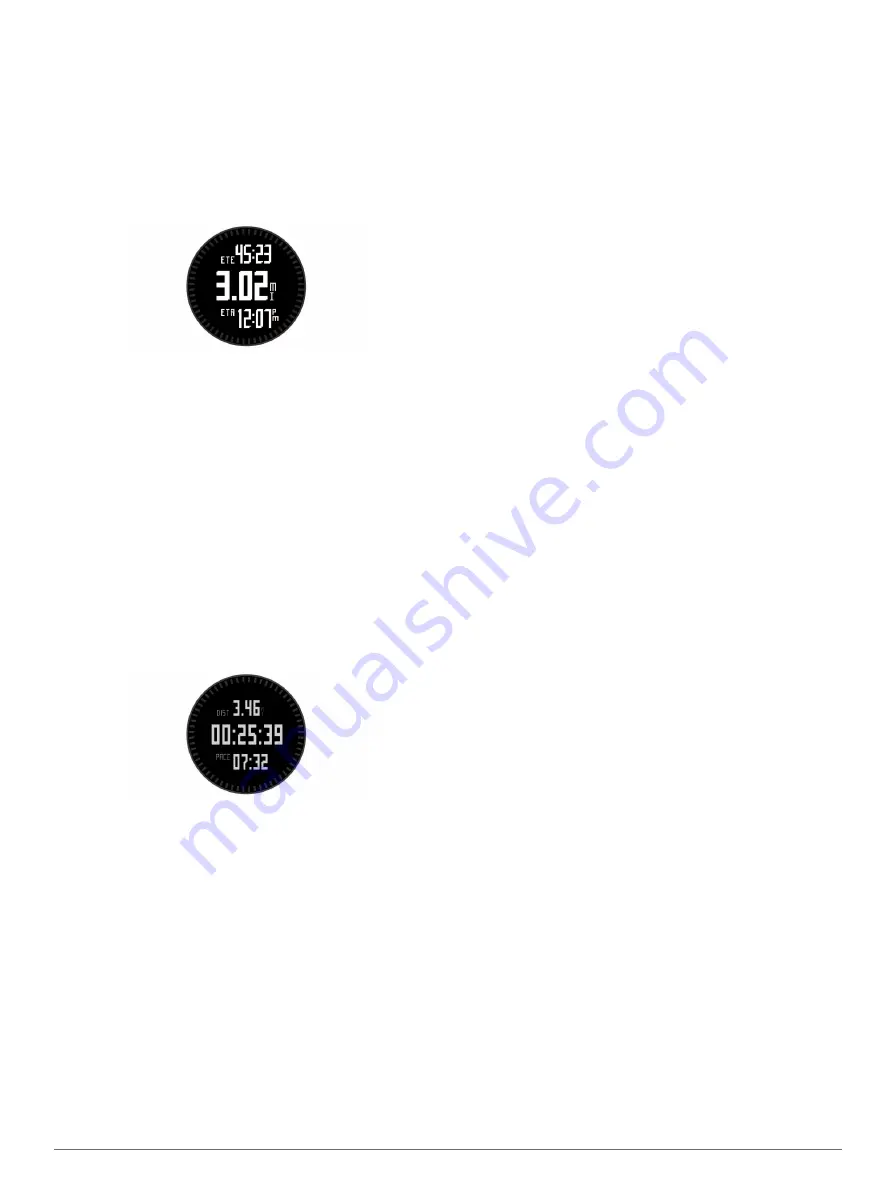
The device displays information about your next waypoint.
4
Select
UP
or
DOWN
to view additional navigation data pages
Going for a Run
Before you go for a run, you should charge the device
completely (
). Before you can use an ANT+
sensor for your run, the sensor must be paired with your device
).
1
Put on your ANT+ sensors, such as a foot pod or heart rate
monitor (optional).
2
Select
START
>
Run
.
3
Select an option:
• To use paired ANT+ sensors, wait for the device to
connect to the sensors.
• To skip searching for ANT+ sensors, select
Skip
.
4
Go outside, and wait while the device locates satellites.
The timer screen appears.
5
Select
START
to start the timer.
6
Go for a run.
7
Select
LAP
to record laps (optional).
8
Select
UP
and
DOWN
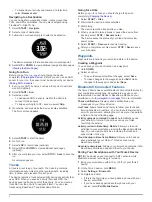
to view additional data pages
(optional).
9
After you complete your run, select
STOP
>
Save
to save the
run.
A summary appears.
Tracks
A track is a recording of your path. The track log contains
information about points along the recorded path, including
time, location, and elevation for each point.
The device records a track automatically during any activity that
uses GPS. When you save an activity that uses GPS, the
device saves the track as part of the activity. You can create a
track file from the activity to navigate it later. You can view
tracks using BaseCamp™ and BaseCamp Mobile.
Going for a Hike
Before you go for a hike, you should charge the device
completely (
).
1
Select
START
>
Hike
.
2
Wait while the device locates satellites.
3
Start hiking.
The device records a track while you hike.
4
When you want to take a break or pause the device from
tracking, select
STOP
>
Resume Later
.
The device saves the status of your hike and enters low
power mode.
5
Select
START
>
Resume
to resume tracking.
6
After you complete your hike, select
STOP
>
Save
to save
your hike data.
Waypoints
Waypoints are locations you record and store in the device.
Creating a Waypoint
You can save your current location as a waypoint.
1
Hold
DOWN
.
2
Select an option:
• To save the waypoint without changes, select
Save
.
• To make changes to the waypoint, select
Edit
, make
changes to the waypoint, and select
Save
.
Bluetooth® Connected Features
The fēnix 2 device has several Bluetooth connected features for
your compatible smartphone. Some features require you to
install Garmin Connect Mobile or BaseCamp Mobile on your
smartphone. Go to
for more information.
Phone notifications
: Displays phone notifications and
messages on your fēnix 2 device.
LiveTrack
: Allows friends and family to follow your races and
training activities in real time. You can invite followers using
email or social media, allowing them to view your live data on
a Garmin Connect tracking page.
Activity uploads to Garmin Connect
: Automatically sends
your activity to Garmin Connect as soon as you finish
recording the activity.
Activity review in BaseCamp Mobile
: Allows you to send
activities to your smartphone running the BaseCamp Mobile
app. You can view the activities, including the track and
sensor data, in the app.
Cloud backup in BaseCamp Mobile
: Allows you to back up
saved activities to your Garmin
®
Cloud account using
BaseCamp Mobile.
Adventure downloads
: Allows you to browse adventures in the
BaseCamp Mobile app and send them to your device.
Pairing Your Smartphone with Your fēnix 2 Device
NOTE:
The device cannot connect to ANT+ sensors while
Bluetooth wireless technology is turned on.
1
Bring your smartphone within 10 m (33 ft.) of your fēnix 2
device.
2
On the fēnix 2 device, hold
MENU
.
3
Select
Settings
>
Bluetooth
.
4
Complete an action:
• If this is the first time you have paired a phone with your
device, select
OK
.
• If you have already paired another phone with your
device, select
Pair Mobile Device
.
2


