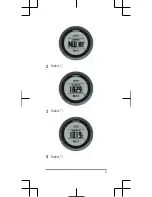
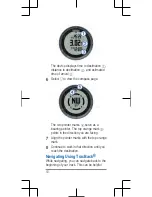


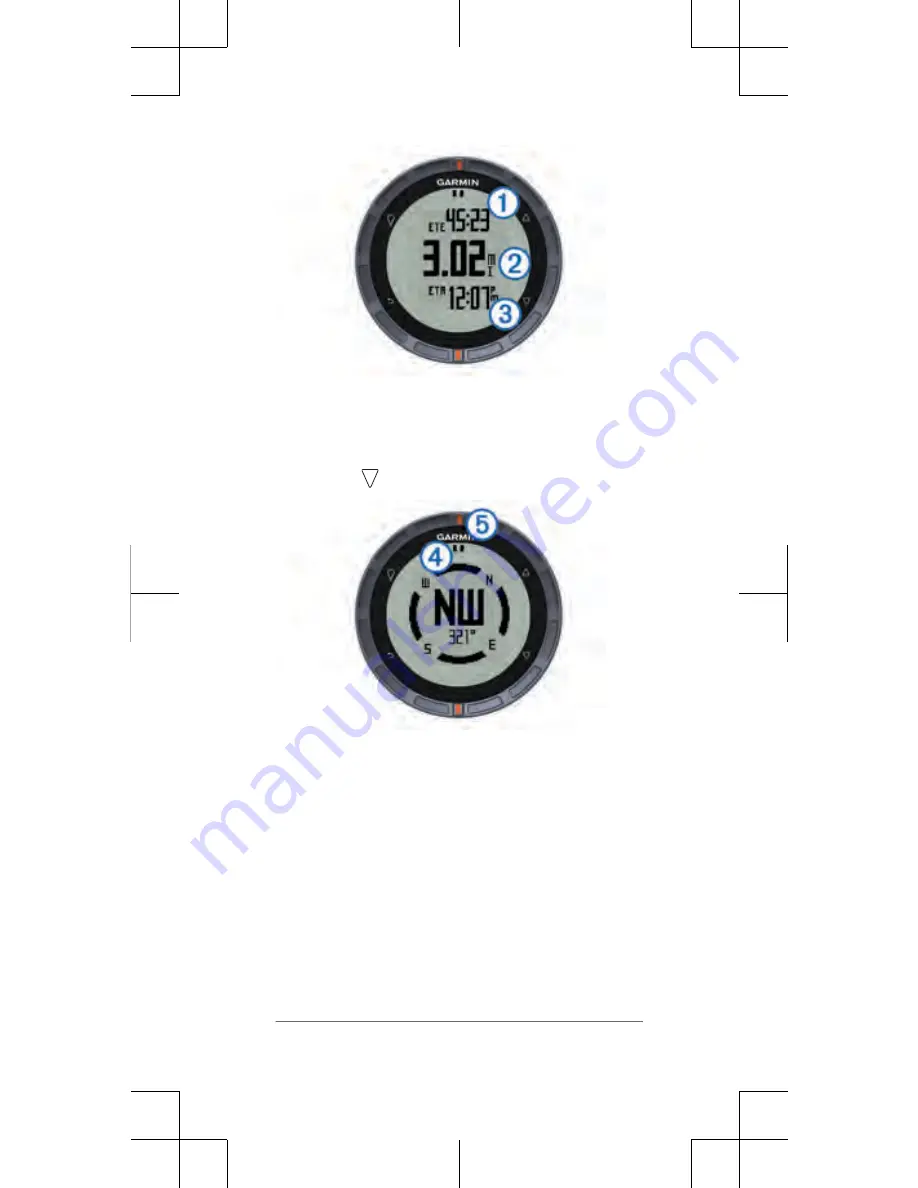
The device displays time to destination
,
distance to destination
, and estimated
time of arrival
.
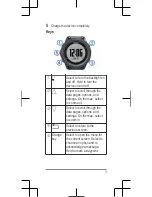
6
Select to view the compass page.
The two pointer marks
serve as a
bearing pointer. The top orange mark
points in the direction you are facing.
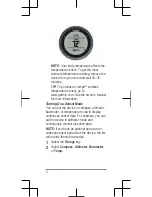
7
Align the pointer marks with the top orange
mark.
8
Continue to walk in that direction until you
reach the destination.
Navigating Using TracBack®
While navigating, you can navigate back to the
beginning of your track. This can be helpful
10
Summary of Contents for fenix
Page 6: ...2 Select 3 Select 4 Select 5...
Page 16: ......