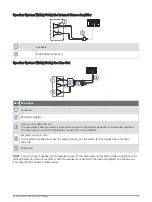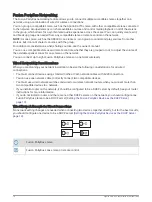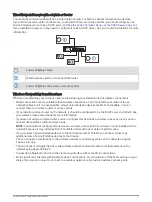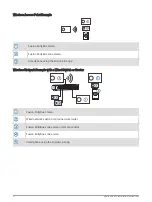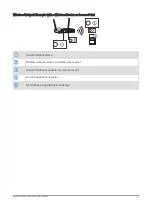
Constructing a Network
You should have a basic understanding of networking when building a network for Fusion PartyBus devices.
These instructions guide you through the basics of building and configuring a network, and should apply to
most situations. If you need to perform advanced networking tasks, such as assigning static IP addresses to
devices on the network or configuring advanced settings on a connected router, you may need to consult a
networking professional.
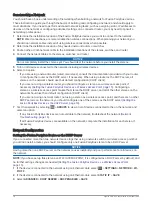
1 Determine the installation location of the Fusion PartyBus devices you want to connect to the network.
NOTE: Wired connections are more reliable than wireless connections. When planning your network, you
should run network cables instead of using wireless connections when possible.
2 Determine the installation location of any needed network routers or switches.
3 Route Cat5e or Cat6 network cable to the installation locations of the stereos, switches, and router.
4 Connect the network cables to the stereos, switches, and router.
NOTICE
Do not completely install the stereos yet. You should test the network before you install the stereos.
5 Turn on all devices connected to the network, including wireless devices.
6 Select an option:
• If you are using a network router (wired or wireless), consult the documentation provided with your router
to configure the router as the DHCP server, if necessary. When using a router as the DHCP server, all
stereos on the network should use their default configuration (DHCP client).
• If you are not using a wireless router, you should configure a stereo as a wireless access point, if
necessary (
Setting the Fusion PartyBus Device as a Wireless Access Point, page 15
). Configuring a
stereo as a wireless access point makes that stereo the DHCP server, and all of the other stereos on the
network should use their default configuration (DHCP client).
• If you are not using a network router, not using a stereo as a wireless access point, and there are no other
DHCP servers on the network, you should configure one of the stereos as the DHCP server (
Fusion PartyBus Device as the DHCP Server, page 14
).
7 Test the network by selecting
> GROUPS to view a list of devices connected to the on the network, and
select an option:
• If any Fusion PartyBus devices are not available to the network, troubleshoot the network (
).
• If all Fusion PartyBus devices are available on the network, complete the installation for each stereo, if
necessary.
Network Configuration
Setting the Fusion PartyBus Device as the DHCP Server
If you connected more than two network devices together using a network switch or wireless access point but
you did not install a router, you should configure only one Fusion PartyBus stereo to be a DHCP server.
NOTICE
Having more than one DHCP server on the network causes instability and poor performance for all devices on
the network.
NOTE: If you have set up this stereo as a WI-FI ACCESS POINT, it is configured as a DHCP server by default, and
no further settings changes are needed (
Setting the Fusion PartyBus Device as a Wireless Access Point,
).
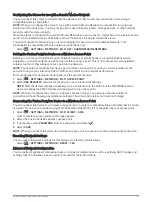
1 If the device is connected to the network using an Ethernet cable, select
> SETTINGS > NETWORK > WI-
FI OFF.
2 If the device is connected to the network using an Ethernet cable, select STATIC IP > SAVE.
3 Select ADVANCED > DHCP SERVER > DHCP ENABLED > SAVE.
14
Apollo SRX400 Installation Instructions


