190-01115-01
G3X/G3X Touch Installation Manual - Engine/Airframe Sensor Installation
Rev. AC
Page 23-19
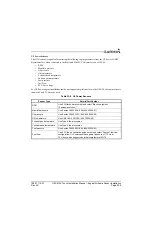
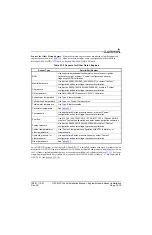
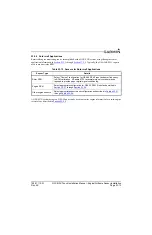
23.3.3 Custom Temperature
Thermistor
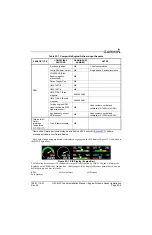
- Rotax 965531and Rotax 966385, these sensors can be input to the MISC TEMP input.
RTD
- UMA 1B3-2.5R RTD (Resistive Temperature Detector) can be input to the MISC TEMP 1/2 inputs.
Type J
- Type J thermocouples can be input to the MISC TEMP 1/2 inputs.
Type K
- Alcor 86253 Type K thermocouples can be input to the MISC TEMP 1/2 inputs.
23.3.4 Oil Temperature
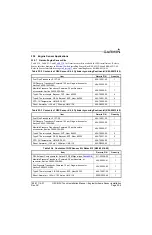
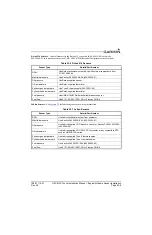
Threaded 5/8-18 Platinum Resistance Temperature Detector (RTD) probe -
This sensor is applicable
to the Lycoming and Continental engines.
Rotax 965531 or Rotax 966385 Oil Temperature Sensor -
See Rotax guidance for sensor installation.
Jabiru Oil Temperature Sensor -
See Jabiru guidance for sensor installation.
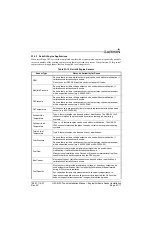
23.3.4.1 Lycoming and Continental Engine Sensor Installation
General Installation Guidance –
Refer to the applicable engine manual for proper location of the oil
temperature sensor. The sensor is usually installed near the oil filter.
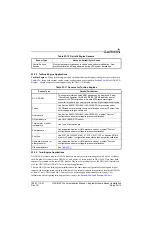
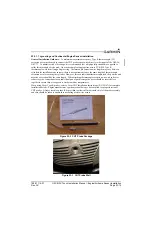
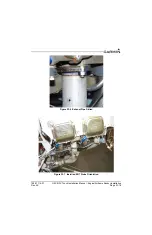
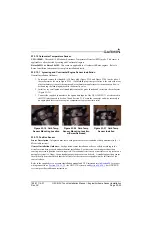
1. Cut the safety wire and remove the existing vent plug (Figure 23-8), if installed.
2. To prevent galling of the threads, apply a small amount of engine oil to the probe threads.
3. Ensure that an unused copper crush gasket is present on the probe, and install the probe into the
engine (black side of crush gasket down).
NOTE
Crush gaskets can only be used once. A new gasket must be installed any time the probe is
removed and installed.
4. Tighten the probe to the torque as specified by the engine manufacturer.
5. Safety-wire the probe to the engine case as appropriate.
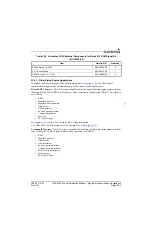
6. Connect the supplied connector to the appropriate inputs on the GEA 24/GSU 73 as referenced in
the G3X interconnects in
. Secure the connector and wire assembly to an appropriate
location in the engine compartment to provide strain relief.
Figure 23-8 Vent Plug
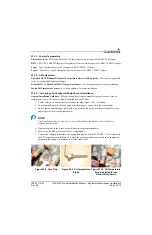
Figure 23-9 Oil Temperature
Probe
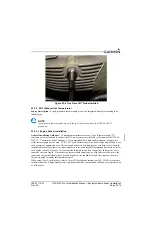
Figure 23-10 Oil Temperature
Probe Installed (Crush
Gasket Not Shown)

