190-01879-11
GMA 245/245R Installation Manual
Rev. 6
Page 3-18
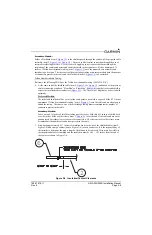
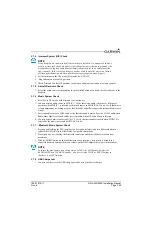
Figure 3-13 GMA 245R Audio Shield Termination (top and bottom)
3.6 Unit Installation
CAUTION
Do not use excessive force when inserting the GMA 245 into the rack. This may damage
the connectors, unit, and/or rack. If heavy resistance is felt during installation, stop!
Remove the GMA 245 and identify the source of resistance.
3.6.1 GMA 245 Installation:
For final installation and assembly, refer to the outline and installation drawings
and
1. Assemble the backshell as described in
2. Connect both backshells to the rear plate using the screws provided in the connector kit
).
3. Mount the GMA 245 rack to the GMA rack as shown on the installation drawing.
4. Assemble the rear plate into the GMA 245 unit rack.
5. Insert the GMA 245 into the rack, noting proper orientation as shown on the installation drawing.
6. Lock the GMA 245 in place using a 3/32” Allen tool.
3.6.2 GMA 245R Installation:
For final installation and assembly, refer to the outline and installation drawings
,
,
and
1. Assemble the GMA 245R in either the end mount bracket (
) or side mount bracket
) configuration.
2. Assemble the backshell as described in
3. Connect both backshells to the rear plate using the screws provided in the connector kit
).
4. Mount the GMA 245R using a minimum of four #10 fasteners (not provided).


