GNS 530(A) Pilot’s Guide and Reference
190-00181-00 Rev. H
SECTION 3
NAV PAGES
3-11
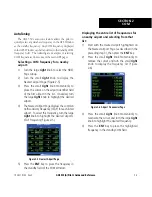
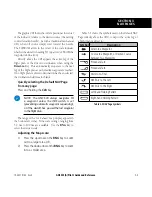
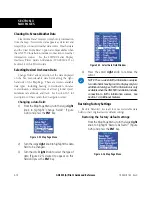
Changing the map orientation:
1) From the Map Page Menu, turn the large
right
knob to highlight ‘Setup Map?’ (Figure 3-16)
and press the
ENT
Key.
2) Turn the small
right
knob to select ‘Map’
(Figure 3-18) and press the
ENT
Key.
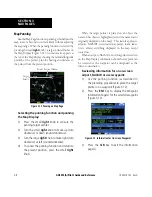
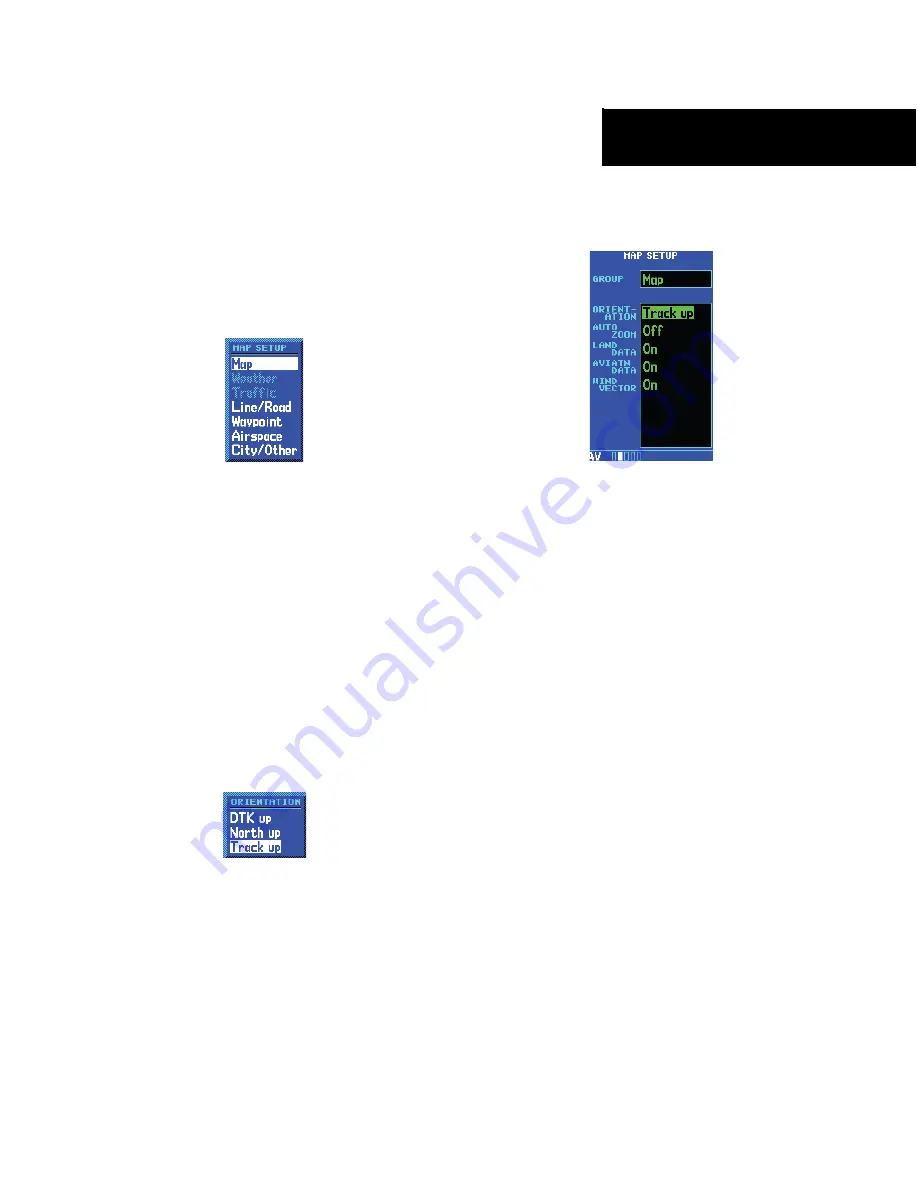
Figure 3-18 Map Setup Window
3) Turn the large
right
knob to highlight the
‘Orientation’ field.
4) Turn the small
right
knob to select the desired
option.
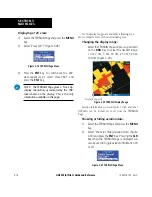
a) Select ‘DTK up’ to fix the top of the Map Display
to the desired course.
b) Select ‘North up’ to fix the top of the Map
Display to a north heading.
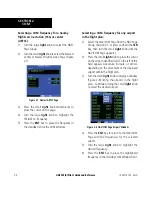
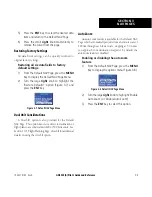
c) Select ‘Track up’ (Figure 3-19) to adjust the
top of the Map Display to the current track
heading.
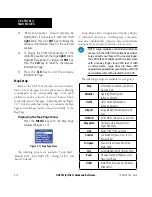
Figure 3-19 Orientation Window
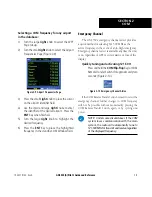
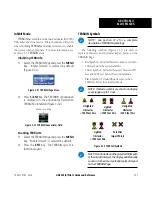
d) Press the
ENT
Key to accept the selected option
(Figure 3-20).
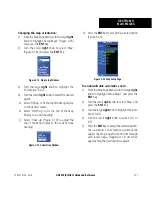
Figure 3-20 Map Setup Page
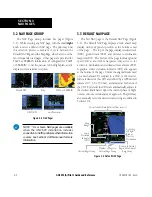
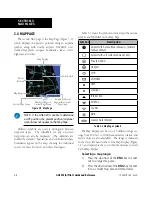
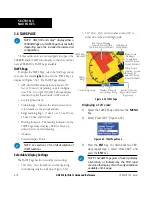
To enable/disable automatic zoom:
1) From the Map Page Menu, turn the large
right
knob to highlight ‘Setup Map?’ and press the
ENT
Key.
2) Turn the small
right
knob to select ‘Map’ and
press the
ENT
Key.
3) Turn the large
right
knob to highlight the ‘Auto
Zoom’ field.
4) Turn the small
right
knob to select ‘On’ or
‘Off’.
5) Press the
ENT
Key to accept the selected option.
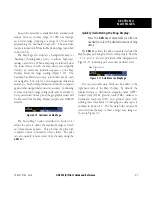
The automatic zoom feature automatically
adjusts the map range from 2000 nm through
each lower range, stopping at 1.0 nm when
approaching the destination waypoint.
Summary of Contents for GNS 530
Page 1: ...GNS 530 A Pilot s Guide and Reference ...
Page 2: ......
Page 10: ...GNS 530 A Pilot s Guide and Reference 190 00181 00 Rev H viii WARRANTY Blank Page ...
Page 116: ...GNS 530 A Pilot s Guide and Reference 190 00181 00 Rev H SECTION 6 PROCEDURES 6 34 Blank Page ...
Page 142: ...GNS 530 A Pilot s Guide and Reference 190 00181 00 Rev H 7 26 SECTION 7 WPT PAGES Blank Page ...
Page 286: ...GNS 530 A Pilot s Guide and Reference 190 00181 00 Rev H I 6 INDEX ...
Page 287: ......

