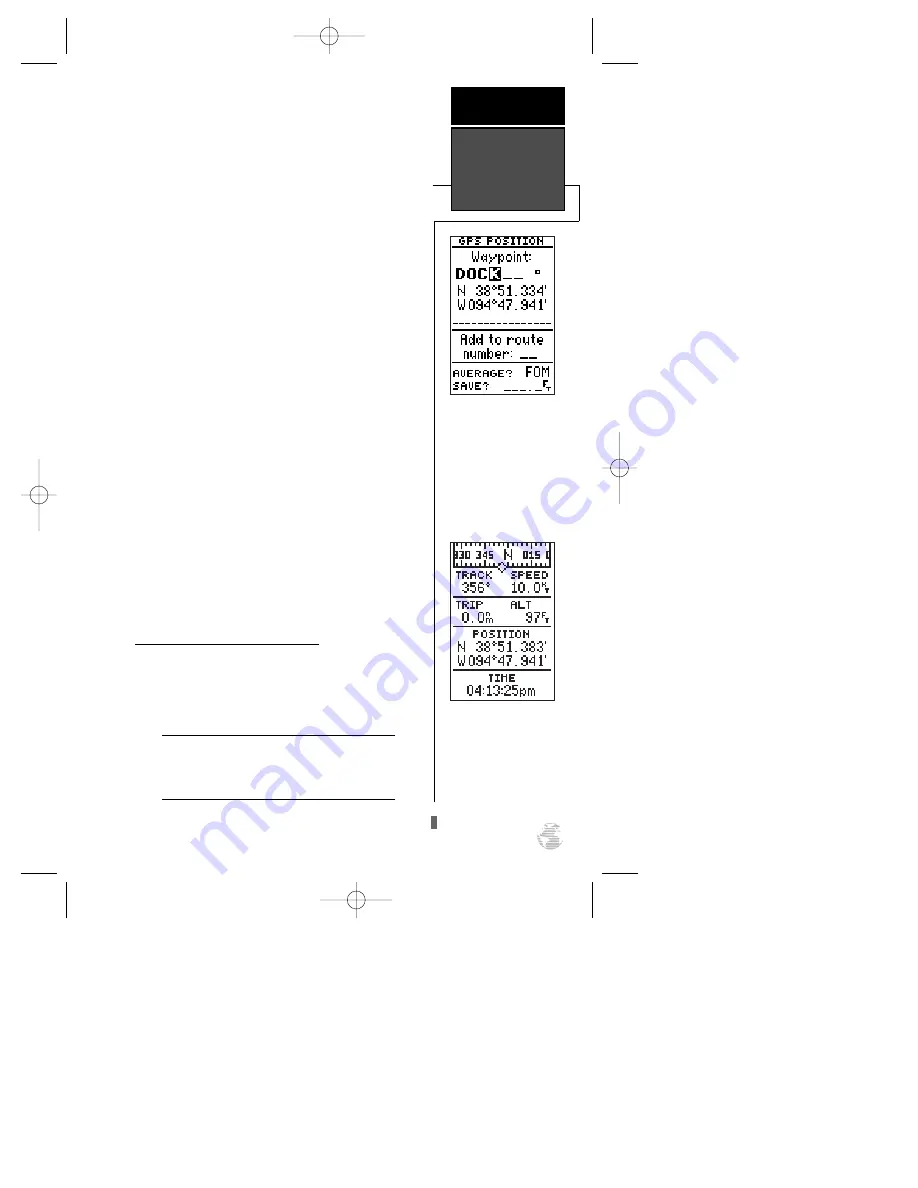
3. Press
F
to clear the default waypoint name.
4. Press and hold the
U
key to scroll through the
alphabet until the letter ‘D’ appears.
5. Press the
R
key once to move the character highlight
to the next character space.
6. Repeat steps 3 and 4 until the word ‘DOCK’ is dis-
played.
7. Press
F
to complete entry of the name.
Each waypoint may also be assigned a custom way-
point symbol for easy waypoint recognition on the map
page.
1. Press
F
to activate the symbol menu.
2. Select the anchor symbol and press
F
.
3. Press the
D
key to highlight the ‘DONE?” field.
4. Press
F
to confirm the selected symbol.
5. With the ‘SAVE?’ field highlighted, press
F
to con-
firm that you want to save the position as a waypoint
named ‘DOCK’.
The mark position page will now be replaced by
the Position Page (or whatever page was displayed
prior to pressing the
M
key). The ‘DOCK’ waypoint
is now stored in the GPS 126/128’s memory, and will
remain there until you manually remove it or clear the
receiver’s memory. For more on waypoint management,
see pages 19-24.
Using the Position and Map Pages
Now that you’ve marked a position, let’s see how
the Position and Map Pages can be used to monitor
your progress as you head out into the open water.
As always, ensure your primary focus is on
boating traffic and monitor the GPS126/128
briefly when operating your boat.
9
The arrow keypad is used
for all data entry. Use the
UP and DOWN keys to
select letters, numbers, or
menu options, and use the
LEFT and RIGHT keys to
move the cursor forward or
backward along the line.
GETTING
STARTED
Position and
Map Pages
Position Page
!
#
126/128 Manual (new) 6/15/98 9:50 AM Page 9


