REFERENCE
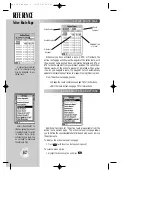
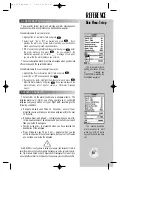
Use the
R
R
keypad to
enter the identifiers for air-
ports, navaids or waypoints
and add them to the route.
If you make an error
while creating a new route,
use the pop-up menu to
remove, insert, change or
review a waypoint.
76
ROUTES (cont.)
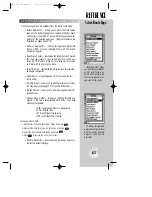
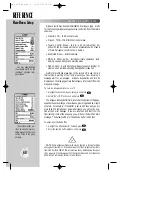
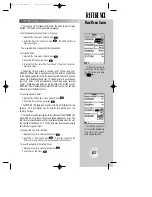
Once a route has been created, the route list page will reappear
allowing you to activate the route, again from the route options page.
If you make an error while creating the route and wish to change,
remove or insert a waypoint, a pop-up menu is provided to allow you
to make the necessary changes. This menu can also be used to review
the database information about any waypoint in the route.
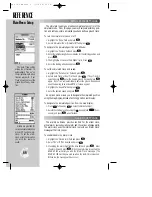
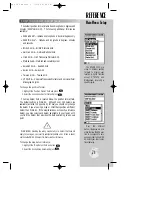
To edit a route waypoint:
1. Highlight the desired route waypoint and press
T
. The route edit
pop-up menu appears with four route editing options:
• Review
• Remove
• Insert
• Change
To review a route waypoint:
1. Highlight the ‘Review?’ option and press
T
.
To remove a route waypoint:
1. Highlight the ‘Remove?’ option and press
T
.
To insert a new waypoint before the selected route waypoint:
1. Highlight the ‘Insert?’ option and press
T
.
2. Enter the name of the new waypoint using the
R
keypad, or press
O
to select the new waypoint from the user waypoint list or map
display.
3. Press
T
to finish.
To change the selected route waypoint:
1. Highlight the ‘Change?’ option and press
T
.
2. Enter the name of the new waypoint using the
R
keypad, or press
O
to select the new waypoint from the user waypoint list or map
display.
3. Press
T
to finish.
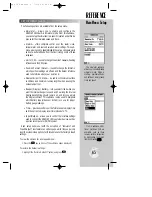
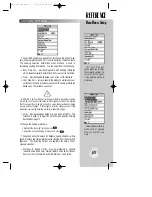
From the list, you may enter your own 16-character route
comment and select a specific route for activation, editing or other
management functions.
To enter a custom route comment:
1. Highlight the desired route and press
T
.
2. Press the left arrow key of the
R
keypad to clear the comment
field.
3. Use the
R
keypad to enter the new route comment and press
T
when finished.
Main Menu: Routes
gps 195 manual C 7/1/99 4:49 PM Page 76

