Creating and Using a Flight Plan (Route)
To create and use a route:
1. Press the
MENU
key twice to open the Main Menu.
2. Highlight
Route
from the vertical list of tabs.
3. Highlight the first available blank route slot, and press
ENTER
.
4. Press
ENTER
to find items to add to the route.
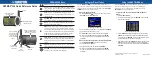
Route Tab of the
Main Menu
Adding Points to the route.
Identifier
Facility
Name
City
5. Select the identifier, facility name, or city field, and press
ENTER
.
Enter the identifier, facility name, or city.
6. Press
ENTER
when the point is shown.
7. With the on-screen
OK
button highlighted, press
ENTER
. The point
is added to the route.
8. When you are finished adding points to your route, press
QUIT
to
view the
Route
tab again. Your new route is highlighted.
9. Press
MENU
, select
Activate Route
, and press
ENTER
to start
navigating your route.
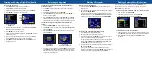
Selecting an Approach
To select and start an approach from the Active Route or
Active Go To Page:
1. Press
PAGE
until the Active Route or Active Goto Page appears.
2. Press
MENU
.
3. Highlight
Select Approach
using the
ROCKER
.
4. Use the
ROCKER
to highlight an approach, and press
ENTER
. A
“Vectors?” window appears
5. Use the
ROCKER
to select
Yes
, and press
ENTER
. The GPSMAP
296 removes the destination airport from the Go To Page (not from
your flight plan/route), and replaces it with the approach waypoints.
To select and navigate an approach for the destination
airport:
1. Press the
DIRECT TO
D
key to open the Go To Page.
2. Press
MENU
to open the options menu. Highlight
Select Approach
,
and press
ENTER
.
3. Use the
ROCKER
to select the approach from the pop-up window,
and press
ENTER
.
Go To Page
Selecting an Approach
Go To Page
Options Menu
4. A “Vectors?” window appears. Use the
ROCKER
to select
Yes
, and
press
ENTER
. The GPSMAP 296 removes the destination airport
from the Go To Page (not from your flight plan/route), and replaces
it with the approach waypoints.
Marking a Waypoint
To mark your present location:
1. Press and hold the
ENTER/MARK
key until the New Waypoint
Page appears.
2. To accept the waypoint with the default name and symbol, highlight
OK
, and press
ENTER/MARK
.
To change the information on the New Waypoint Page, highlight
the appropriate field, and press
ENTER/MARK
. After entering and
confirming your changes, highlight
OK
, and press
ENTER/MARK
.
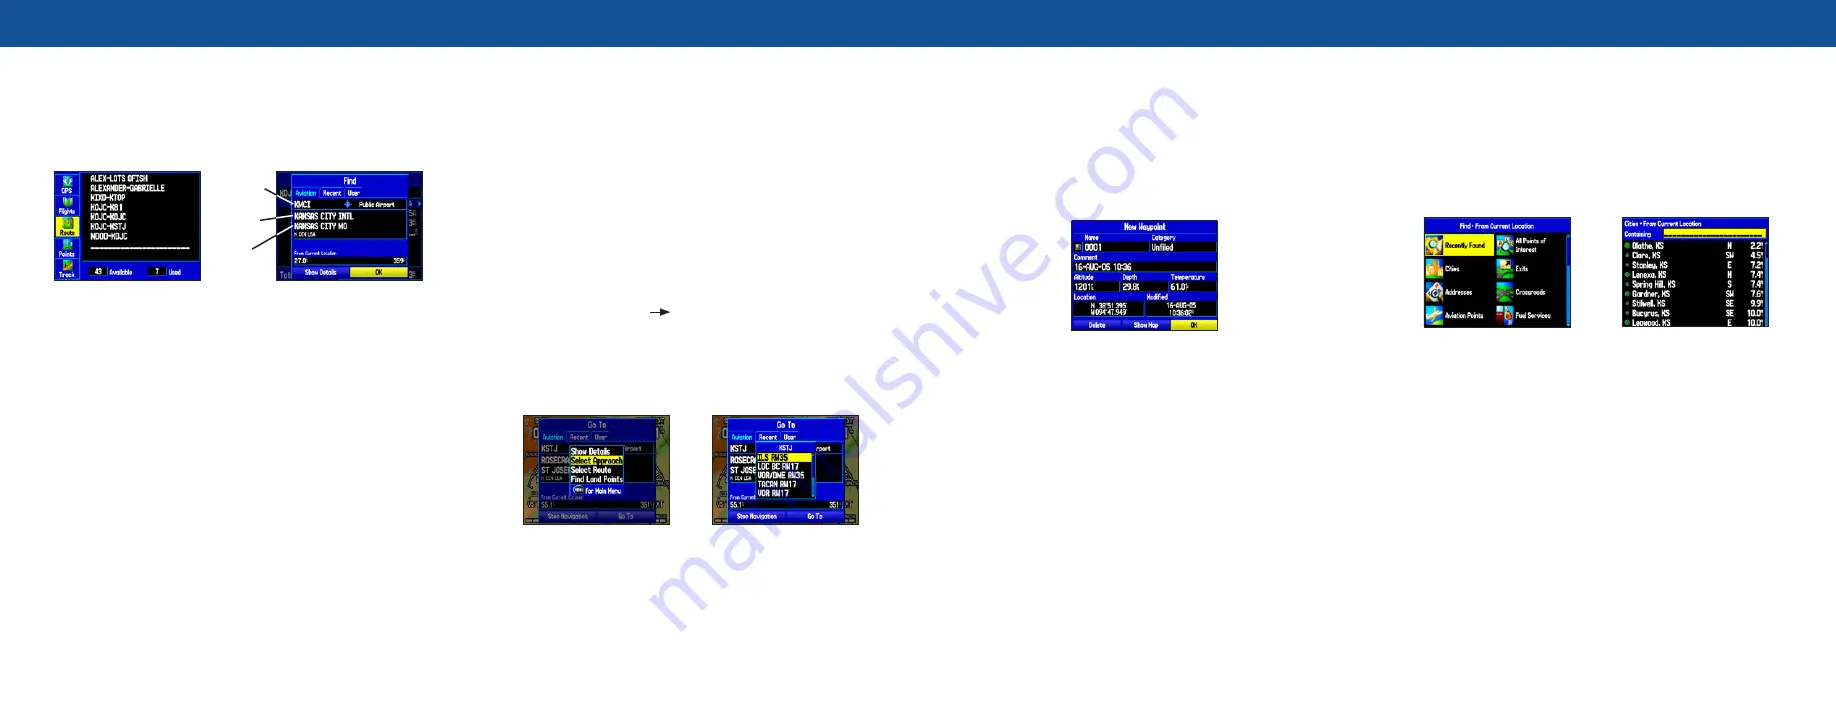
New Waypoint Page
To create a new waypoint using the Map Page:
1. Press
PAGE
until the Map Page appears.
2. Move the pointer to the map location or feature.
3. Press and quickly release the
ENTER
key to capture the pointer’s
location. The New Map Waypoint Page appears.
If you have highlighted a map feature, an information page appears
after you press
ENTER
. Use the
ROCKER
to highlight
Save
, and
press
ENTER
to save the item as a waypoint.
4. To accept the waypoint with the default name and symbol, highlight
OK
, and press
ENTER
.
To change any information on the New Map Waypoint Page,
highlight the appropriate field, and press
ENTER
. After entering and
confirming your changes, highlight
OK
, and press
ENTER
.
Finding a Automobile or Marine Item
When in Automotive or Marine Mode, pressing
NRST/FIND
shows
the Find Menu. To view the Find Menu in Aviation Mode, press the
NRST/FIND
key multiple times.
To find a waypoint or other item from your current location:
1. From any page, press
NRST/FIND
.
2. Highlight a category from the list, and press
ENTER
.
3. Highlight an item from the list, and press
ENTER
.
Find Menu
Navaid Search Result
To activate a Go To from the Find Menu:
1. Select a waypoint or point of interest as previously described, and
press
ENTER
. The Waypoint Review Page automatically appears.
2. With the
Go To
button highlighted, press
ENTER
to begin
navigation.