


7
Controls and Display
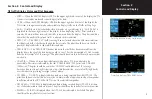
Section 2
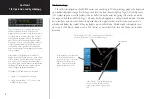
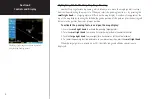
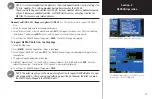
Map Page
TIS traffic is displayed on the Map Page in addition to the Traffic Page.
Configuring TIS Traffic Data on the Map Page
To configure TIS traffic on the Map Page:
1. Turn the
small right knob
to select the Map Page.
2. Press the
MENU
key.
Turn the
small right knob
to select ‘Setup Map’?
3. The flashing cursor highlights the GROUP field.
Turn the
small right knob
to select ‘Traffic’ and press
ENT
.
4. Turn the
large right knob
to select the desired Traffic Mode option. Turn the
small right knob
to select
the desired option and press
ENT.
Repeat the step for Traffic Symbol and Traffic Label.
5. Press
CLR
to return the Map Page.
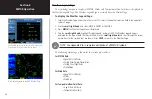
The traffic mode selection menu allows the user to choose from the following:
• All trfc - All traffic is displayed on the Map Page.
• TA/PA - Only traffic advisories and proximity advisories are displayed on the Map Page.
• TA only - Only traffic advisories are displayed on the Map Page.
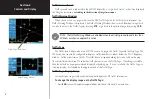
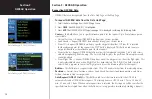
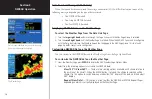
From the Map Page you can display traffic in a thumbnail format in any of the top three (400 Series) or
four (500 Series) data fields on the right side of the Map Page.
To display Thumbnail Traffic on the Map Page:
1. Turn the
small right knob
to select the Map Page.
2. Press the
MENU
key and display the Page Menu
.
3. Turn the
small right knob
to select ‘Change Fields?’ and press
ENT
.
4. Select one of the top three (400 Series) or four (500 Series) configurable fields. Select ‘TRFC’ from the
Select Field Type List and press
ENT.
Note that the thumbnail range defaults to 6 nm and cannot be
changed.
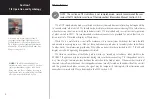
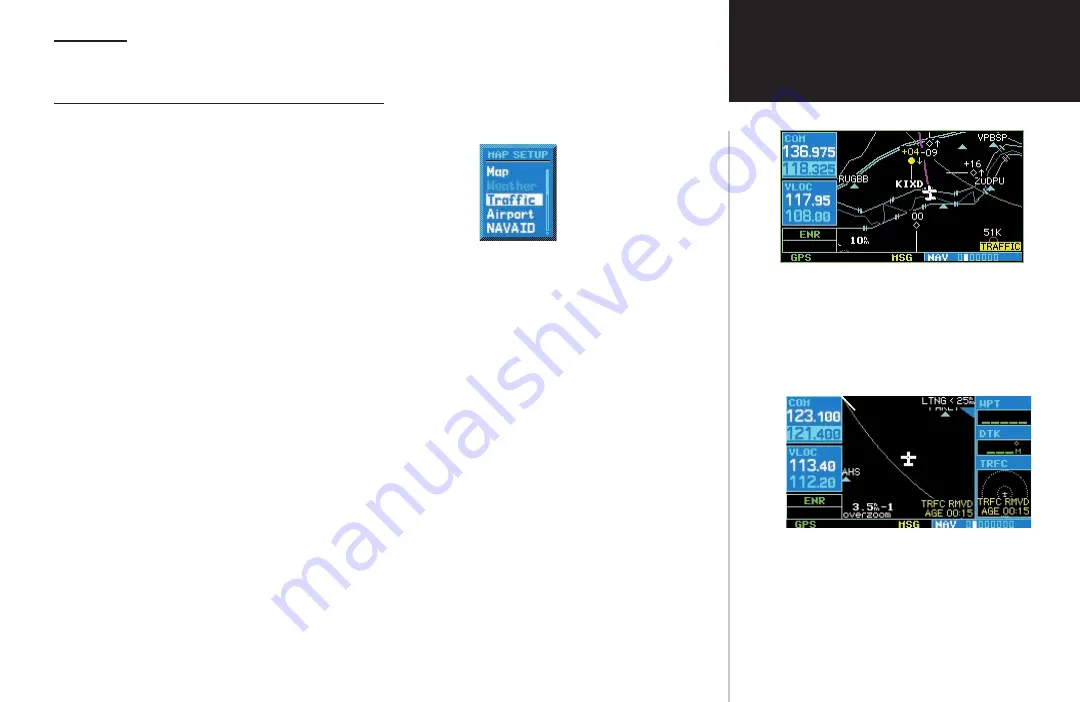
The Map Page displaying traffic.
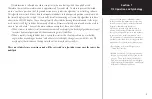
Thumbnail Traffic displayed on the GNS 430.
NOTE:
The thumbnail will display traffic coasting
‘TRFC CST’ or traffic removed ‘TRFC RMVD’
in the lower right when TIS messages have been
missed.