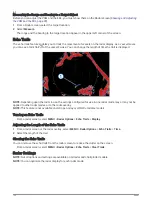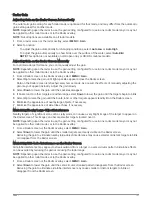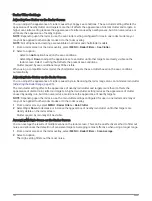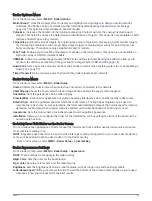
Adding the Trolling Motor Controls to Screens
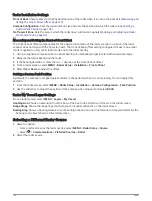
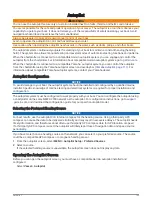
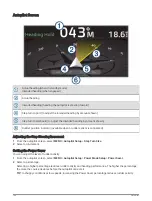
After you have connected the chartplotter to the Force trolling motor, you must add the trolling motor control
bar to screens to control the trolling motor.
1 Open a screen from which you would like to control the trolling motor.
2 Select an option:
• From a full screen, select MENU > Edit Overlays.
• From a combination screen, select MENU > Edit > Overlays.
3 Select Top Bar or Bottom Bar.
4 Select Trolling Motor Bar.
Repeat these steps to add the trolling motor controls to all of the screens from which you would like to control
the trolling motor.
Trolling Motor Control Bar
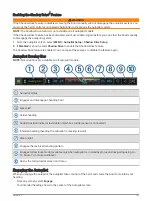
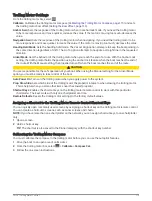
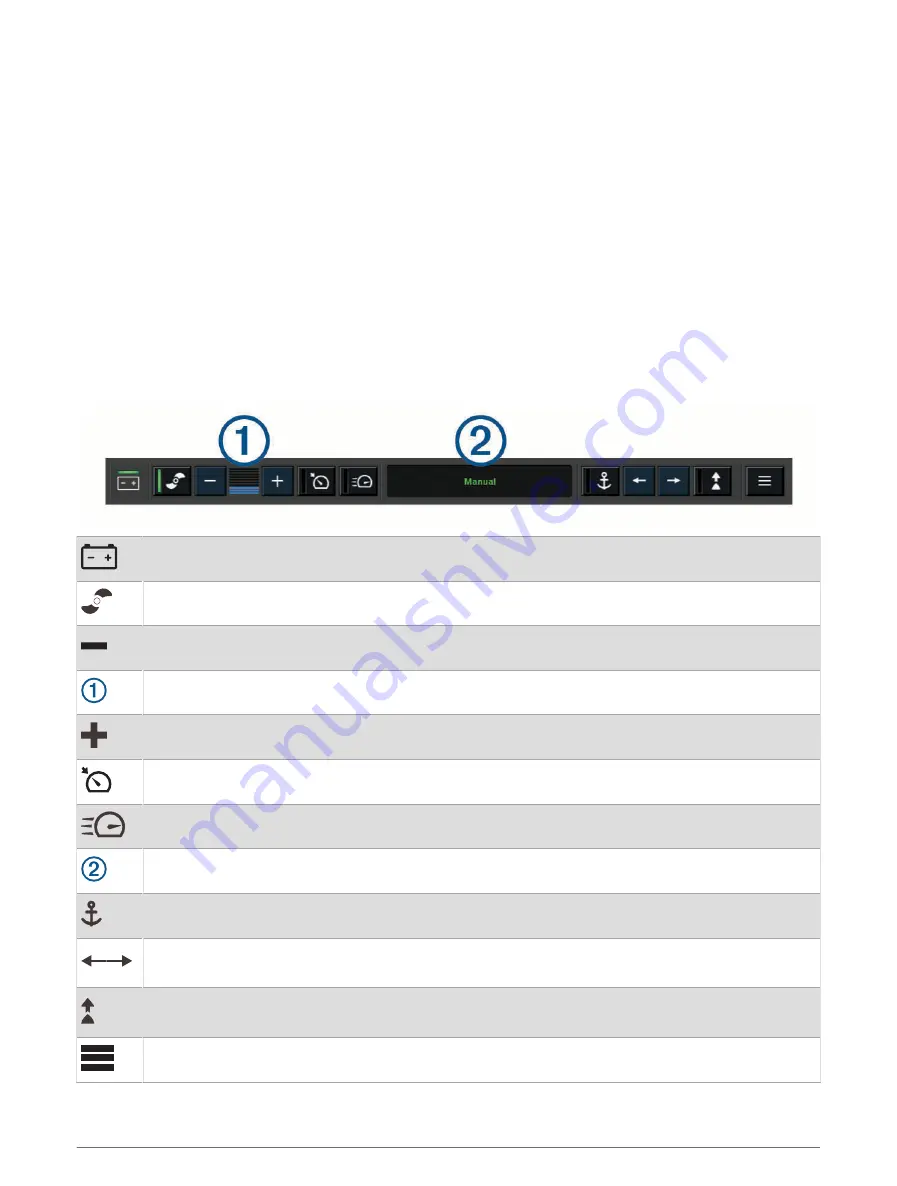
The trolling motor control bar allows you to control a Force trolling motor and see the status of the motor.
Select an item to engage it. The button illuminates when selected. Select the item again to disengage it.
Trolling motor battery status.
Turns the propeller on and off.
Reduces the speed.
Speed indicator.
Increases the speed.
Enables the cruise control at the current speed over ground (SOG).
Engages the propellor at full speed.
Trolling motor status.
Enables anchor lock, which uses the trolling motor to hold your position.
Steers the trolling motor.
When in anchor lock, jogs the anchor lock position forward, backward, left, or right.
Enables heading hold (set and maintain the current heading).
When the trolling motor is in heading hold, an autopilot bar appears in the trolling motor bar.
Opens the trolling motor settings.
114
Force
®
Trolling Motor Control
Summary of Contents for GPSMAP1222
Page 1: ...GPSMAP 10X2 12X2SERIES Owner sManual...
Page 14: ......
Page 213: ......
Page 214: ...support garmin com GUID C3CEA164 A1CB 4B15 92F2 5C04944CC6F3 v21 January 2024...

