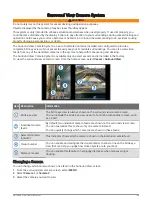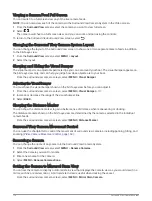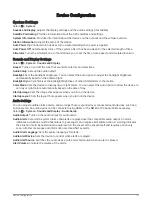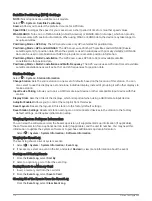
Camera Settings
Some cameras provide additional options to control the camera view.
NOTE: Not all options are available on all camera models and chartplotter models. Refer to the camera manual
for a list of available features. You may need to update the camera software to use this feature.
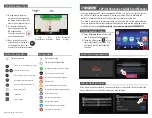
From the infrared video screen, select MENU.
IR Blend: Selects the infrared effect to MSX
®
(Multi-Spectral Dynamic Imaging) mode or CTV (Color Thermal
Vision
™
) mode, and allows you to blend the effects.
IR/Visible: Displays an infrared or visible light image.
Scan: Surveys the surrounding area.
Freeze: Pauses the camera image.
Change Colors: Selects the color scheme of the infrared image.
Change Scene: Selects the infrared image mode, such as day, night, MOB, or docking.
Video Setup: Opens more video options.
Video Settings
Some cameras provide additional setup options.
NOTE: Not all options are available on all camera models and chartplotter models. You may need to update the
camera software to use this feature.
From the video screen, select MENU > Video Setup.
Set Input: Associates the camera with a video source.
Mirror: Reverses the image like a rearview mirror.
Standby: Places the camera in standby mode to conserve power and protect the lens when not in use.
Home Position: Sets the home position of the camera.
Scan Speed: Sets how quickly the camera moves during a scan.
Scan Width: Sets the width of the image captured by the camera during a scan.
Stabilization: Stabilizes the picture using mechanical means.
Low Light: Optimizes the video for low-light environments.
Aspect: Sets the aspect ratio.
Defog: Optimizes the video for foggy environments.
Dynamic Range: Sets the range to wide or standard.
E. Stabilization: Stabilizes the picture using software image processing.
Light: Controls the camera's integrated light source to help illuminate the environment.
Name: Allows you to enter a new name for this camera.
FLIR™ Menu: Provides access to the settings for the camera.
Associating the Camera to a Video Source
You may need to associate the camera with a video source.
1 From the video screen, select MENU > Source.
2 Select the camera.
3 Select Video Setup > Set Input.
4 Select the video input.
Viewing Video
163
Summary of Contents for GPSMAP1222
Page 1: ...GPSMAP 10X2 12X2SERIES Owner sManual...
Page 14: ......
Page 213: ......
Page 214: ...support garmin com GUID C3CEA164 A1CB 4B15 92F2 5C04944CC6F3 v21 January 2024...

