1.16
Chapter 1 Introduction
Setting the Sounds and Volumes
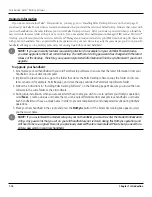
You can control the sound for system alerts, alarms, and games using the General Preferences screen. You can also turn the
alarm vibrate and alarm LED on and off.
To set the auto shutoff interval and sounds:
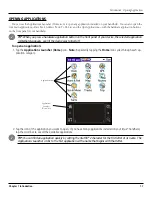
1. Tap the
Applications Launcher (Home)
icon; then tap the
Prefs
icon.
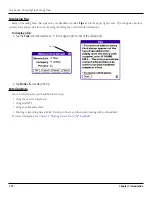
2. In the pick list in the upper right corner, tap
General
.
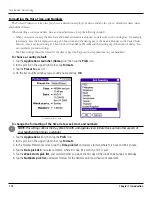
3. To set sounds and volumes, tap the
System
,
Alarm
, or
Game Sound pick list
, and select the sound level—Off,
Low, Medium, or High.
NOTE:
Turning off the System Sound also turns off the chime tones used during HotSync
®
operations. The
Game Sound setting typically works only with newer games that are programmed to respond to it.
Enabling the Alarm Vibrate and Alarm LED
To enable the Alarm Vibrate and Alarm LED:
1. Tap the
Applications Launcher (Home)
icon; then tap the
Prefs
icon.
2. In the pick list in the upper right corner, tap
General
.
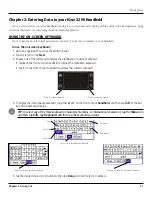
3. Tap the
Alarm Vibrate pick list
and select
On
or
Off
.
4. Tap the
Alarm LED pick list
and select
On
or
Off
.
When you enable the Alarm Vibrate and Alarm LED settings, your handheld vibrates, and the LED blinks to notify you of
alarms. This is useful when you want the Alarm Sound off, but still be notified of alarms.
Turning Beam Receive On and Off
Beaming is discussed in
For information on using the Beam Receive preference, see
chapter.
For information on assigning different applications to your handheld’s buttons see
information on configuring your handheld to work with a modem or network, see
“Setting Connection and Network Preferences”
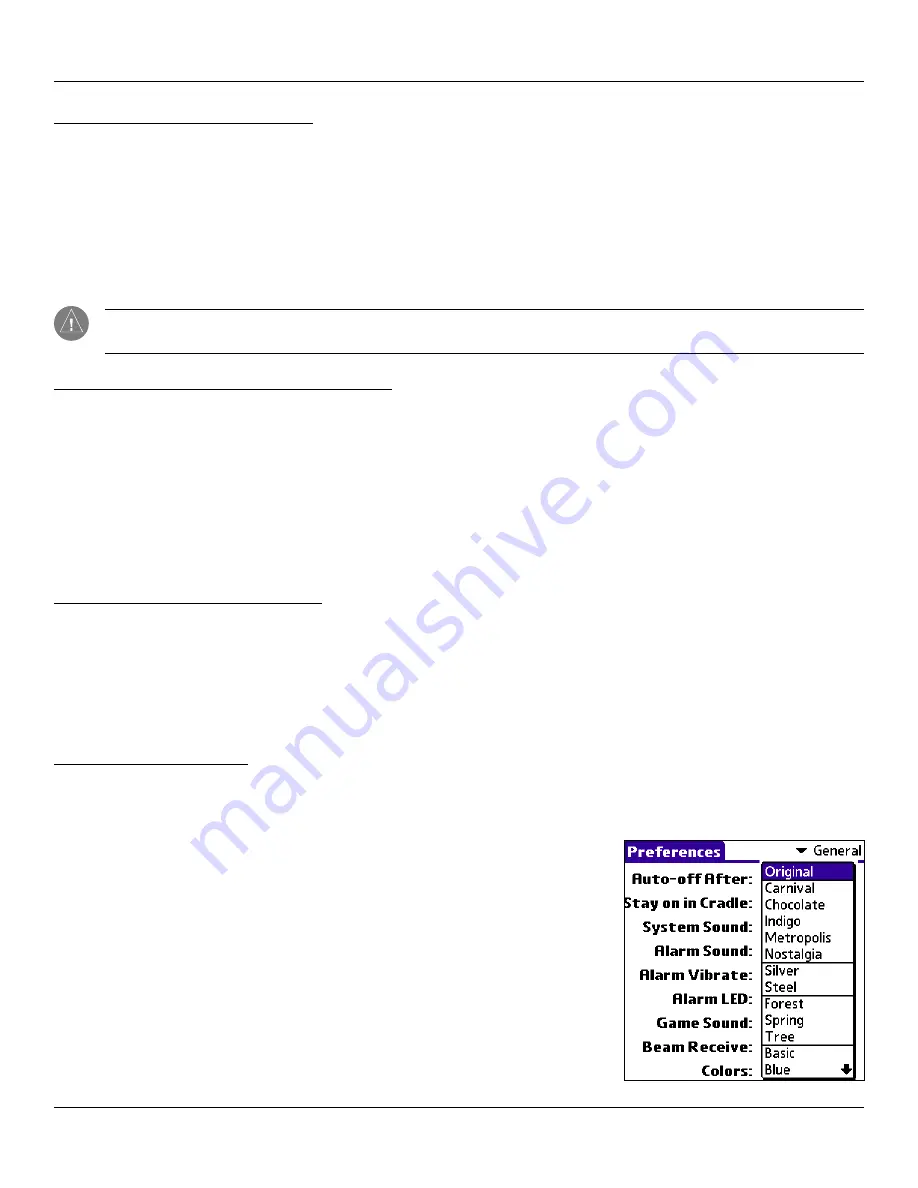
Selecting a Color Theme
You can customize the appearance of your color display by selecting one of the more than 30 available color themes.
To select a color theme:
1. Tap the
Applications Launcher (Home)
icon; then tap the
Prefs
icon.
2. In the pick list in the upper right corner, tap
General
.
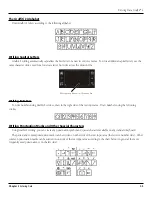
3. Tap the
Colors
pick list, and use the scroll arrows to scan the menu items.
4. Tap on a color theme. Experiment with other color themes by repeating the
steps above.
Introduction: Customizing


