Xero Laser Location Settings
Before you can customize laser location settings, you must pair a compatible Xero device (
).
Hold MENU, and select Sensors & Accessories > XERO Laser Locations > Laser Locations.
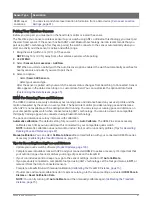
During Activity: Enables the display of laser location information from a compatible, paired Xero device during
an activity.
Share Mode: Allows you to share laser location information publicly or broadcast it privately.
Map
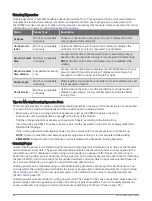
Your watch can display several types of Garmin map data, including topographical contours, nearby points of
interest, ski resort maps, and golf courses. You can use the Map Manager to download additional maps or
manage map storage.
To purchase additional map data and view compatibility information, go to
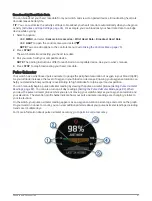
represents your location on the map. When you are navigating to a destination, your route is marked with a
line on the map.
Viewing the Map
1 Select an option to open the map:
• Press START, and select Map to view the map without starting an activity.
• Go outside, start a GPS activity (
), and press UP or DOWN to scroll to the map
screen.
2 If necessary, wait while the watch locates satellites.
3 Select an option to pan and zoom the map:
• To use the touchscreen, tap the map, tap and drag to position the crosshairs, and press UP or DOWN to
zoom in or out.
• To use the buttons, hold MENU, select Pan/Zoom, and press UP or DOWN to zoom in or out.
NOTE: You can press START to toggle between panning up and down, panning left and right, or zooming.
4 Hold START to select the point indicated by the crosshairs.
Map
91


