background image

Introduction

1

Introduction

WARNING

See the 

Important Safety and Product Information 

guide 

in the product box for product warnings and other 

important information.
Always consult your physician before you begin or 

modify any exercise program.

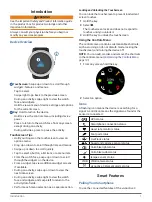
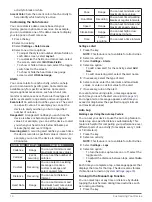
Device Overview

1

 Touchscreen:

 Swipe up or down to scroll through 

widgets, features, and menus.
Tap to select.
Swipe right to go back to the previous screen.
During an activity, swipe right to view the watch 

face and widgets.
Hold to view a menu of device settings and options 

for the current screen.

2

 Key:

 Hold to turn on the device.

Hold to view the controls menu, including device 

power.
Press to return to the watch face from any screen, 

except during an activity.
During activities, press to pause the activity.

Touchscreen Tips


y

Hold your finger on the touchscreen to view an 

options menu.


y

Drag up or down to scroll through lists and menus.


y

Swipe up or down to scroll quickly.


y

Tap to select a button, a list item, or a menu item.


y

From the watch face, swipe up or down to scroll 

through the widgets on the device.


y

From a widget, tap view additional widget screens, 

if available.


y

During an activity, swipe up or down to view the 

next data screen.


y

During an activity, swipe right to view the watch 

face and widgets, and swipe left to return to the 

activity data fields.


y

Perform each menu selection as a separate action.

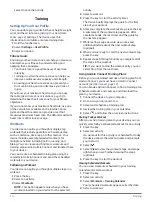
Locking and Unlocking the Touchscreen

You can lock the touchscreen to prevent inadvertent 

screen touches.

Hold the key.

Select  .
The touchscreen locks and does not respond to 

touches until you unlock it.

Hold the key to unlock the touchscreen.

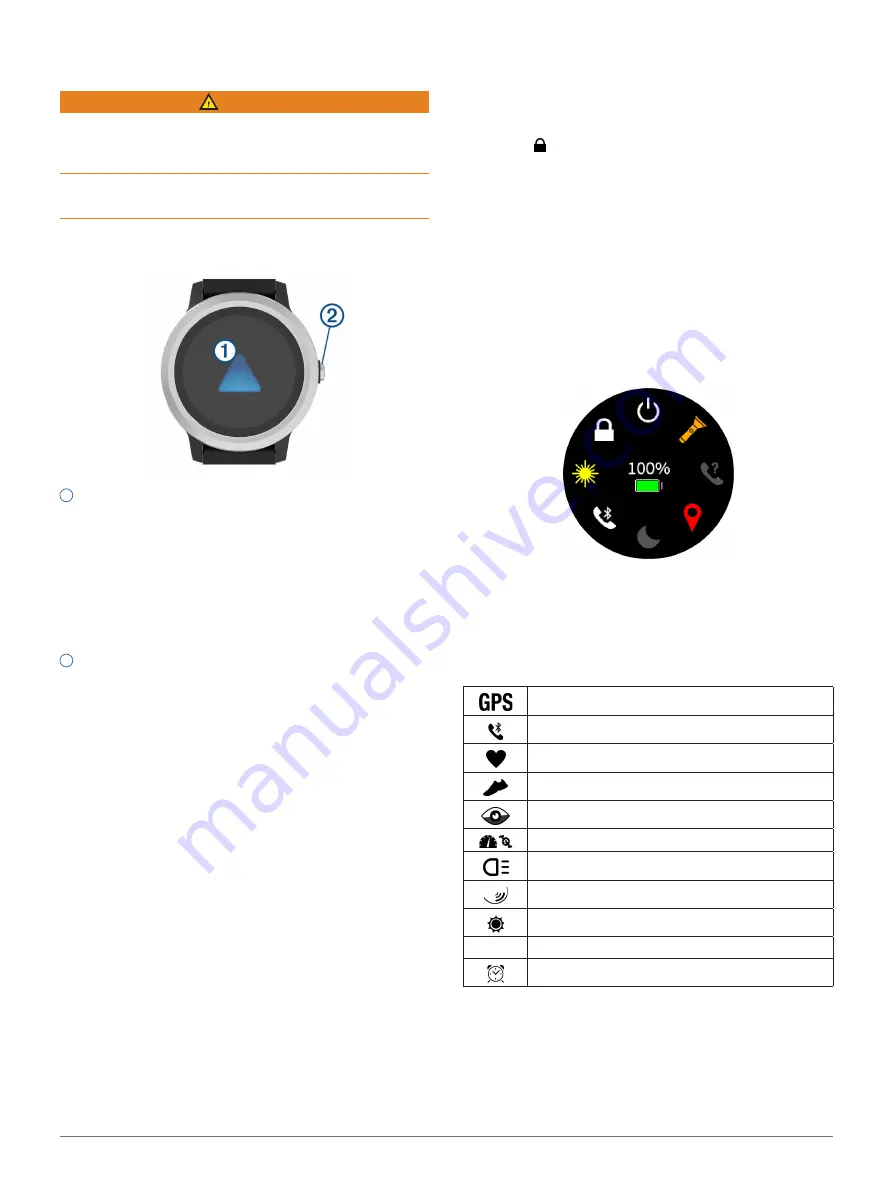
Using the Controls Menu

The controls menu contains customizable shortcuts, 

such as turning on do not disturb mode, locking the 

touchscreen, and turning the device off.

NOTE: 

You can add, reorder, and remove the shortcuts 

in the controls menu (

Customizing the Controls Menu, 

page 

13

).

From any screen, hold the key.

Select an option.

Icons

A flashing icon means the device is searching for a 

signal. A solid icon means the signal was found or the 

sensor is connected.

GPS status
Smartphone connection status
Heart rate monitor status
Foot pod status
LiveTrack status
Speed and cadence sensor status
Varia bike light status
Varia bike radar status
tempe sensor status

VIRB VIRB camera status

vívoactive 3 Element alarm status

Smart Features

Pairing Your Smartphone

To use the connected features of the vívoactive 3 

Summary of Contents for VIVOACTIVE 3 Element

Page 1: ...VÍVOACTIVE 3 Element Owner s Manual ...

Page 2: ...of Garmin American Heart Association is a registered trademark of American Heart Association Inc Android is a trademark of Google Inc Apple and Mac are trademarks of Apple Inc registered in the U S and other countries The Bluetooth word mark and logos are owned by the Bluetooth SIG Inc and any use of such marks by Garmin is under license Advanced heartbeat analytics by Firstbeat Windows is a regis...

Page 3: ...t Loop 7 About My Day 7 Viewing the Weather Widget 7 Heart Rate Variability and Stress Level 7 Using the Stress Level Widget 7 VIRB Remote 7 Controlling a VIRB Action Camera 7 Music Controls 8 Controlling Music Playback 8 Apps and Activities 8 Starting an Activity 8 Tips for Recording Activities 8 Stopping an Activity 8 Adding a Custom Activity 8 Adding or Removing a Favorite Activity 9 Indoor Act...

Page 4: ...Software Using Garmin Connect Mobile 18 Updating the Software Using Garmin Express 19 Viewing Device Information 19 Viewing E label Regulatory and Compliance Information 19 Specifications 19 Device Care 19 Cleaning the Device 19 Replacing the Bands 19 Troubleshooting 20 Is my smartphone compatible with my device 20 My phone will not connect to the device 20 My device is in the wrong language 20 My...

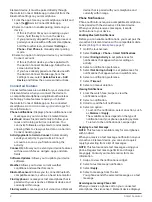
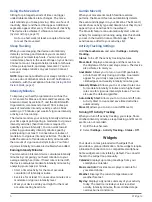
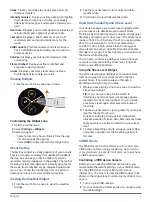
Page 5: ...ens if available y y During an activity swipe up or down to view the next data screen y y During an activity swipe right to view the watch face and widgets and swipe left to return to the activity data fields y y Perform each menu selection as a separate action Locking and Unlocking the Touchscreen You can lock the touchscreen to prevent inadvertent screen touches 1 Hold the key 2 Select The touch...

Page 6: ...ooth sensors Allows you to connect Bluetooth compatible sensors such as a heart rate monitor Find my phone Locates your lost smartphone that is paired with your vívoactive 3 Element device and currently within range Find my watch Locates your lost vívoactive 3 Element device that is paired with your smarphone and currently within range Phone Notifications Phone notifications require a compatible s...

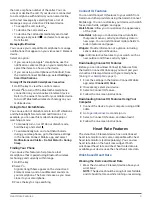
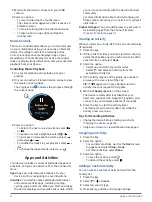
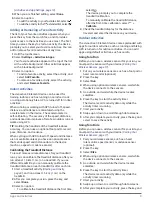
Page 7: ...elect Signal strength bars appear on the vívoactive 3 Element screen and an audible alert sounds on your smartphone The bars increase as you move closer to your smartphone 3 Press the key to stop searching Connect IQ Features You can add Connect IQ features to your watch from Garmin and other providers using the Garmin Connect Mobile app You can customize your device with watch faces data fields w...

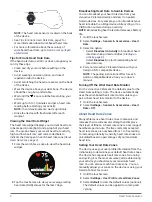
Page 8: ...RB action camera during an activity NOTE Broadcasting heart rate data decreases battery life 1 Hold the touchscreen 2 Select Settings Sensors Accessories Heart Rate 3 Select an option Select Broadcast In Activity to broadcast heart rate data during timed activities Starting an Activity page 8 Select Broadcast to start broadcasting heart rate data now 4 Pair your vívoactive 3 Element device with yo...

Page 9: ...VO2 max data and analysis is provided with permission from The Cooper Institute For more information see the appendix VO2 Max Standard Ratings page 22 and go to www CooperInstitute org Getting Your VO2 Max Estimate The device requires heart rate data and a timed 15 minute brisk walk or run to display your VO2 max estimate 1 Hold the touchscreen 2 Select My Stats VO2 Max If you have already recorde...

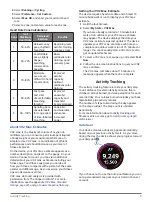
Page 10: ...or the most accurate calculation of intensity minutes y y Exercise for at least 10 consecutive minutes at a moderate or vigorous intensity level y y Wear your device all day and night for the most accurate resting heart rate Garmin Move IQ When your movements match familiar exercise patterns the Move IQ feature automatically detects the event and displays it in your timeline The Move IQ events sho...

Page 11: ...termine your overall stress Training physical activity sleep nutrition and general life stress all impact your stress level The stress level range is from 0 to 100 where 0 to 25 is a resting state 26 to 50 is low stress 51 to 75 is medium stress and 76 to 100 is a high stress state Knowing your stress level can help you identify stressful moments throughout your day For best results you should wea...

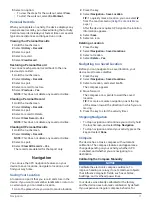
Page 12: ...u can save and share with the Garmin Connect community For more information about activity tracking and fitness metric accuracy go to Garmin com sg legal atdisclaimer Connect IQ Apps You can add features to your watch by installing apps from the Connect IQ store Connect IQ Features page 3 Starting an Activity When you start an activity GPS turns on automatically if required 1 Press the key 2 If th...

Page 13: ...ually calibrate the treadmill distance on each treadmill or after each run 1 Start a treadmill activity Starting an Activity page 8 and run at least 1 5 km 1 mi on the treadmill 2 After you complete your run press the key and select Done 3 Select an option To calibrate the treadmill distance the first time select The device prompts you to complete the treadmill calibration To manually calibrate th...

Page 14: ...Select an activity 3 Select Workouts NOTE This option appears only when you have workouts loaded on your device for the selected activity 4 Select a workout 5 Press the key to start the activity timer The device briefly displays the goals for the first step of your workout 6 After you complete the workout step press the key A summary of the workout step appears After several seconds the rest timer...

Page 15: ...rk a location 1 Go to the place where you want to mark a location 2 Press the key 3 Select Navigation Save Location TIP To quickly mark a location you can select from the controls menu Using the Controls Menu page 1 After the device acquires GPS signals the location information appears 4 Select Save 5 Select an icon Deleting a Location 1 Press the key 2 Select Navigation Saved Locations 3 Select a...

Page 16: ...ows you to track your performance and connect with your friends It gives you the tools to track analyze share and encourage each other You can record the events of your active lifestyle including runs walks rides and more You can create your free Garmin Connect account when you pair your device with your phone using the Garmin Connect Mobile app or you can go to garminconnect com Store your activi...

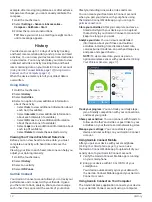
Page 17: ...es and tap the screen to select the displayed hands 10 Swipe left and select Accent 11 Select an accent color and select 12 Swipe left and select Done The device sets the new watch face as your active watch face Customizing the Controls Menu You can add remove and change the order of the shortcut menu options in the controls menu Using the Controls Menu page 1 1 Hold the key The controls menu appe...

Page 18: ...ou can select an existing message or create a custom message and select an alert type Distance Recurring You can set a distance interval Heart Rate Range You can set minimum and maximum heart rate values or select zone changes Pace Range You can set minimum and maximum pace values Run Walk Recurring You can set timed walking breaks at regular intervals Speed Range You can set minimum and maximum s...

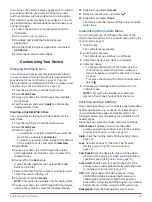
Page 19: ...lerts Alerts you when your paired smartphone connects and disconnects Stop LiveTrack Allows you to stop a LiveTrack session while one is in progress Sync Allows you to transfer to the Garmin Connect Mobile app System Settings Hold the touchscreen and select Settings System Auto Lock Automatically locks the touchscreen to prevent inadvertent screen touches You can press the key to unlock the touchs...

Page 20: ... and cannot be changed on your device y y In the Garmin Connect Mobile app select the image of your device and select Device Settings y y On the Garmin Connect website from the devices widget select Device Settings After customizing settings sync your data to apply the changes to your device Using Garmin Connect Mobile page 12 Using Garmin Connect on Your Computer page 12 Device Settings on Your G...

Page 21: ...to your Garmin device you must pair the device and sensor After they are paired the device connects to the sensor automatically when you start an activity and the sensor is active and within range TIP Some ANT sensors pair with your device automatically when you start an activity with the sensor turned on and near the device 1 Move at least 10 m 33 ft away from other wireless sensors 2 If you are ...

Page 22: ...tempe The tempe is an ANT wireless temperature sensor You can attach the sensor to a secure strap or loop where it is exposed to ambient air and therefore provides a consistent source of accurate temperature data You must pair the tempe with your device to display temperature data from the tempe Device Information Charging the Device WARNING This device contains a lithium ion battery See the Impor...

Page 23: ...r rating 5 ATM The device withstands pressure equivalent to a depth of 50 m For more information go to Garmin com sg legal waterrating Device Care NOTICE Avoid extreme shock and harsh treatment because it can degrade the life of the product Avoid pressing the keys under water Do not use a sharp object to clean the device Never use a hard or sharp object to operate the touchscreen or damage may res...

Page 24: ...e You can do several things to extend the life of the battery y y Reduce the backlight timeout Backlight Settings page 16 y y Reduce the backlight brightness Backlight Settings page 16 y y Turn off Bluetooth wireless technology when you are not using connected features Turning Off the Bluetooth Smartphone Connection page 3 y y Turn off activity tracking Activity Tracking page 5 y y Limit the smart...

Page 25: ... external temperature sensor to view accurate ambient temperature readings while wearing the watch Getting More Information y y Go to support Garmin com en SG for additional manuals articles and software updates y y Go to Garmin com sg products intosports cat activity_ tracking y y Go to Garmin com learningcenter y y Go to Garmin com sg buy or contact your Garmin dealer for information about optio...

Page 26: ...peed The top speed for the current activity Nautical Distance The distance traveled in nautical meters or nautical feet Nautical Speed The current speed in knots Pace The current pace Speed The current rate of travel Steps The number of steps during the current activity Sunrise The time of sunrise based on your GPS position Sunset The time of sunset based on your GPS position Temperature The tempe...

Page 27: ...00 26 1 40 2005 26 1 50 2010 26 1 75 2023 26 1 95 2050 26 2 00 2055 26 2 10 2068 26 2 125 2070 26 2 35 2083 26 3 00 2170 27 1 2145 27 1 1 8 2155 27 1 1 4 2161 27 1 3 8 2169 650 35A 2090 Wheel Size L mm 650 38A 2125 650 38B 2105 700 18C 2070 700 19C 2080 700 20C 2086 700 23C 2096 700 25C 2105 700 28C 2136 700 30C 2170 700 32C 2155 700C Tubular 2130 700 35C 2168 700 38C 2180 700 40C 2200 Symbol Defi...

Page 28: ...support Garmin com en SG June 2019 190 02270 2K Rev A ...

Reviews: