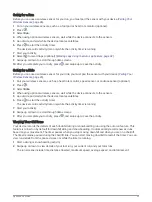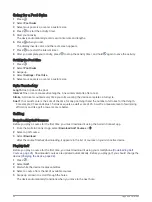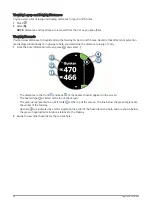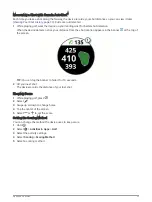
Creating a Custom Watch Face
You can create a new watch face by selecting the layout, colors, and additional data.
1 From the watch face, hold .
2 Select Watch Face.
3 Swipe left, and select .
4 Swipe up or down to scroll through the background options, and tap the screen to select the displayed
background.
5 Swipe up or down to scroll through the analog and digital dials, and tap the screen to select the displayed
dial.
6 Swipe up or down to scroll through the accent colors, and tap the screen to select the displayed color.
7 Select each data field you want to customize, and select the data to display in it.
A white border indicates the customizable data fields for this dial.
8 Swipe left to customize the time markers.
9 Swipe up or down to scroll through the time markers.
10 Select .
The device sets the new watch face as your active watch face.
Customizing the Controls Menu
You can add, remove, and change the order of the shortcut menu options in the controls menu (
).
1 Hold .
The controls menu appears.
2 Hold .
The controls menu switches to edit mode.
3 Select the shortcut you want to customize.
4 Select an option:
• To change the location of the shortcut in the controls menu, select the location where you want it to
appear, or drag the shortcut to a new location.
• To remove the shortcut from the controls menu, select .
5 If necessary, select
to add a shortcut to the controls menu.
NOTE: This option is available only after you remove at least one shortcut from the menu.
Setting Up a Shortcut Control
You can set up a shortcut to your favorite control, such as your Garmin Pay wallet or the music controls.
1 From the watch face, swipe right.
2 Select an option:
• If this is the first time you are setting up a shortcut, swipe up, and select Setup.
• If you previously set up a shortcut, hold , and select Shortcut Settings.
3 Select a shortcut control.
When you swipe right from the watch face, the shortcut control appears.
Customizing Your Device
39

