GARNET GeForce2 MX
18
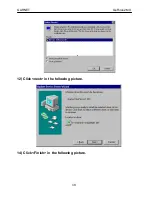
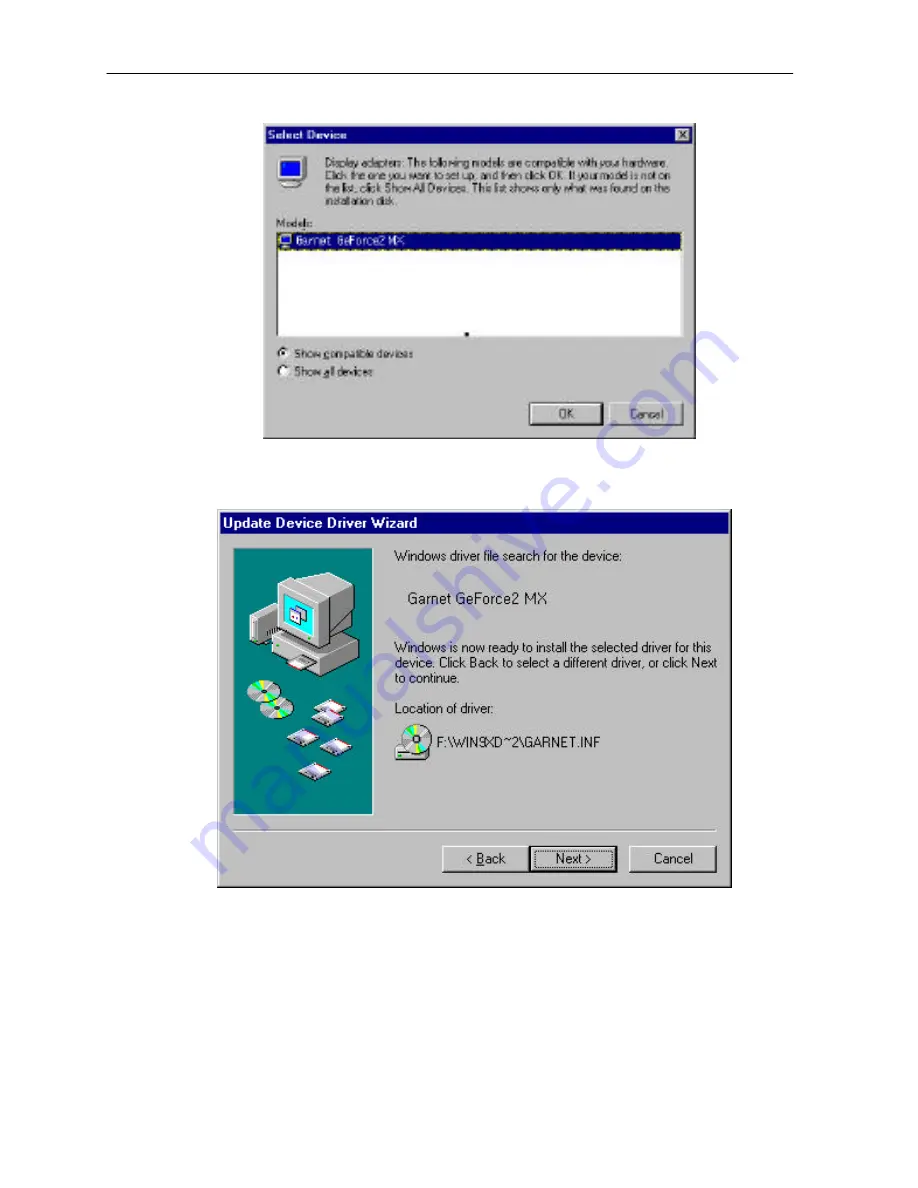
12) Click <next> in the following picture.
14) Click <Finish> in the following picture.
Page 1: ...1 Garnet GeForce 2 MX Twin View Model No GV 4400 User s Manual GARNET SYSTEMS CO LTD...
Page 2: ...duction of this whole manual or part of contents is strictly prohibited Information in this manual is subject to change without prior notice for improvement Copyright C 2000 GARNET SYSTEMS CO LTD GeFo...
Page 3: ...phic Card into PC 6 2 2 Driver Installation 6 2 2 1 Driver Installation in Windows 9x 6 2 2 1 1 When replace existing VGA Card with Garnet GeForce2 MX Twin View 7 2 2 1 2 When Windows 9x is re install...
Page 4: ...g program and driver is subject to change for updating and improvement of its performances 1 1 Features of GARNET GeForce2 MX Twin View This Graphic Card supports twin view function with two D SUB and...
Page 5: ...superlative game conditions with DirextX 7 0a OpenGL Smooth surface control with H W FSAA Full Scene Anti Aliasing function Supports stable 2048x1536 high resolution through 350MHz Ramdec Supports Vi...
Page 6: ...ctX 7 0a Microsoft DirectX 7 0a Win9x Driver Windows95 98 Driver Windows NT4 0 Driver Windows NT 4 0 Driver Win2000 Driver Windows 2000 Driver User s Manual GARNET GeForce2 MX Twin View User Manual Fo...
Page 7: ...with the screw that fits into the top notch of the metal bracket Dress the cover of your computer by leashing bolts Connect the Monitor with GARNET TNT2 Ultra Video Connector Turn power on and check...
Page 8: ...When you are to replace existing VGA card with Garnet GeForce2 MX 1 When Windows starts PnP Bios recognized new VGA card and Add New Hardware Wizard will come out on screen automatically as below Clic...
Page 9: ...rce2 MX 9 3 Click Have Disk in the following picture 4 Click Browse and OK in the following picture 5 Put driver installation CD on your CD Rom drive and select Win9x Driver and click OK in the follow...
Page 10: ...GARNET GeForce2 MX 10 6 Click Browse and OK in the following picture 7 Select Garnet GeForce2 MX and click OK in the following picture...
Page 11: ...GARNET GeForce2 MX 11 8 Click Next in the following picture 9 Click Finish in the following picture...
Page 12: ...wing picture and driver installation is finished re starting your computer 2 2 1 2 When Windows 9x is re installed after replacing Graphic Card in the following picture 1 Click My Computer in the Desk...
Page 13: ...GARNET GeForce2 MX 13 2 Double click Control Panel in the Display in the following picture...
Page 14: ...GARNET GeForce2 MX 14 3 Click Display Properties Settings and Advanced in the following picture 4 Click Adapter and Change in the following picture...
Page 15: ...GARNET GeForce2 MX 15 5 Click Next at the Update Device Driver Wizard in the following picture 6 Click Display want and Next in the following picture...
Page 16: ...GARNET GeForce2 MX 16 7 Click Have Disk in the following picture 8 Click Browse and OK in the following picture...
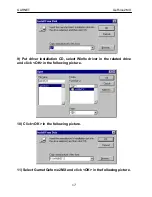
Page 17: ...X 17 9 Put driver installation CD select Win9x driver in the related drive and click OK in the following picture 10 Click OK in the following picture 11 Select Garnet Geforce2 MX and click OK in the f...
Page 18: ...GARNET GeForce2 MX 18 12 Click next in the following picture 14 Click Finish in the following picture...
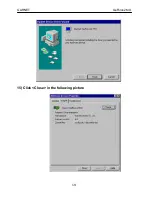
Page 19: ...GARNET GeForce2 MX 19 15 Click Close in the following picture...
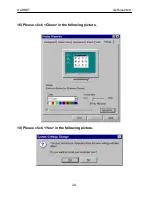
Page 20: ...GARNET GeForce2 MX 20 16 Please click Close in the following picture 18 Please click Yes in the following picture...
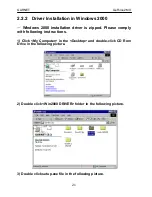
Page 21: ...nstallation driver is zipped Please comply with following instructions 1 Click My Computer in the Desktop and double click CD Rom Drive in the following picture 2 Double click Win2000 DRIVER folder in...
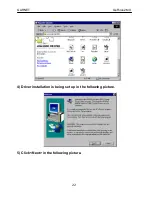
Page 22: ...GARNET GeForce2 MX 22 4 Driver installation is being set up in the following picture 5 Click Next in the following picture...
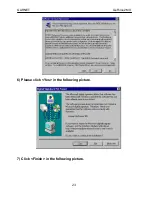
Page 23: ...GARNET GeForce2 MX 23 6 Please click Yes in the following picture 7 Click Finish in the following picture...
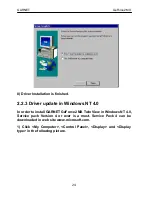
Page 24: ...e in Windows NT 4 0 In order to install GARNET GeForce2 MX Twin View in Windows NT 4 0 Service pack Version 4 or over is a must Service Pack 4 can be downloaded in web site www microsoft com 1 Click M...
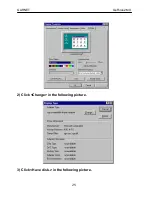
Page 25: ...GARNET GeForce2 MX 25 2 Click Change in the following picture 3 Click Have disk in the following picture...
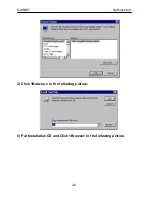
Page 26: ...GARNET GeForce2 MX 26 4 Click Browse in the following picture 5 Put Installation CD and Click Browse in the following picture...
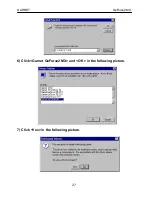
Page 27: ...GARNET GeForce2 MX 27 6 Click Garnet GeForce2 MX and OK in the following picture 7 Click Yes in the following picture...
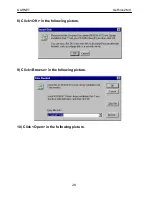
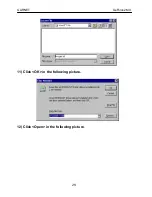
Page 28: ...GARNET GeForce2 MX 28 8 Click OK in the following picture 9 Click Browse in the following picture 10 Click Open in the following picture...
Page 29: ...GARNET GeForce2 MX 29 11 Click OK in the following picture 12 Click Open in the following picture...
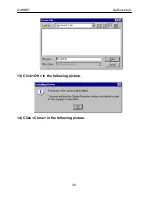
Page 30: ...GARNET GeForce2 MX 30 13 Click OK in the following picture 14 Click Close in the following picture...
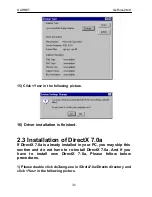
Page 31: ...of DirectX 7 0a If DirectX 7 0a is already installed in your PC you may skip this section and do not have to re install DirectX 7 0a And if you have to install new DirectX 7 0a Please follow below pro...
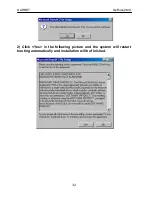
Page 32: ...GARNET GeForce2 MX 32 2 Click Yes in the following picture and the system will restart booting automatically and installation will be finished...