background image


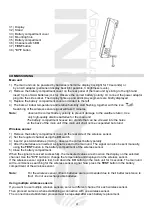
31)  Display 
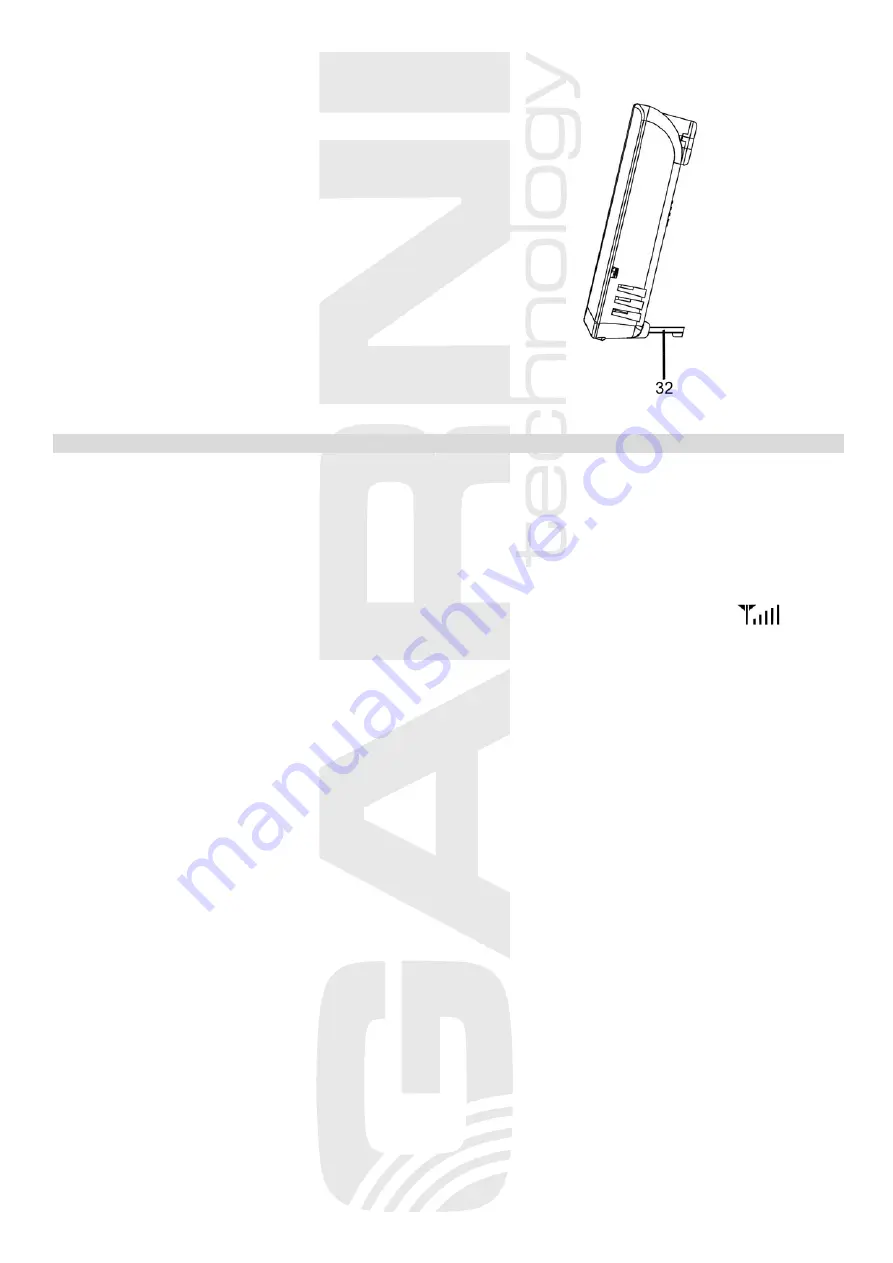
32)  Stand 
33)  Battery compartment cover 
34)  Mounting hole 
35)  Battery compartment 
36)  Channel switch 

CH


37)  

TEST

 button 

38)  

°C/°F 

button 


COMMISSIONING 


Main unit 


1)  The main unit can be powered by batteries (short-time display backlight for 10 seconds) or  
     by an AC adapter (permanent display backlight possible, 3 brightness levels). 
2)  Remove the battery compartment cover on the rear panel of the main unit by sliding to the right and 
 

insert 3 pcs of AAA batteries (micro). Observe the correct battery polarity. Or connect the power adaptor  


plug into the side socket. The display lights up and all display segments are briefly displayed.  

3)  Replace the battery compartment cover and slide it to the left 

4)  The bars at indoor temperature and relative humidity start flashing, together with the icon  


Searching of the wireless sensor signal will take 3 minutes.


Note:    

observe the correct battery polarity to prevent damage to the weather station. Use  


only high-quality alkaline batteries for the main unit  

                      The battery compartment houses two stands that can be screwed into the holes  
                      on the back of the main unit if the main unit shall not be suspended but stand. 


Wireless sensor 


1)  Remove the battery compartment cover on the rear side of the wireless sensor. 
2)  Set the required channel using the 

CH 

switch 

3)  Insert 2 pcs AAA batteries (micro) – observe the correct battery polarity 
4)  After the batteries are inserted, a signal is sent to the main unit. The signal can also be sent manually, 
 

using the 

TEST 

button in the battery compartment of the wireless sensor 

5) Close the battery compartment. 
When the signal is received successfully, the measured values are shown on the display on the selected 
channel. Use the 

°C/°F

 button to change the temperature unit displayed on the wireless sensor. 

If the wireless sensor signal is lost, hold down the 

CH

 button on the main unit for 3 seconds. The main unit 

will re-commence searching for the wireless sensor signal. Now press the 

TEST

 button in the battery 

compartment of the wireless sensor.  

 
Note:    

For the wireless sensor, lithium batteries are recommended due to their better resistance to 


frost. Do not use rechargeable batteries. 


Using multiple wireless sensors 


If you want to use multiple wireless sensors, select a different channel for each wireless sensor. 
Then proceed same as when establishing a connection with one wireless sensor.     
The connection establishment process must be repeated after each battery replacement. 


Summary of Contents for 525

Page 1: ...1 INSTRUCTION MANUAL FOR WEATHER STATION MODEL GARNI 525 GARNI 525 ...

Page 2: ...pper and lower limits of the outdoor temperature time and date controlled by DCF 77 radio signal with manual setting option 12 or 24 hour time display format date alarm clock Moon phase 5 minute snooze function Snooze permanent display backlight option when on mains power 3 backlight brightness levels the main unit and the wireless sensor can be suspended or stand the wireless sensor is included i...

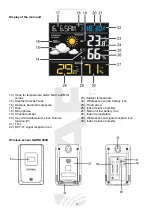
Page 3: ... 24 Wireless sensor low battery icon 25 Trend arrow 17 Date 18 Moon phase 19 Channel number 26 Indoor relative humidity 27 Main unit low battery icon 28 Indoor temperature 20 Icon of activated alarm clock Snooze function Zz 21 Time 29 Wireless sensor signal reception icon 30 Indoor relative humidity 22 DCF 77 signal reception icon Wireless sensor GARNI 045H ...

Page 4: ...all not be suspended but stand Wireless sensor 1 Remove the battery compartment cover on the rear side of the wireless sensor 2 Set the required channel using the CH switch 3 Insert 2 pcs AAA batteries micro observe the correct battery polarity 4 After the batteries are inserted a signal is sent to the main unit The signal can also be sent manually using the TEST button in the battery compartment ...

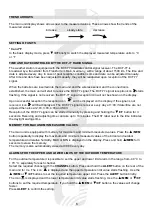
Page 5: ... of the main unit The main unit can be also placed on a flat surface using the two stands that are stored in the battery compartment and can be screwed into the two holes on the back of the main unit SETUP OF THE WEATHER STATION To enter the settings mode press and hold the SET button in the main screen mode for 3 seconds For settings use the MEM and CF buttons To save press the SET button once 1 ...

Page 6: ...date time are not adjusted then also at 2 03 3 03 4 03 and 5 03 Reception of the DCF 77 signal can be started manually by pressing and holding the CF button for 3 seconds Receiving and adjusting time can take up to 10 minutes The DST label next to the time indicates the daylight savings time MEMORY FOR MAX AND MIN MEASURED VALUES The main unit is equipped with memory for maximum and minimum measur...

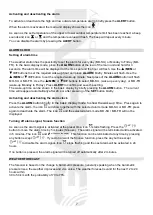
Page 7: ...ay by briefly pressing the ALARM button The current time will reappear automatically after 20 s or after pressing of the SET button briefly Activating and deactivating the alarm clock Press the ALARM button briefly in the basic display mode to show the wake up time Press again to activate the alarm the icon will show together with the selected alarm mode MO SU or MO FR press again to deactivate th...

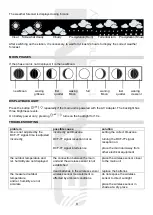
Page 8: ... s TROUBLESHOOTING problem possible cause solution time is not adjusted by the DCF 77 signal time is adjusted incorrectly incorrectly set timezone DCF 77 signal reception not on DCF 77 signal interference setting the correct timezone turning the DCF 77 signal reception on place the main unit away from other electrical equipment the outdoor temperature and rel humidity are not displayed the connect...

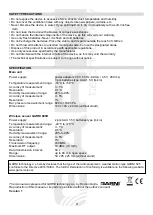
Page 9: ...Main unit Power supply power adaptor 230 V 50 Hz 90 mA 4 5 V 200 mA 3 pcs batteries type AAA 1 5 V micro Temperature measurement range 10 C to 50 C Accuracy of measurement 1 C Resolution 0 1 C Humidity measurement range 20 to 99 Accuracy of measurement 5 Resolution 1 Bar pressure measurement range 800 to 1100 hPa Dimensions 143 x 140 x 24 mm without stand Wireless sensor GARNI 045H Power supply 2 ...

Reviews: