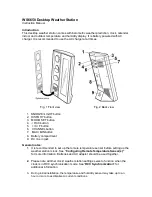
Press
-/ RCC
button (4) or
+/ C/ F
button (5) to change the minute setting.
Press
MODE/ SET
button (3) again.
When alarm time is shown, press
-/ RCC
button (4) or
+/ C/ F
button (5) to turn on and
off the alarm.
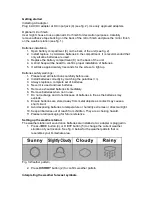
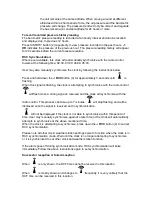
will be shown when the alarm is on.
The alarm will sound for 120 seconds when the preset alarm time is reached. Hit any
button on the back of the clock to deactivate the alarm. The clock will automatically enter
snooze mode if the alarm is not deactivated.
Hit the “SNOOZE / LIGHT” button (1) when the alarm is on to enter snooze mode.
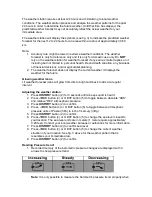
will flash when the clock is it snooze mode. The alarm will sound again in 5
minutes. Hit any button on the back of the clock to deactivate the alarm.
Please note that alarm time setting seize to function when the clock is in RCC
synchronization mode. Wait until synchronization has ended before setting the alarm
time.
Configuring the thermometer
This weather station is equipped to synchronize up to 3 remote temperature sensors.
One remote temperature sensor is included. Additional remote temperature sensor is
available for purchase separately. Please contact your local distributor for purchase.
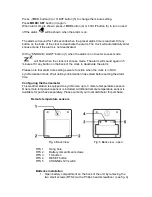
Remote temperature sensors
Fig. 4 Back View
Fig. 5 Back view - open
RTS 1.
Hang hole
RTS 2.
Battery compartment screws
RTS 3.
TX button
RTS 4.
RESET button
RTS 5.
CHANNEL 123 switch
Batteries installation
1. Open battery compartment on the back of the unit by removing the
two small screws (RTS 2) with a Philips head screwdriver. (see fig. 4)

