113
Inspection and Maintenance
!
!
!
!
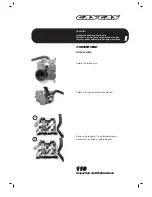
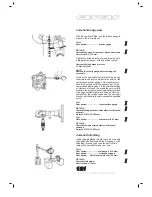
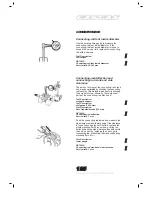
Valve-head radial offsetting
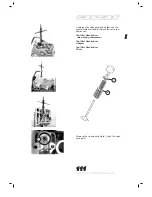
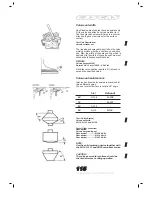
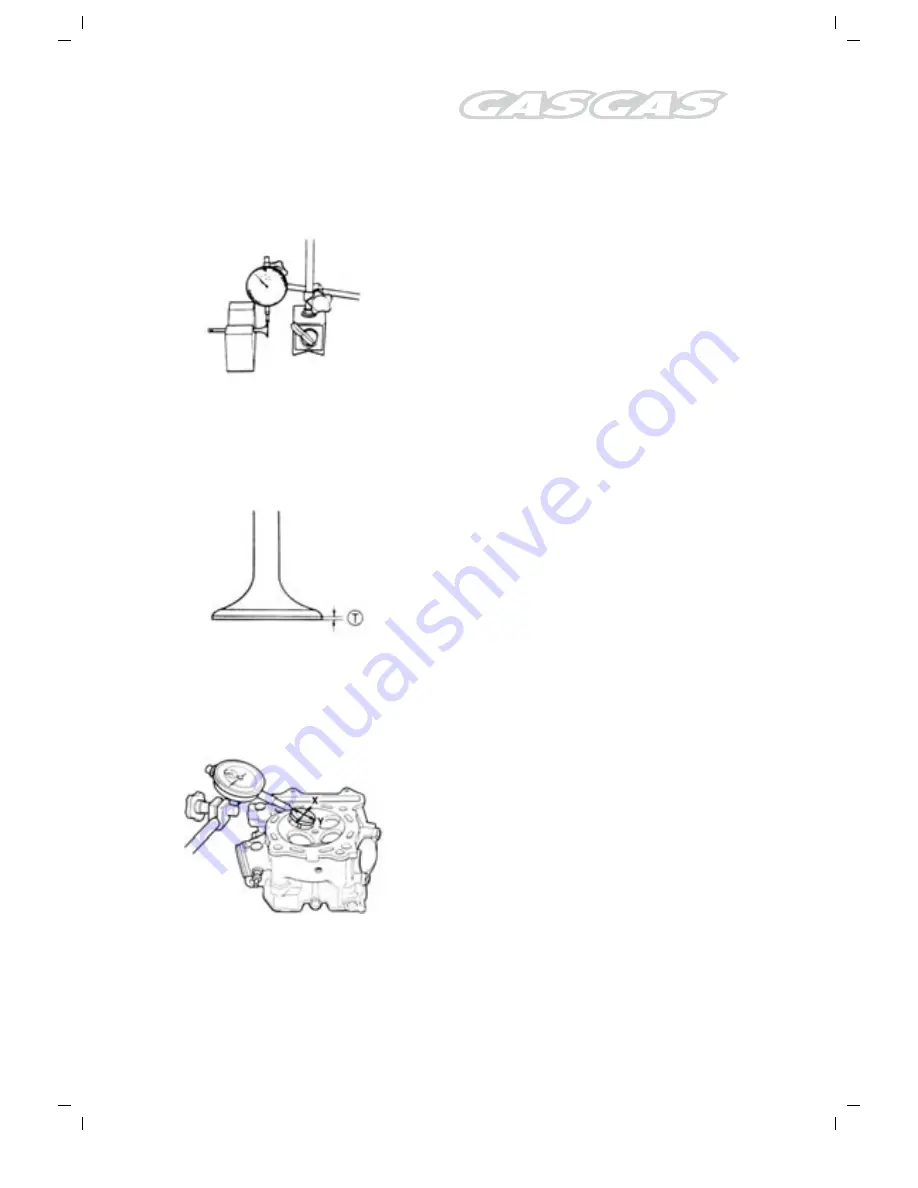
Using one tapered block to hold the valve, measure
the valve-head radial offsetting with the dial gauge,
as illustrated. If the offsetting is found to exceed
the service limit, replace the valve with a new one.
Tool Part Description:
Dial gauge (1/100 mm)
Tool Part Description:
Magnetic support
Tool Part Description:
Set of tapered blocks (100 mm)
DETAILS
Valve-head radial offsetting
Service limit: 0.03 mm (0.001 in)
Valve working-surface wear
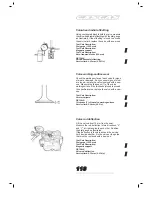
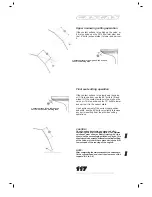
Check the working surface of each valve for signs
of wear or damage. If any unusual signs of wear
are found, replace the valve involved with a new
one. Measure the thickness (T) of the valve
working surface. If the thickness is found to exceed
the specified value, replace the valve with a new
one.
Tool Part Description:
Vernier calipers
DETAILS
Thickness (T) of the valve working surface
Service limit: 0.5 mm (0.02 in)
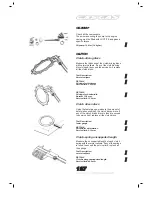
Valve rod deflection
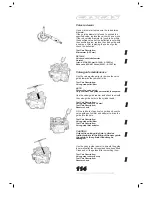
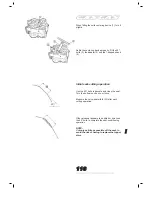
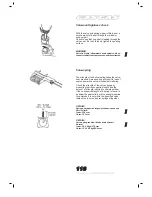
Lift the valve about 10 mm from its seat.
Measure the rod deflection in two directions, “X”
and “Y”, at right angles to each other. Position
the dial gauge as illustrated.
If the deflection is found to exceed the service
limit, decide whether it is the valve or the guide
that must be replaced with a new one.
Tool Part Description:
Dial gauge (1/100 mm)
Tool Part Description:
Magnetic support
DETAILS
Valve rod deflection
Service limit: 0.35 mm (0.014 in)
!
!


