122
Inspection and Maintenance
!
!
!
CYLINDER
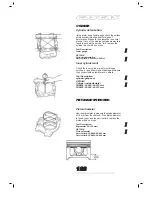
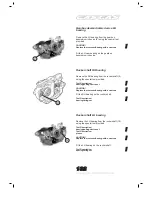
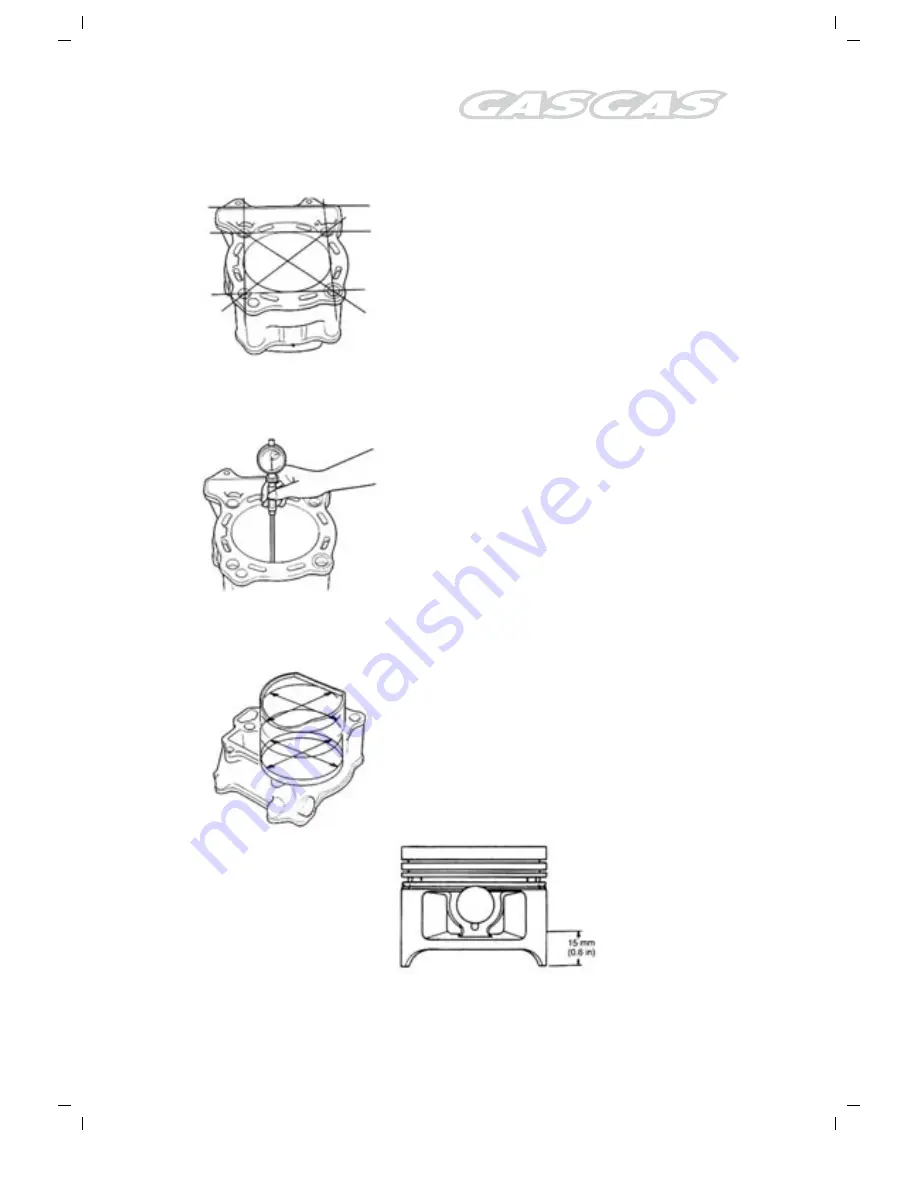
Cylinder deformation
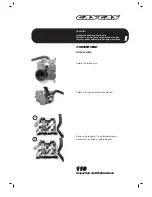
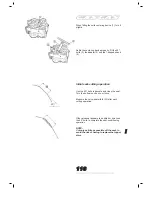
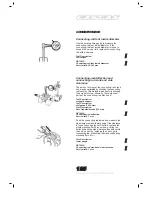
Using a ruler and a feeler gauge, check the surface
of the cylinder-block gasket for signs of
deformation. Measure the clearance in several
places. If any of the clearance measurements is
found to exceed the service limit, replace the
cylinder block with a new one.
Tool Description:
feeler gauge
DETAILS
Cylinder deformation
Service limit: 0.05 mm (0.002 in)
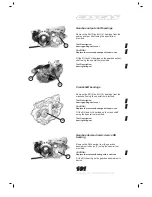
Inner cylinder wall
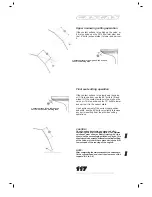
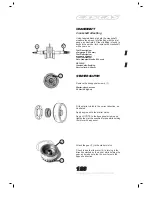
Check the inner cylinder wall for scratches,
notches, or any other signs of damage. Measure
the cylinder inside diameter at six points.
Tool Description:
cylinder-gauge set
DETAILS
Cylinder inside diameter
FSE400: 90.000 - 90.015 mm
FSE450: 95.000 - 95.015 mm
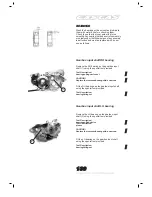
PISTON AND PISTON RING
Piston diameter
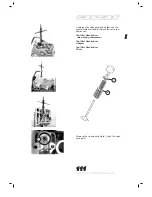
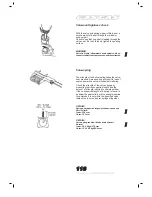
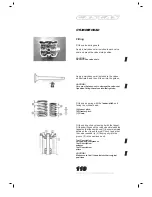
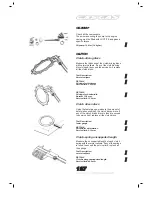
Use the micrometer to measure the piston diameter
at 15 mm from the skirt end. If the piston diameter
is found to exceed the service limit, replace the
piston with a new one.
Tool Description:
Micrometer (75-100 mm)
DETAILS
Piston diameter
Service limit: FSE400: 89,880 mm
Service limit: FSE450: 94,880 mm
!
!
!

