

INSTRUCTIONS
PREPARATION
1. Place stove on a level, stable surface.
2. Attach propane hose to the brass stove inlet fitting.
3. Make sure propane bulk tank valve is closed.
4. Attach propane hose to outlet of propane tank.
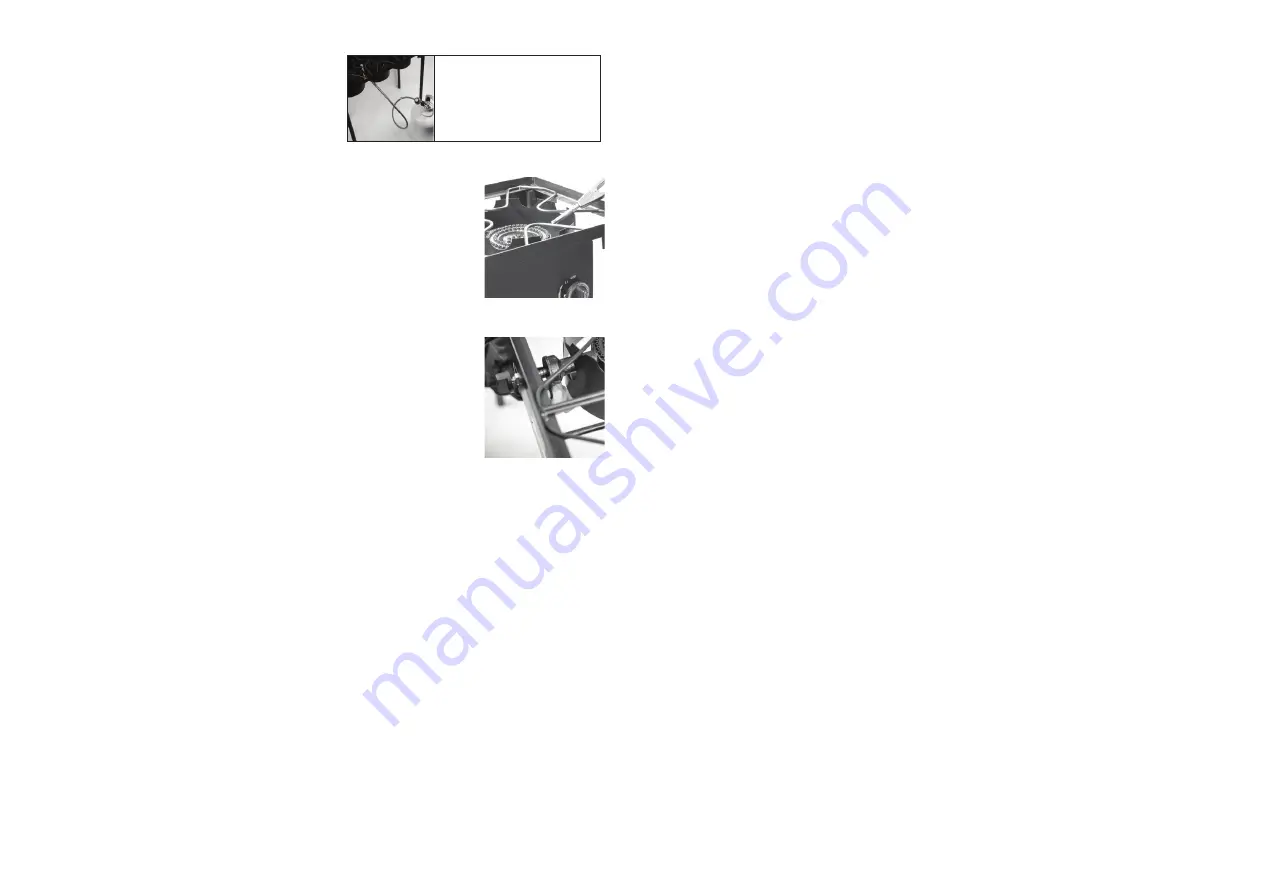
5. Slowly open propane tank valve and check for leaks
by applying small amount of liquid soap and looking for bubbles
to appear.
OPERATION
1. Hold an extended lighter flame near the burner. Slowly open the regulator
valve on the stove (FIG. 1).
2. Adjust the flame to the desired height. Flame should be compact and blue with
a slight yellow tip. If the flame is too “Yellow” adjust the air mixture valve under
the throat of the cast burner (FIG. 2) until the flame color is achieved.
3. The burner outlets will change to a light gray/white after heating and use. This is
normal.
4. After use, let cool for 15 minutes before storage or transport.
CLEANING
1. Turn valve on propane tank to the OFF position.
2. Allow burners and steel grate to cool completely.
3. Remove propane hose from tank and stove.
4. Stove may be wiped down with soap and warm water.
5. Allow stove to dry thoroughly before storage.
6. Never store stove with propane hose attached.
7. No other maintenance is necessary.
STORAGE
1. DO NOT leave propane tank attached to stove during storage or transport.
2. Wipe the burners, steel cooking grate, and propane hose before storing.
3. It is suggested to store stove and hose in a nylon storage bag to keep it clean.
SERVICE AND REPAIR
This product is a sealed unit and is not designed for repair by the customer. Do not attempt to service the stove or
hose and regulator assembly yourself.
The manufacturer for service or warranty questions at:
1 (800) 698-5070
CAUTION
DO NOT attempt to connect your camp stove to a natural gas supply. Use only with propane,
hose and regulator supplied with the stove and an approved bulk propane tank.
INSTRUCCIONES
PREPARACIÓN
1. Coloque las patas y sujételas bien con las tuercas.
2. Coloque la estufa en una superficie plana y estable.
3. Asegúrese que las válvulas de los quemadores de la estufa estén en posición de APAGADO. (OFF)
4. Introduzca y fije la manguera para gas propano a la conexión de bronce de la estufa.
5. Asegúrese que la válvula del tanque de almacenamiento de gas propano esté CERRADA. (OFF)
6. Introduzca y fije la manguera en la válvula de conexión del tanque de gas propano.
7. Abra lentamente la válvula del tanque de gas propano y revise si hay alguna fuga. Para esto, aplique una pequeña
cantidad de agua jabonosa y fíjese si se forman burbujas.
EMPLEO
1. Acerque un cerillo o la llama de un encendedor de cuello largo al quemador. Abra lentamente regulador (FIG. 1).
2. Ajuste la llama a la intensidad deseada. La llama debe tener una apariencia compacta, estable y azul con una
pequeña punta amarilla en la cresta. Si la llama es demasiado “amarilla” ajuste la válvula de mezcla de aire que
se encuentra bajo el cuello del quemador de hierro fundido (FIG. 2) hasta que el color de la llama sea el deseado.
3. Los quemadores cambiaran a un color gris claro/blanco después de usarse. Esto es normal.
4. Después de utilizarse, deje que se enfríe durante 15 minutos antes de guardarse o transportarse.
LIMPIEZA
1. Asegúrese que los quemadores y la parrilla de acero se hayan enfriado completamente.
2. Gire la válvula del tanque de gas propano hasta la posición de APAGADO. (OFF)
3. Quite la manguera para gas propano del tanque y de la estufa.
4. La estufa se puede limpiar con jabón y agua tibia.
5. La estufa debe estar completamente seca antes de guardarla.
6. Nunca guarde la estufa con la manguera para gas propano conectada, desconéctese antes de guardarse.
7. No se necesita ningún otro tipo de mantenimiento.
ALMACENAMIENTO
1. El cilindro de gas propano NO debe quedar conectado a la estufa durante el trasporte o mientras ésta esté alma
-
cenada.
2. Limpie los quemadores, la parrilla de acero, y la manguera para gas propano antes de guardarlos.
3. Se recomienda guardar la estufa y la manguera en un saco de nylon para mantenerlos limpios. Guárdese en un
lugar seco.
SERVICIOS DE MANTENIMIENTO Y REPARACIÓN
Este producto es una unidad sellada y no está diseñado para que el cliente lo repare o altere. No intente hacer
ajustes o reparaciones a la manguera o al ensamblaje del regulador o cualquier otro mantenimiento cuando se esté
utilizando en exteriores. Llame al fabricante si tiene preguntas acerca del mantenimiento o la garantía
al:
1 (800) 698-5070
ADVERTENCIA:
NO conecte la estufa de campamento a un suministro de gas natural. Utilice solo con la manguera y el regulador
que vienen con la estufa y con un tanque autorizado de almacenamiento de gas propano.
FIG. 2
FIG. 1
COMMON TROUBLE SHOOTING
Note:
When connecting Hose to unit, place
male fitting end into the air control panel.
Tighten the fitting onto the throat of the burner
using a wrench. Do not overtighten. You should
be able to turn the air control panel.
Why is my burner producing a yellow flame? Why is my burner backfiring?
-Solution:
The burners flame color and size may be directly correlated with the level of air flow that is available to the flame.
In order to control the amount of air flow, adjust the back air controller plate (the back plate with two holes) that comes with
your burner. Turn the plate to adjust the hole sizes which should change the color and size of the flame. If your burner’s
backfiring is not solved by adjusting the air controller plate, see troubleshooting #2’s solution for further instructions.
Why is my burner producing a yellow flame? Why is my burner backfiring?
-Solution:
This may indicate that your regulator is detecting irregular gas flow and its safety function has been triggered. To
reset the function, turn the regulator and propane tank off and disconnect your regulator from the tank and burner. Wait
approximately 1 minute then reconnect your regulator to the tank and appliance. After turning on your gas source, GRADUALLY
turn your regulator’s control knob to slowly introduce its gas flow to the burner.
SOLUCIÓN DE PROBLEMAS COMUNES
¿Por qué mi quemador produce una llama amarilla? ¿Por qué mi quemador está contrafuego?
-Solución:
el color y el tamaño de la llama del quemador pueden estar directamente relacionados con el nivel de
flujo de aire disponible para la llama. Para controlar la cantidad de flujo de aire, ajuste la placa del controlador de
aire posterior (la placa posterior con dos orificios ) que viene con tu quemador. Gire la placa para ajustar el tamaño
de los orificios, lo que debería cambiar el color y el tamaño de la llama. Si no se soluciona el retroceso de su quemador
ajustando la placa del controlador de aire, consulte la solución de problemas en la solución # 2 para obtener má
instrucciones.
¿Por qué mi quemador produce una llama amarilla? ¿Por qué mi quemador está fallando?
-Solución:
Esto puede indicar que su regulador está detectando un flujo irregular de gas y su función de seguridad
se ha activado. Para restablecer la función, apague el regulador y el tanque de propano y desconecte su regulador
del tanque y del quemador. Espere aproximadamente 1 minuto y luego vuelva a conectar su regulador al tanque y
al aparato. Después de encender su fuente de gas, GRADUALMENTE encienda su regulador perilla de control
para introducir lentamente su flujo de gas en el quemador.


