Liquid Equipped Air Seeder
Page
99
11/15
will show feedback from seeder when test is
running)
b) Engage tractor hydraulic to run the liquid
pump/s. Ensure pump is running at desired
operating speed e.g. 400rpm. See table on
page 1 for pump speeds.
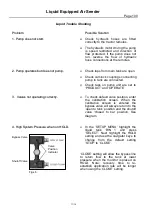
c) Prime the system for the first test by
pushing the green button on the calibration
control box at the seeder. When liquid is
flowing consistently, push the red button to
stop. This will reset the ‘TEST PULSES’
count to zero on the monitor next time the
green start button is pushed.
d) Place a collection container under 1 of
the outlets on the tine. It is advisable to
check more than 1 outlet by running multiple
tests to check accuracy between outlets.
Inconsistent wear in distribution components
could create variations in sample sizes.
e) Push the green button the seeder to start
calibration test. Allow system to stop by
itself then press the red button to lock the
pulses at its current figure. Be aware if the
red button is not pushed, excess pulses may
be returning to the monitor decreasing
accuracy of the calibration.
5. Place measuring container on level
surface and take volume measurement for
the sample taken from 1 outlet. (Take care,
small errors in reading measurement will
decrease accuracy).
6. Sample volume is then multiplied by the
number of outlets on the machine. Record
the sample volume
in the ‘TEST VOLUME’
area on the calibration page.
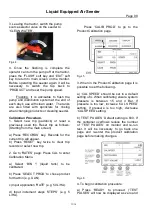
7. Update the
‘PULSES/LT’ by pushing the
soft key under the ‘UPDATE’ prompt. As a
guide the
‘PULSE/LT’ should be between 82
and 85.
Note: If a product that has been previously
calibrated for another trip is selected, the
‘PULSES/LT’ figure will already be assigned
to that product. The operator can either use
this
figure
if
product
is
the
same
specifications or can retest using the
standard calibration procedure as per
above.
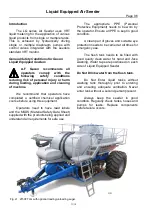
Fig.L7 2150FT in the field.


