SR Meterbox Assembly
Page 104
05/09
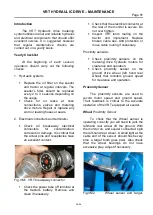
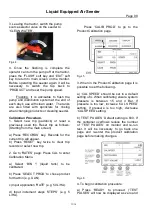
slide the hatch assembly out from the right
hand side of the machine.
Fig. M5 Hatch Assembly Removal.
Trap Door Operation
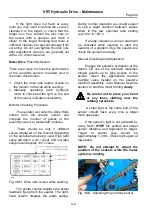
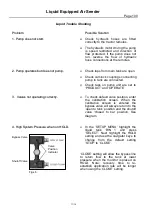
To empty the bin of product, simply
open the meterbox hatch and operate the
trap door using the handle on the right hand
side of the seeder.
Fig. M6 Trapdoor handle.
Low Rates (Meterwheel Cover Plates)
If extremely low rates of material flow are
required (eg. canola and sorghum) it will be
necessary to fit a meterwheel reduction
cover plate into the metershaft assembly
housing.
This needs to be fitted before the seed is
loaded into the bin. Fitting this plate will
effectively reduce the output by 2/3
rd
’s.
Refer to page 110 for detailed instructions on
fitting the plates.
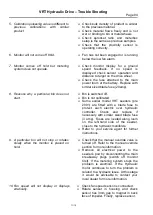
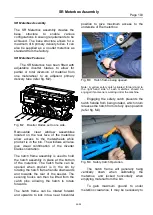
High Rates (Sprocket Ratio)
It may be necessary to alter the sprocket
ratio on a particular meterbox to allow the
various application rates to be sown. Refer to
page 63 for information on ground driven
seeders and page 77 for VRT equipped air
seeders.
DO NOT
use a ‘High Rates’ sprocket ratio on
ground driven air seeders if it is not
recommended in
the ‘Variator Setting guide’
(refer pages 41
–55).
Fig. M7 Sprockets on right hand side of
meterbox.
Reducing the Primary Outlets
When setting up the seeder system for either
standard seeding on a narrow bar, wide row
(summer) cropping or deep banding, you
may need to:-
• fit or remove some of the meterwheel
assemblies (refer page 108);
•
blank off the unused ports in the
metershaft assembly housing (refer
page 110);
•
block the air flow on the unused primary
tubes (refer fig.M9 on page 105 and
page 111).
DO NOT
leave meterwheels in metershaft
assembly housing if not actually conveying


