Ground Drive - Calibration
Page
35
01/05
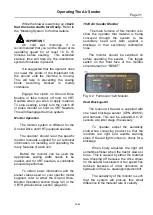
Step 1. Open the meterbox hatch from the
bin being tested (Fig. C2).
Fig. C2 Removing the meterbox hatch.
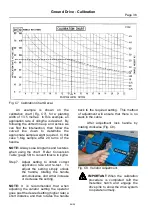
Step 2. Fit calibration collection box to
rear of meterbox (Fig. C3). The collection
box slides along the rear external shelf on
the meterbox. The box will only fit one way.
Fig. C3 Fitting the calibration collection box.
Step 3. Disengage drive pin from bin
not being calibrated (Fig. C4).
Fig. C4 Disengaging Sprocket.
Refer to page 40 when calibrating a 3
bin seeder or if an isolating clutch has been
fitted to a meter shaft.
Step 4. Rotate calibration handle 10 or
20 turns anti-clockwise (follow arrow). For
high rates, use 10 turns and for normal
winter rates use 20 turns (Fig. C5).
Fig. C5 Calibration handle rotates anti-clockwise.
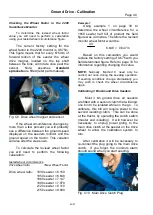
Step 5. Weigh sample taken on scales
supplied. When using scales use the scale
box as the container. Place box on top of
scales before switching on. Check that the
scales are set at zero before weighing
sample (Fig.C6).
Fig. C6 Scales.
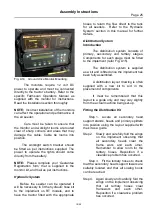
Step 6. Use calibration chart (on side of
the seeder to confirm application. (Refer Fig.
C7).
NOTE: It is the responsibility of the
operator to check the accuracy of the
scales on a regular basis. Refer to
the general maintenance section for
further information.


