VRT HYDRAULIC DRIVE
– CALIBRATION
Page 74
05/06
Introduction
The
VRT
seeder’s
calibration
procedure involves a controlled rotation of
the metering system to enable the
collection of a sample of the product being
sown.
The collected sample is then weighed
and the value recorded in the monitor.
Once this weight has been updated a
pulse/kg figure will be displayed.
The
pulses/kg
figure, along with the
implement’s width and ground speed, forms
the critical information the monitor and pod
system uses to control the metering system
to obtain the desired application rate.
A ‘QUICK REFERENCE GUIDE’ has
been supplied with every VRT equipped
seeder. The guide goes through a step by
step procedure for calibrating your seeder.
The guide has been reproduced below
with some further explanation where
required. It is also suggested that the
operator view the VRT Training Video. This
will reinforce the operator’s knowledge of
the seeder and should be viewed at the
beginning of each season.
C
C
a
a
l
l
i
i
b
b
r
r
a
a
t
t
i
i
o
o
n
n
P
P
r
r
o
o
c
c
e
e
d
d
u
u
r
r
e
e
1. Change meterbox settings to suit
product and application rate being sown.
Some changes may need to be made to
the meterbox before material is placed
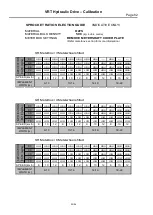
in the bin. Refer to the sprocket ratio
selection guide (pages 78-88) for further
information.
As a guide:
Low application rates (below 15 kg/ha)
-you may need to fit metershaft
sleeves.
-use low ratio sprocket drive.
Medium to High application rates (above
15kg/ha)
-Select either low or high sprocket ratio.
Refer to the Sprocket Ratio Selection Guide for
specific information.
2. Place at least 2 bags of the appropriate
product in the bin being calibrated.
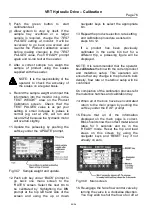
3. Disengage fan by shutting off the oil flow
at the flow control valve located next to
the fan. Rotate the handle anti-clockwise
to turn off.
Fig.VC1 Fans Flow Control Valve (open).
4. Turn the monitor on inside the tractor.
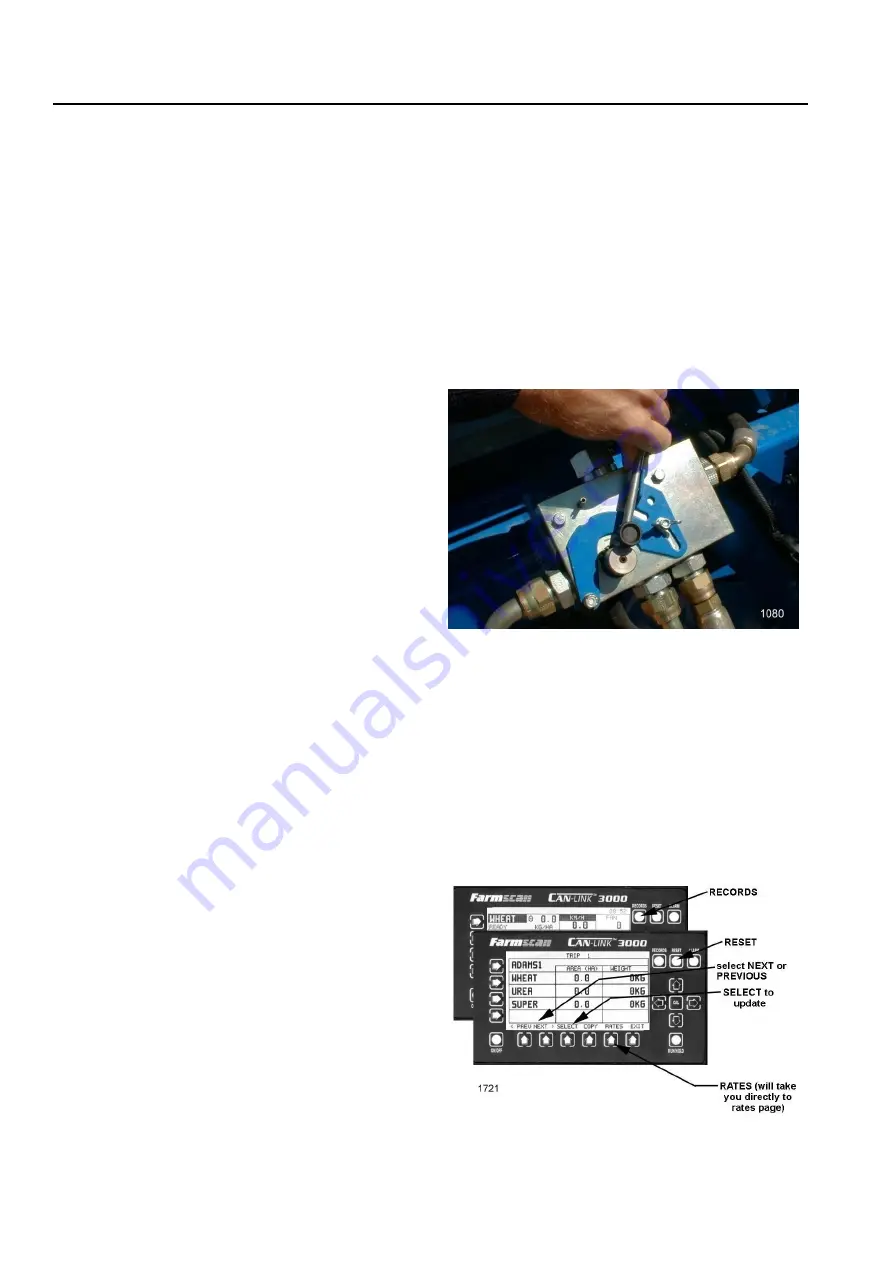
5. At the monitor select a new trip (paddock)
or reset a previously used trip. This is
done from the ‘RECORDS’ screen. Press
the soft key under the ‘PREV’ or ‘NEXT’
prompt to change trip, and then the
‘SELECT’ soft key to lock. To reset the
current trip simply push the ‘RESET’ key
twice to clear previous trip information.
Fig.VC2 Records screen.

