USE AND MAINTENANCE
41
-
cod. G19503220
ENGLISH
3.0 RULES OF USE
To obtain the best performance from the equipment, carefully follow
what is set out below.
ATTENTION
The following maintenance, adjustment, and work preparation
operations must be performed with the tractor off and locked
fi rmly in position with the key removed from the dashboard
and the seeder positioned on the ground.
3.1 ATTACHMENT TO THE TRACTOR
The seeder may be attached to any tractor fi tted out with a three-
point universal hitch.
3.1.1 HOOKING
DANGER
Hitching the seeder to the equipment is a very dangerous
operation. Be very careful in following the instructions for
the whole operation.
The correct positioning of the tractor/seeder is determined by
placing the unit on a horizontal surface.
At this point, proceed as follows:
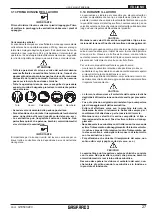
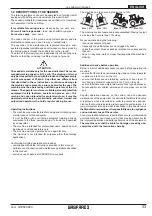
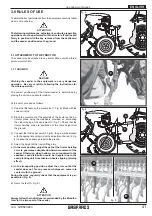
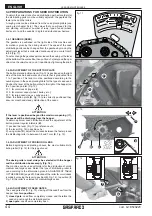
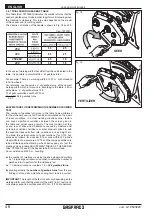
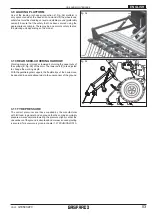
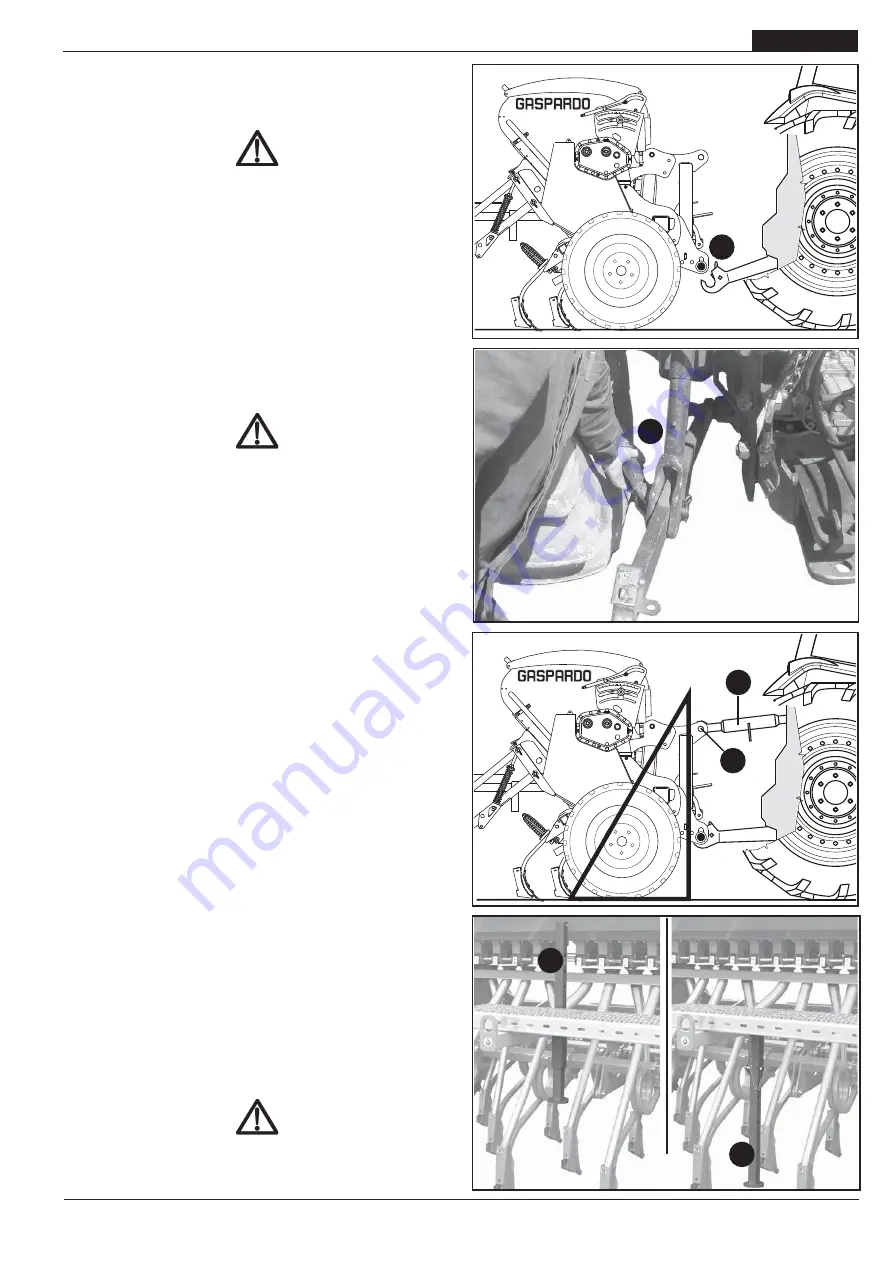
1) Hook the lifter bars on the preset pins (1, Fig. 6). Block with the
snap split pins.
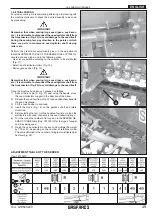
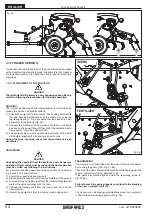
2) Block the movement of the parallels of the tractor on the ho-
rizontal plane using the stabilizers provided, so eliminating
the side swaying of the equipment (2, Fig. 7). Check that the
tractor hoisting arms are positioned at the same height from
the ground.
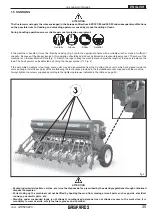
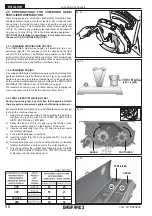
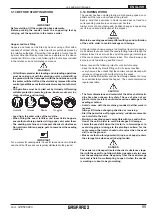
3) Connect the third upper point (3, Fig.8) ; the pin will be blocked
with the appropriate split pin; use the adjustment tie-rod (4, Fig.
8) to keep the seeders parallel to the ground.
4) Adjust the height of the tractor lifting arms:
a) In the work position, adjust the path of the tractor hoisting
arms to guarantee adequate downward movement of the
seeder. Otherwise, when hollows are encountered in the
seedbed, seed distribution could be irregular due to the
seed planting unit transmission wheels slipping (planing
effect).
b) in the transporting position, adjust the arms so that the
seeder does not, for any reason whatsoever, come into
contact with the ground.
During the work, regularly check that the equipment is per-
pendicular (Fig. 8).
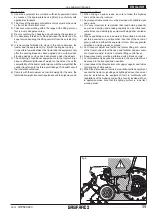
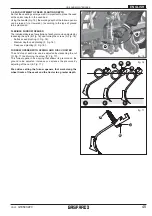
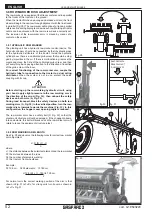
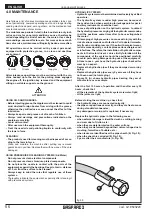
5) Raise the feet (A, Fig. 9).
ATTENTION
Always follow the indications recommended by the Manufac-
turer for the transport of the seeder.
2
fi g. 7
fi g. 9
A
B
fi g. 6
1
fi g. 8
4
3
Summary of Contents for S MARIA Series
Page 31: ...31 Notes cod G19503220...
Page 59: ...59 Notes cod G19503220...
Page 87: ...87 Notes cod G19503220...
Page 115: ...115 Notes cod G19503220...
Page 143: ...143 Notes cod G19503220...

