background image

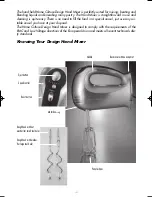
Features of Your Hand Mixer 

Processing Tools and Eject Button 

The appliance is delivered with two matching pairs of processing tools:
• Whisks for liquids (i.e. drinks, sauces, frothy desserts, whipped cream).

• Dough hooks for light, runny pastry, potatoes or butter.
When assembled correctly, the processing tools audible engage in the motor housing and
will not fall or wobble. 
To remove the processing tools, simply press the eject button. For safety reasons, the eject
button will work only with the speed control in the OFF-position (‘0’).

WARNING:

Always switch OFF the appliance (speed control position ‘0’) and wait until

the motor stops completely before pressing the eject button. Each processing tool is assig-
ned only for one of the two tool holes in the bottom of the motor housing. 

CAUTION:

The processing tools with washer on the shaft can only be inserted in the wide

tool hole. Always insert the processing tools without washer only in the narrow tool hole. Do
not insert the processing tools in the wrong tool hole. 
Only use matching pairs of processing tools. Do not combine dough hooks and whisks.

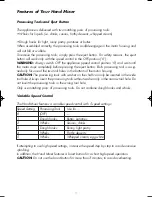
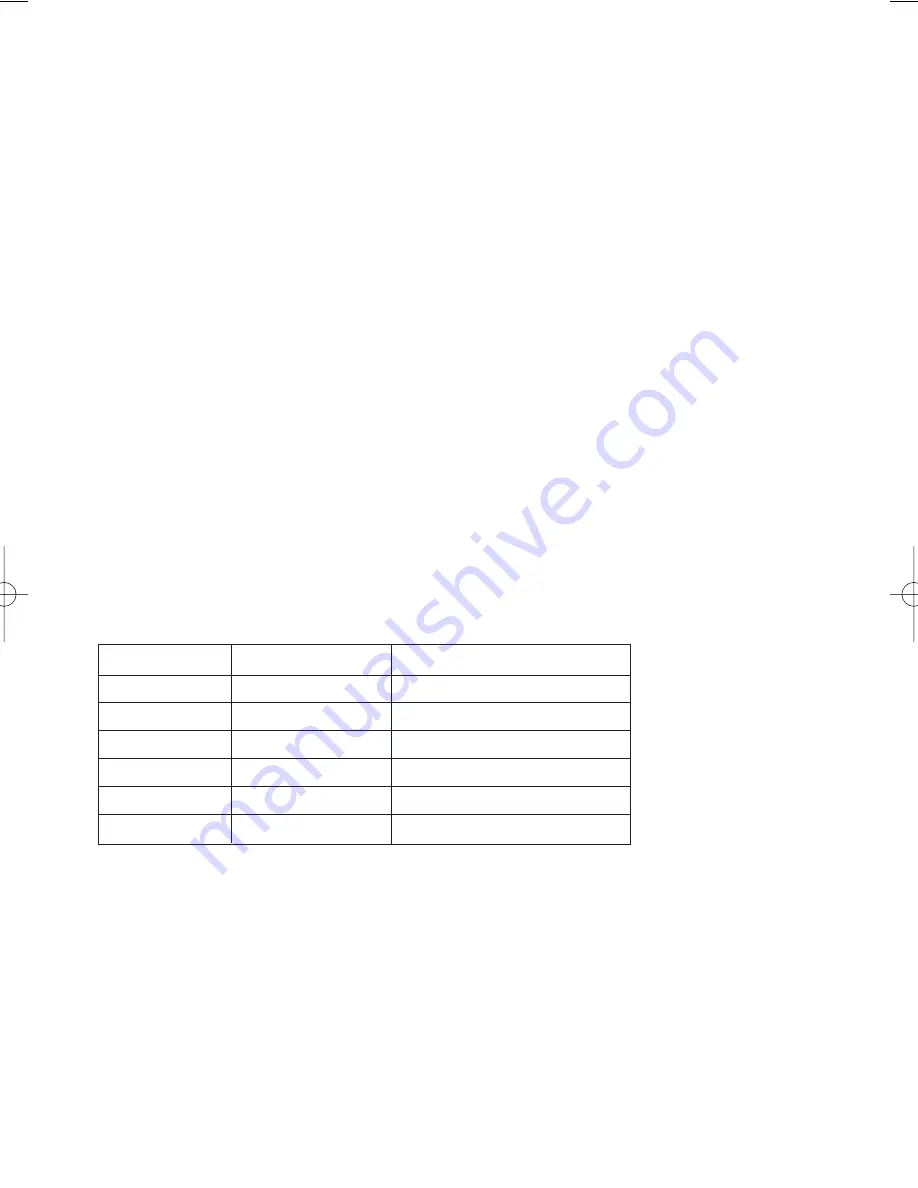
Variable Speed Control

The Hand Mixer features a variable speed control with 5 speed settings:
Speed Setting

Processing Tools

Use for …

0

(OFF)

1

Dough hooks

Butter, potatoes

2

Whisks

Sauces, drinks

3

Dough hooks

Runny, light pastry 

4

Whisks

Frothy desserts

5

Whisks

Whipped cream, egg white

If attempting to use high speed settings, increase the speed step by step to avoid excessive
splashing.
In addition, the Hand Mixer features a boost button for a short high-speed operation.

CAUTION: 

Do not use the boost button for more than 3 minutes, to avoid overheating.

11

40980_Manuel.qxd  08.03.2005  9:14 Uhr  Seite 19

Summary of Contents for Home Culture

Page 1: ...GASTROBACK Operating Instructions DESIGN HAND MIXER Art No 40980...

Page 2: ...for mixing beating and blending liquids and kneading runny pastry The Hand Mixer is straightforward in use and cleaning is quite easy There is no need to fill the food in a special vessel just use any...

Page 3: ...ck or any other damage or injuries to persons Do not attempt to open the motor housing or to repair the power cord Check the entire appliance regularly for proper operation The appliance is like ly to...

Page 4: ...o not immerse the motor housing or power cord in water or any other liquid Do not pour or drip any liquids on the motor housing or power cord When liquids are spilled on the motor housing immediately...

Page 5: ...The power cord may never be knotted or squeezed Do not let the power cord hang over the edge of the table or counter Take care not to entangle in the power cord Do not touch the appliance with wet han...

Page 6: ...o tool holes in the bottom of the motor housing CAUTION The processing tools with washer on the shaft can only be inserted in the wide tool hole Always insert the processing tools without washer only...

Page 7: ...ls with your hands or any objects i e hair clothes cooking utensils when they are mounted and the appliance is connected to the mains power supply Before switching ON immerse the processing tools in t...

Page 8: ...ion CAUTION Do not block the ventilation slits on the front and back of the appliance and do not use the appliance in continuous operation for more than 6 minutes to avoid overheating If processing la...

Page 9: ...ools violently 2 Hold the processing tools over a bowl or sink and press the eject button to remove the processing tools 3 Clean the processing tools with a soft nylon washing brush and warm dish wate...

Page 10: ...ric shock heat moisture and where it is out of reach of young children Place the appliance on a clean and stable surface where it can not fall Do not place any hard or heavy objects on the appliance N...

Page 11: ...GASTROBACK GmbH Gewerbestra e 29 D 21279 Hollenstedt Germany http www gastroback de E Mail info gastroback de...

Reviews: