SL320000819 Ed.12 - 07-2013
- 19_EN -
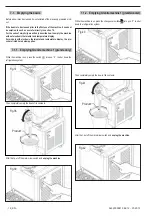
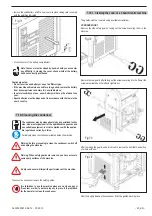
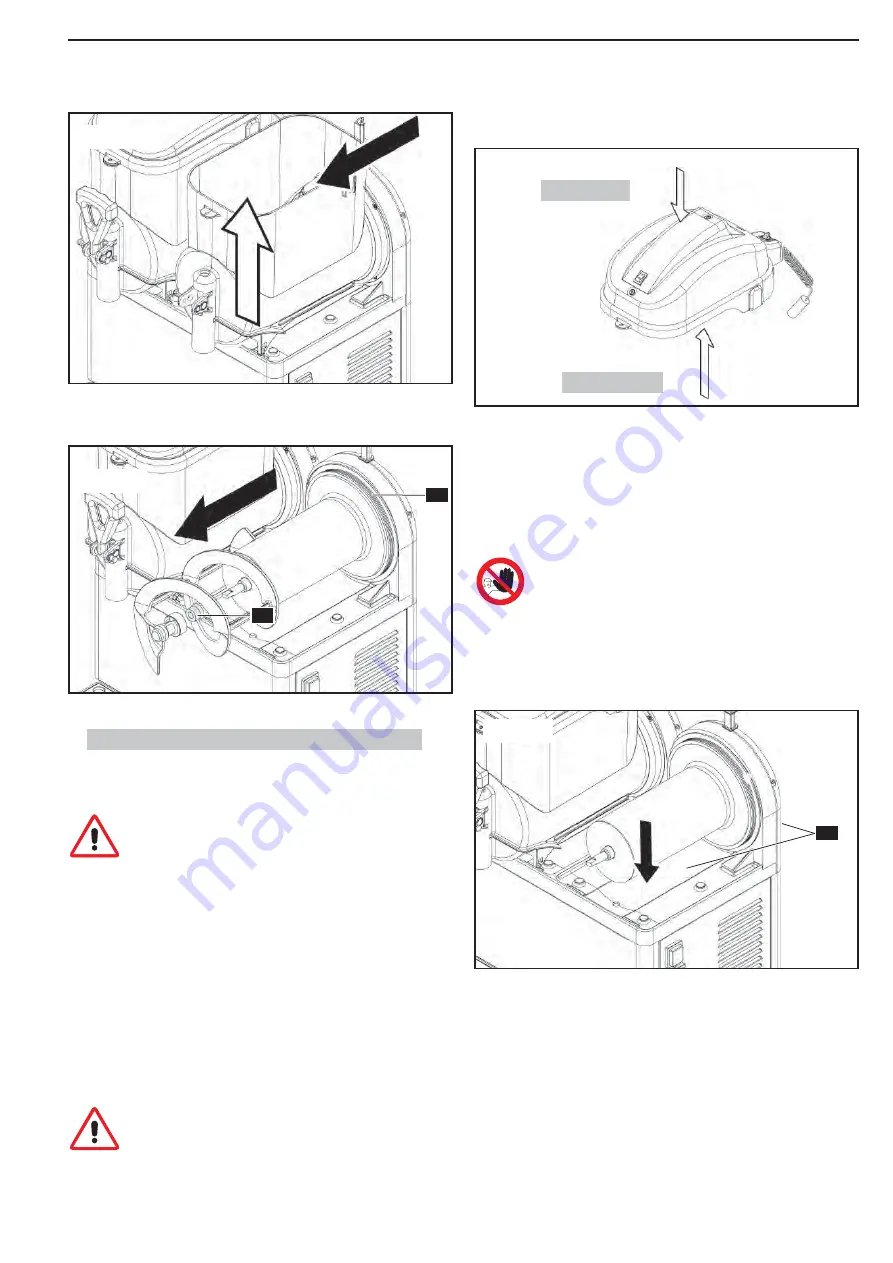
3 remove the bowl from its seat by pushing and tapping lightly on the rear
part;
Fig.55
Fig.56
7.4. Washing and sanitizing the components
All of the previously disassembled and removed components must be thor-
oughly washed and sanitized.
Use the sanitizing product as directed on the product label.
To carry out this procedure correctly proceed as follows:
1 fi ll a sink with detergent and hot water (50-60°C);
2 wash the disassembled components with the detergent solution;
3 rinse with hot water, making sure no traces of lubricants remain;
4 fi ll another sink with a sanitizing solution prepared in water ;
5 soak the disassembled components in the sanitizing solution (use the sanitiz-
ing product as directed on the package label);
6 rinse with clean water;
7 place the components on a clean surface and dry them.
Using a damp cloth, clean all product residues from the evaporator.
Wash and sanitize the lid.
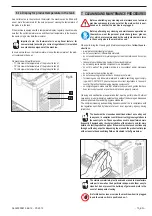
Warning: do not submerge lids equipped with lighting in any
type of liquid. Before starting the cleaning and sanitising opera-
tions of the lid, remove it from the machine as described in the
previous chapter.
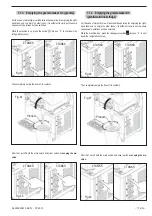
4 take out the auger and remove the seals (A and B).
Fig.58
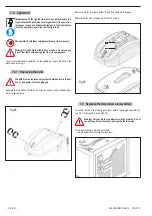
To clean the lighted lid correctly, proceed as follows;
1. Using a clean, damp cloth, fi rst wipe clean the bottom part of the lid (in con-
tact with the product);
2. Using a clean, damp cloth, wipe clean the whole outer part;
Fig.57
Outer part
Bottom part
3. Using a sponge dipped in sanitising solution, sanitise the bottom part of the
lid.
4. Allow to act for 30 minutes;
5. Rinse twice or more, only the bottom part, with a clean sponge soaked in
fresh water.
6. Place the lid on a clean surface and dry it; fi rst dry the bottom and then the
outer part by means of a clean cloth.
7. Set the lid back in place only after having cleaned and sanitised the bowl.
It is forbidden to wash and/or sanitise the lid while it is installed
in the machine.
Wash and sanitize the bowl support and resting surface.
A
B
W
Summary of Contents for GRANISMART 1
Page 164: ......


