background image


8. Appendix 

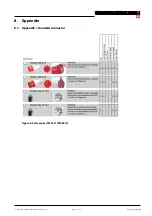
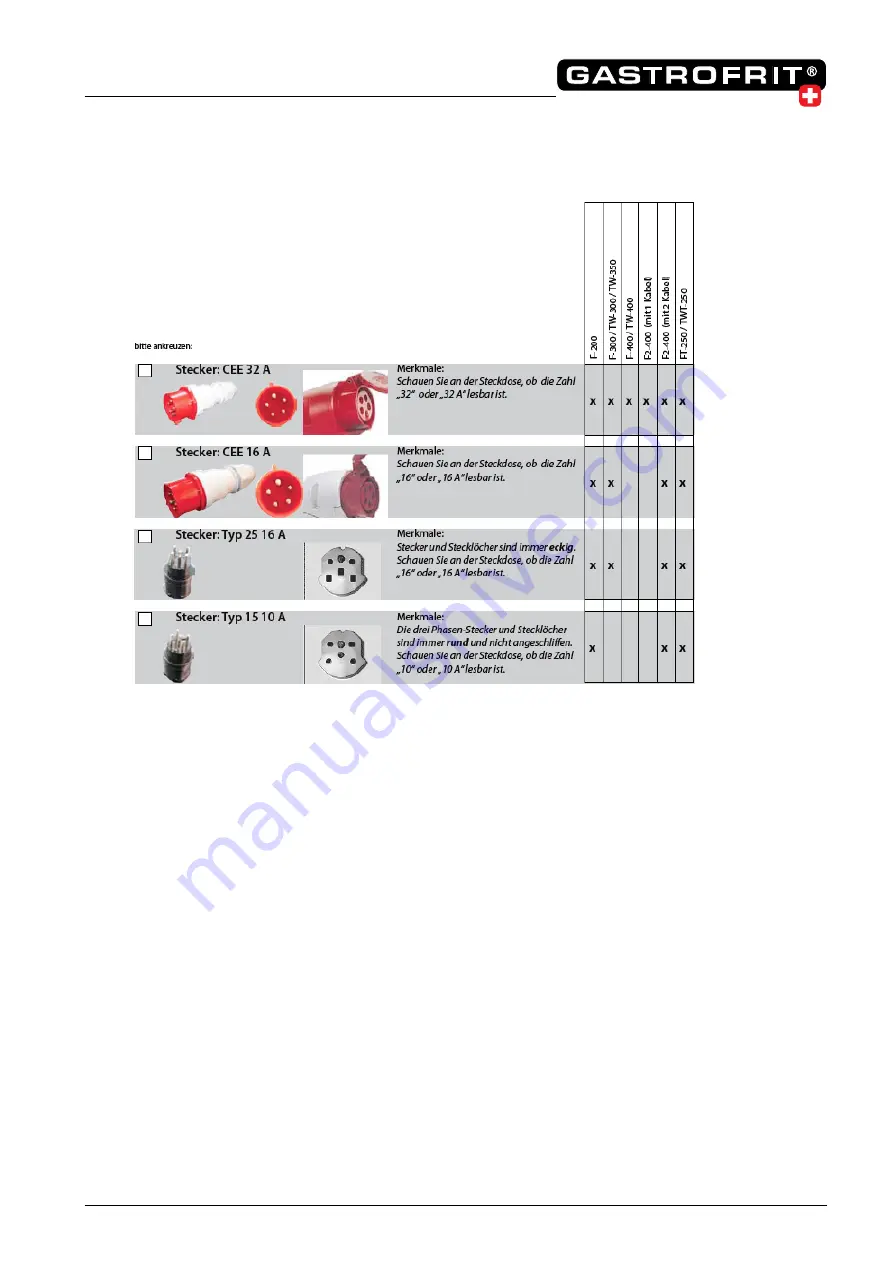
8.1. Appendix 1 standard connector 


Figure 4: Pasta cooker TW350 / TW400 (5) 


11_Operation manual Pastacooker Gastro 8 V1_3_e 


Page 

 of 


Rorschach, 19.03.2018

17

19

Summary of Contents for TW 400

Page 1: ...term test Please note that improper commissioning can result in damage Before commis sioning check the exact requirements for power consumption voltage and current to ensure that the device can be operated without any worries Company Gastrofrit AG EPH AG Author Andreas Hüssy Date March 2018 Version 2 0List of tables 11_Operating instructions Pastacooker Gastro 8 V1_3_e Page of Rorschach 19 03 2018...

Page 2: ...tion overview of the parameter menu 12 List of fi gures Figure 1 Key symbols 8 Figure 2 Pasta cooker TW 350 TW 400 5 9 Figure 3 Parameter menu 10 Figure 4 Pasta cooker TW350 TW400 5 20 Figure 5 Connection diagram with SSR 21 Figure 6 Wiring diagram for gastro electronics 8 22 11_Operation manual Pastacooker Gastro 8 V1_3_e Page of Rorschach 19 03 2018 2 19 ...

Page 3: ...and cleaning work These can be removed by simply notching them as required The device must not be moved during operation The normal height of the device is 850mm This can be increased to 900mm with a substructure as re quired After setting up the device the power plug must be accessible 2 1 1 Stability Due to insu ffi cient stability the TW 350 must not be set up freely It must be attached with th...

Page 4: ...pendix 4 3 2 Technical speci fi cations 3 2 1 Pasta amounts Table 2 Pasta amounts 3 2 2 Weight water content and power Table 3 Weight water content and power 3 2 3 Device dimensions Table 4 Dimensions of the devices A substructure is required for a height of 900mm see options Type Quantity in kg basket h performance pasta TW 350 2x0 5 25 50kg TW 400 to 15 30 55kg Type Weight in kg Oil water conten...

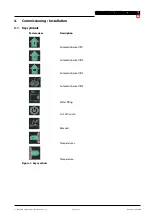
Page 5: ...tion Automatic basket lift 1 Automatic basket lift 2 Automatic basket lift 3 Automatic basket lift 4 Water fi lling On o ff switch Removal Temperature Temperature Figure 1 Key symbols 11_Operation manual Pastacooker Gastro 8 V1_3_e Page of Rorschach 19 03 2018 5 19 ...

Page 6: ...th the type plate If the security is su ffi cient you can start the cooking process Open the cover fi re protection on the device and plug it into the rear wall Remove the basket Close the drain cock safety drain cock closes automatically Fill with water up to the fi lling mark 11_Operation manual Pastacooker Gastro 8 V1_3_e Page of Rorschach 19 03 2018 6 19 ...

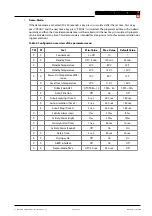
Page 7: ...6 Modi fi able parameters Sound Level The volume of the buzzer can be changed between 0 o ff and 10 very loud Standby time The standby time for the TW can be set between 5 and 120 minutes If the button is pressed for 5 min utes the standby mode is switched o ff O ff Standby temperature The standby temperature of the TW can be changed between 30 and 80 C Monitoring drying cycle After switching on t...

Page 8: ...ngs then apply Interval time 2 9 sec If the temperature deviates by 1 C heating takes place Interval time 10 19 sec If the temperature deviates by 2 C heating takes place Interval time 20 60 sec If the temperature deviates by 4 C heating takes place ABCD bus The ABCD bus must be activated in the Gastro 8 control The ABCD interface for energy management can be switched on or o ff via the menu chang...

Page 9: ... Time O ff 5 min 120 min 45 min X Standby Temperature 30 C 80 C 50 C X Standby Temperature 30 C 150 C 130 C X X Power On Temperature di ff e rence 10 C 80 C 15 C X Level Clean Temperature 30 C 170 C 150 C X Oillimit Hub OFF O ff TPM 10 TPM 40 TPM 25 X Auto Filtration O f On O f X Auto Emptying Time 1 5 sec 500 sec 180 sec X Auto circulation Time 2 5 sec 500 sec 180 sec X Auto Filling Time 3 5 sec ...

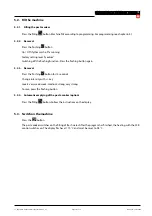
Page 10: ... button for 10 seconds Change intensity with key Levels very weak weak medium strong very strong To save press the fl ushing button 5 2 4 Automatic emptying of the pasta cooker option Press the fi lling button Follow the instructions on the display 5 3 Switch on the machine Press the button The pasta cooker switches on the fi lling of fresh water After the program has fi nished the heating with th...

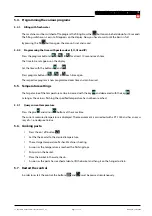
Page 11: ...he temperature can be increased with the key and decreased with the key As long as the value is fl ashing the speci fi ed temperature has not been reached 5 5 1 Query current temperature Press the plus and minus buttons at the same time The current measured temperature is displayed The measurement is carried out with a PT 1000 and has an accu racy of one degree Celsius 5 6 Cooking pasta Press the ...

Page 12: ...lifting motor starts up When switching o ff it retracts accordingly in order to be able to close the cover 6 2 Electric ball valve drain The water can be drained o ff automatically with the electric ball valve Press the water supply button to access the new menu You are now menu guided Follow the instructions on the display 1 Open drain 2 Press the key of your choice Yes No Case 1 3 No 4 Fill 5 Pr...

Page 13: ... the alarm is reset by pressing the key A salt concentration of 1 1 2 is perceived as optimal 10 12g per 1 liter of water The interval of the acoustic alarm is 10 seconds When exceeding or falling below the limit values di ff erent tone sequences sound O ff no audible alarm On acoustic alarm when the TW is switched on Temp Acoustic alarm when the TW is switched on and the temperature is 90 C Lift ...

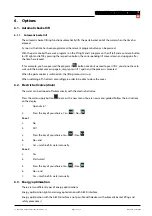
Page 14: ...s Important Please state the device type and number inside of the door with every report to the service point It is recommended that you enter the type and number below Regular maintenance can extend the service life of your device 6 6 1 Maintenance We recommend regular maintenance by our customer service A distinction can be made between two mainte nance models You can get more detailed informati...

Page 15: ...6 7 EU UE declaration of conformity 11_Operation manual Pastacooker Gastro 8 V1_3_e Page of Rorschach 19 03 2018 15 19 ...

Page 16: ...e 2nd generation is that these are not removed Switch o ff the pasta cooker Press Empty the basin There must be no contents oil fat or cleaning water In the cooking basin Let the heater cool down to 35 C hand warm Pull out the heater and turn it slightly to the left The basin can now be cleaned Note If the heater is not inserted or not inserted correctly the device cannot be switched on or operate...

Page 17: ...8 Appendix 8 1 Appendix 1 standard connector Figure 4 Pasta cooker TW350 TW400 5 11_Operation manual Pastacooker Gastro 8 V1_3_e Page of Rorschach 19 03 2018 17 19 ...

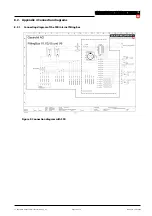
Page 18: ...ppendix 4 Connection diagrams 8 2 1 Connecting diagram of the SSR internal fi tting box Figure 5 Connection diagram with SSR 11_Operation manual Pastacooker Gastro 8 V1_3_e Page of Rorschach 19 03 2018 18 19 ...

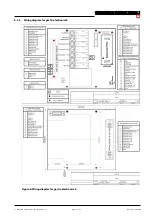
Page 19: ...8 2 2 Wiring diagram for gastro electronics 8 Figure 6 Wiring diagram for gastro electronics 8 11_Operation manual Pastacooker Gastro 8 V1_3_e Page of Rorschach 19 03 2018 19 19 ...

Reviews: