PIPS II O
Owners Man
If
aid
1.
In
th
wi
2.
Lo
3.
Ac
4.
Fi
vi
ro
5.
G
6.
To
sto
7.
Us
an
wh
8.
To
sta
gu
Fi
Im
9.
To
sto
10.
Us
fe
im
nual and Use
the PIPS II
d this proces
nsert the sam
he system an
ill be milled
ower the sta
ctivate Live
ind an easily
ew of the ca
otation.
We
o to the Alig
ouch the Al
op when the
sing the line
nd the end o
here the end
ouch the Al
age will rota
un. Align the
gure 3-43 x-y
mages are of
ouch the Al
op when the
sing the lin
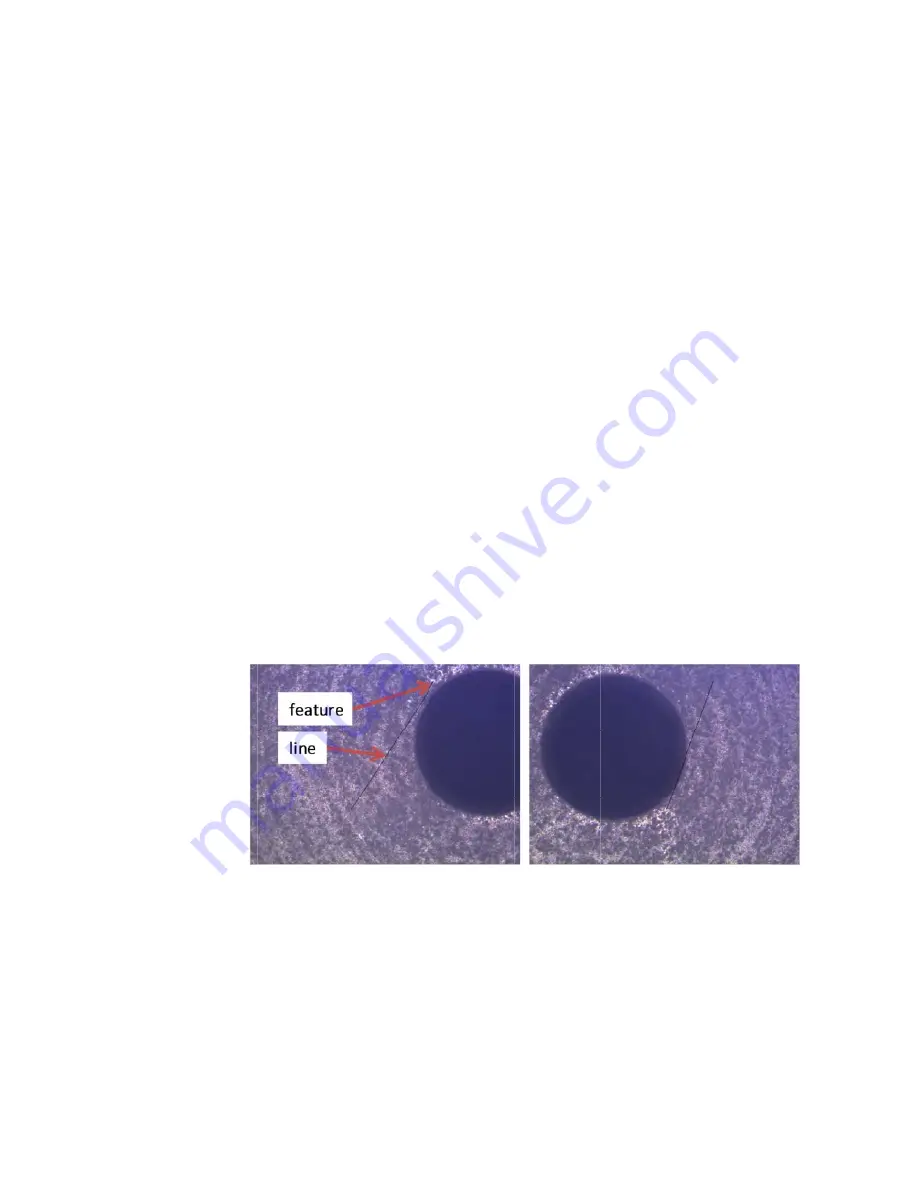
ature and t
mportant whe
ers Guide
has a came
ss:
mple, with t
nd the two
from the fro
age.
e View mode
y recogniza
amera durin
will refer to
gnment tab
lign Front L
front of the
e tool in DM
of the line o
d of the line i
ign Rear Le
ate and stop
e end of the l
y alignment,
a beam align
lign Front R
front of the
e tool in DM
the end of t
ere the end o
era system, D
the front of
arms facin
ont.
e at 1x zoom
able feature
ng the entire
this as the a
on the PIP
Left Beam S
specimen p
M, place the
on the other
is place, as y
eft Beam Se
when the re
line with the
steps 7 (left)
nment scree
Right Beam
specimen p
M, place th
the line on
of the line is
Digital Micr
f the specim
ng the left a
m in DM.
on the sam
e rotation, b
alignment fe
S II GUI.
Sector butt
ost is facing
start of a li
r side of th
you will mov
ector button
ear of the spe
e alignment f
) and 8 (righ
n.
Sector butt
ost is facing
he start of a
the other s
place, as yo
rograph (DM
men post fac
and right si
mple that sta
but is not ne
ature.
on.
The stag
g the left gun
ine at the al
e sample.
It
ve it shortly.
n on the Ali
ecimen post
feature.
ht).
ton.
The stag
g the right gu
a new line a
side of the
ou will move
M) can be us
cing the fro
ides.
The sa
ays in the fie
ear the cent
ge will rotat
n.
lignment fea
t is not impo
gnment tab
t is facing th
ge will rotat
un.
at the align
sample.
It i
e it shortly.
67
sed to
ont of
ample
eld of
ter of
e and
ature
ortant
b.
The
he left
te and
ment
is not

