74
PIPS II Owners Manual and Users Guide
6.
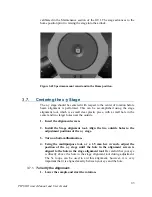
Adjust the x-alignment drive screw (horizontal adjust).
Adjust the
drive screw to center the beam over the center point of the glass slide.
7.
Go to Alignment page and bring the stage to the Rear Beam Sector of
this gun. Adjust the beam alignment if necessary and make sure the beam
is centered as this position as well (repeat 6 and 7).
8.
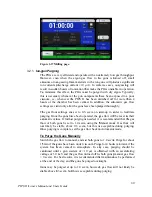
Start rotating the stage (touch Rotate) and watch beam at front and
rear positions.
Make sure the gun is aligned at both positions. IF the
alignment is different for the front and rear positions, it may be that the glass
slide is not horizontal. In this case find a compromise between the front and
rear positions.
9.
Rotate the gun angle to -
5°. As you are rotating the gun watch the
position of the beam (for both front and rear beam sectors. Adjust the
alignment if needed.
When the gun is rotated, the beam should not move too
far away from the center of the alignment screen.
Note that narrowing the beam (by increasing the gas flow to the gun)
decreases the amount of the beam incident upon the specimen. (The reverse is
true for a smaller ion current.) Some flickering of the beams across the screen
is normal and is due to electrostatic charging and discharging of the screen,
which is an insulating material.
Once the guns have been aligned, it should not be necessary to realign them
for several samples. When polishing the first specimen, it is recommended
that the ion current and the beam angle be noted. When polishing subsequent
specimens, adjust the parameters to these values to provide a good degree of
beam calibration.
3.10.3.
Installing gun alignment knobs
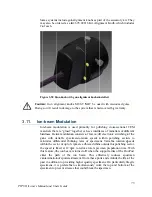
The set screws used for alignment can be replaced with optional gun
alignment knobs. This allows for faster alignment since a tool is not
necessary. Since the knobs are easily accessible, they may also be accidentally
bumped, which could cause misalignment. Be very careful not to bump the
knobs during operation.
To install gun alignment knobs:
1.
Using the alignment tool, remove the set screws from the gun
knob.
2.
Install the gun alignment knobs. The shorter version should be
installed in the hole closest to the “TOP” label.
3.
Align guns as described above.

