19
System.
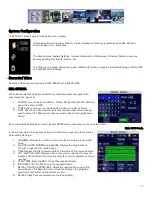
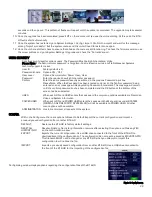
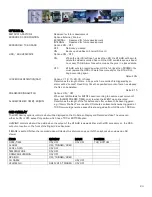
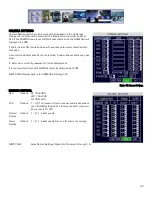
Under System Settings there are Five sub menu’s; System; Record; Network; Event and Peripheral, each with their own sub-menu
system.
DATE TIME.
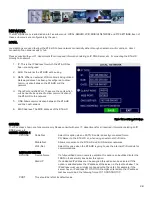
There are multiple options which the user can select within Date/Time.
DATE FORMAT.
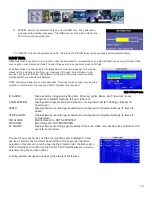
Once highlighted press the ENTER key on the remote control. Date Format has to be manually entered. Once
highlighted, press the ENTER key on the remote control and enter the date in the expected format. Once
completed highlight the
symbol and press the Enter key on the remote control. Highlight the Save button
and press Enter.
Options: YYYY-MM-DD; MM/DD/YYYY; DD/MM/YYYY.
Default:
MM/DD/YYYY
TIME FORMAT
Time format can be selected between 12HR and 24HR (Military Time). If 12HR is selected the option for
AM/PM must be set to the correct setting to reflect the time of setup, e.g. 3:45 PM for an afternoon setup.
Default:
12HR
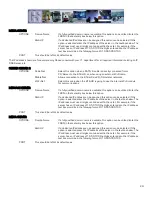
TIME SYNC
SOURCE
Determines where the system will get its time from.
NONE: Time has to be manually input.
GPS: An approved GPS module must be connected. Once GPS has been selected and the option SAVED,
there may be a slight time delay as the system sync’s with the GPS satellites.
NTP: Reserved for future development.
Options. NONE; GPS; NTP.
Default:
GPS
TIME ZONE
There are 24 Zones available from the Drop Down menu. Ensure that the correct zone for the location is
chosen at time of installation. Failure to set the correct time zone will lead to the time stamp on the
recorded video being out by X number of hours.
Default:
-8
DST
Daylight Saving Time will only display if DST has been set to ON. To change the value highlight and use the
ENTER button on the remote control. Once the required option has been set, highlight SAVE and press
Enter.
Default:
ON
DST MODE
Within this menu section there are Two options: Auto and Manual. If Manual is selected the start date and
End date for DST must be entered.
Default:
Auto
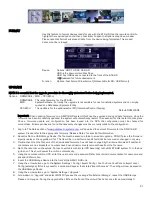
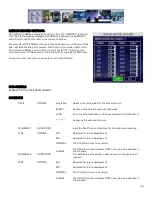
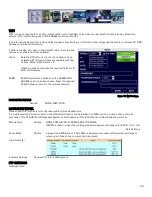
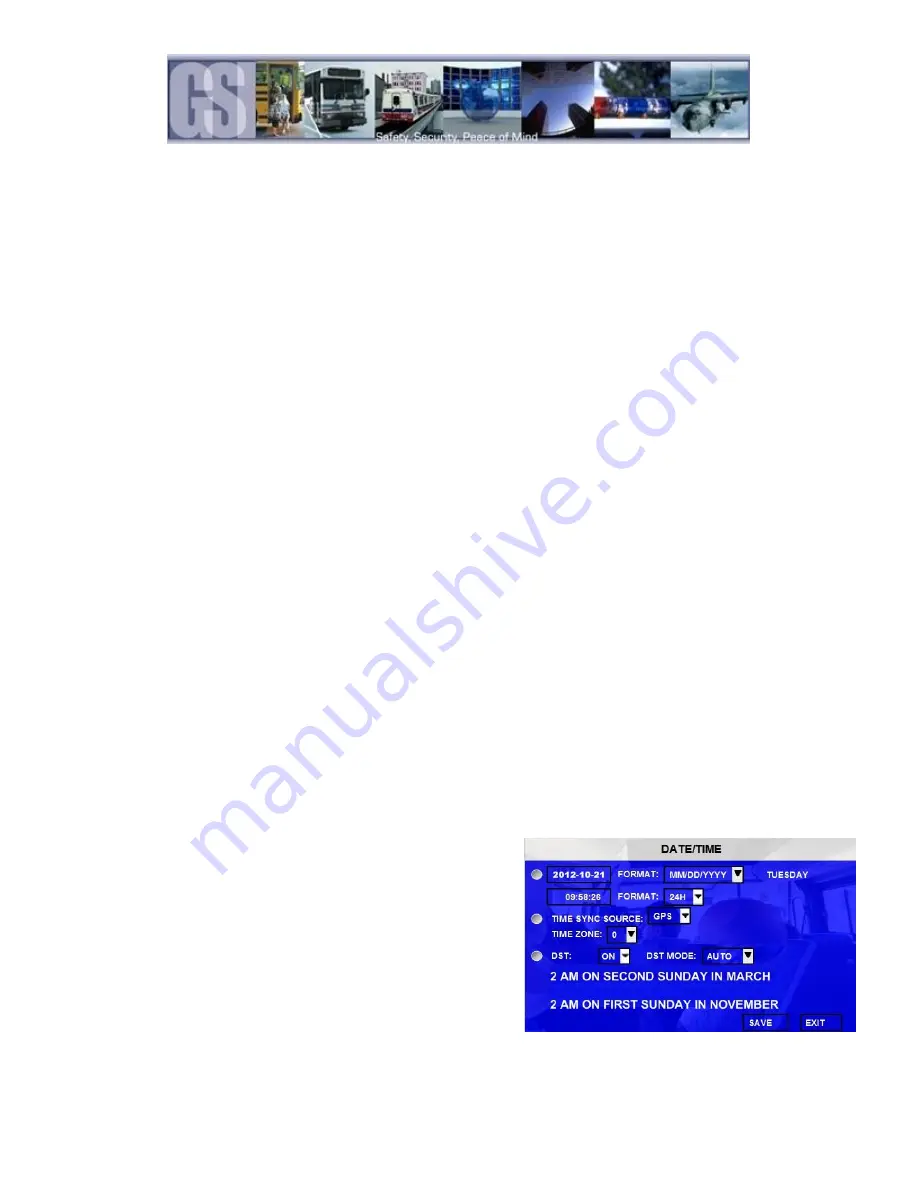
When Date Time has been set for 24HR; GPS with DST ON the dialog
window will display as shown in Figure 8. Should different options be
chosen, e.g. NTP for Synchronization, the window will appear with
different user options.
Figure 8: Date / Time Setup.

