44
Sensor / Alarm Playback 2.
In playback Mode it is also possible to have the
Time Bar just display Sensor markers rather
than All Channels.
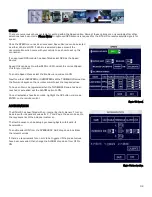
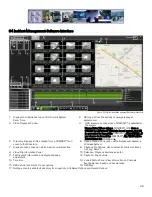
If Sensor (Item 14 in Figure 20) is selected the
Time Bar will display Markers for when a
Sensor was activated. Use the Zoom in tool to
expand the Time Bar making it easier to select
an individual Sensor Marker. When this marker
is clicked the Time Bar is immediately updated with the file for playback relating to this Sensor Marker.
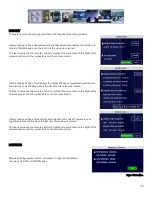
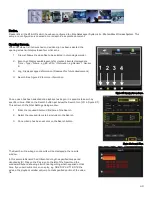
Vehicle Speed Playback.
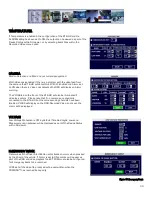
If Speed is selected from the vehicle status
panel the Time Bar will show the Lowest and
Highest speed of the vehicle during the trip. In
the example in Figure 28 the highest speed was
43.0MPH as shown on the right hand side. The
current speed of the vehicle in the video
playback window is shown as 36.0 MPH in a box
just below the Highest speed recorded. The
current speed of the vehicle in the playback
window will fluctuate with this box moving up
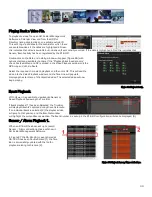
Figure 28: Speed Playback.
and down the column matching the peaks and troughs of the Green indicators in the Time Bar.
Clips.
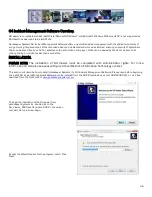
Using G4 Incident Management Software a selection of video can be saved as a clip; exported as a standalone .exe file which
includes a mini-player, or, as AVI’s playable by Windows media player. Please note that AVI’s generated will be individual camera
views and will not contain GPS, Speed Information, etc.
Saving a Clip
When saving a clips it is recommended that a folder be created, e.g. C:\MyClips, and an initial clip saved to this location. Once this
is completed in G4 Incident Management make this folder the default by clicking on the Check Mark icon (in Item 7 Figure 20).
When a clip is created a file called rmdvrrootdir.dat is created outside of the Bus Name folder and this file contains information
regarding the location of the clip entries.
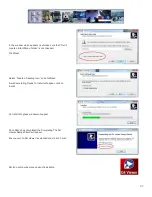
1. Once the Play indicator is at the required time for the clip, click on the Scissors icon in the
Playback Controls panel.

