www.gateway.com
99
15
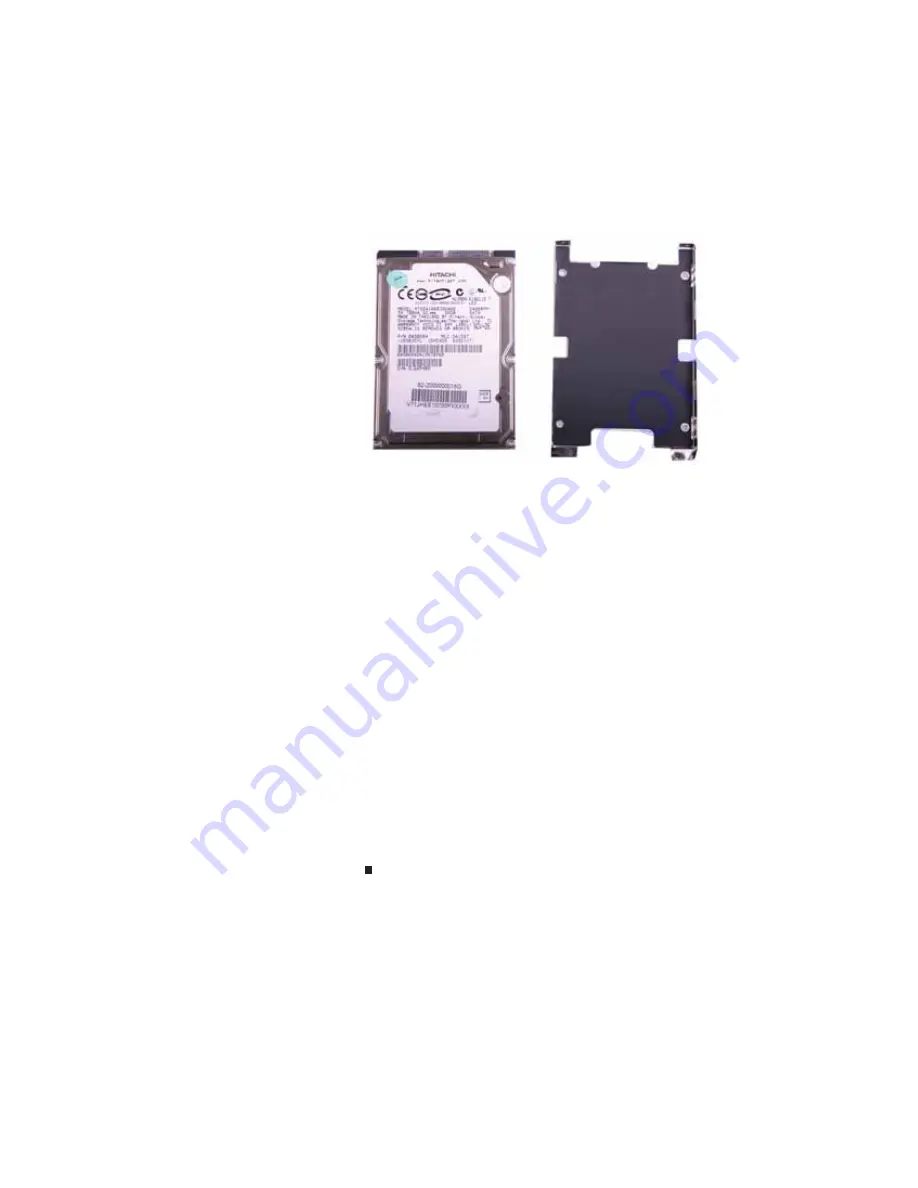
Remove the bracket from the old drive.
16
Insert the new drive into the bracket, label side up, so
the screw holes line up.
17
Replace the four screws that secure the bracket to the
drive.
18
Slide the new hard drive into your convertible notebook,
then replace the screws that secure the hard drive to
your convertible notebook.
19
Replace the hard drive bay cover, then tighten the cover
screws.
20
Insert the battery, then turn your convertible notebook
over.
21
Connect to the optional port replicator.
-OR-
Connect the power adapter, modem cable, and network
cable.
22
Turn on your convertible notebook.
23
See the “Recovering Your System” chapter you printed in
step
for instructions on installing Windows, your
drivers, and your applications.
24
Reconnect all peripheral devices and replace any
PC cards.
Summary of Contents for C-120
Page 1: ... CONVERTIBLE NOTEBOOK REFERENCEGUIDE ...
Page 2: ......
Page 8: ...Contents vi ...
Page 13: ...CHAPTER2 5 Checking Out Your Notebook Top Front Left Right Back Bottom Keyboard area ...
Page 22: ...CHAPTER 2 Checking Out Your Notebook 14 ...
Page 70: ...CHAPTER 4 Using Drives and Accessories 62 ...
Page 84: ...CHAPTER 5 Managing Power 76 ...
Page 98: ...CHAPTER 7 Maintaining Your Notebook 90 ...
Page 108: ...CHAPTER 8 Upgrading Your Notebook 100 ...
Page 109: ...CHAPTER9 101 Troubleshooting Safety guidelines First steps Troubleshooting Telephone support ...
Page 154: ...146 Index ...
Page 155: ......
Page 156: ...MAN PHOENIX HW REF GDE XP R1 7 07 ...


