68
Working with the Gateway Mid-Tower case
Replacing or adding memory
Memory is installed in two slots on the system board. When you are selecting
and installing DIMMs, keep the following in mind:
■
No jumper settings are required for the memory size or type because the
BIOS automatically detects this information.
■
DIMMs must be installed in the lowest numbered slot first.
To add or replace DIMMs:
1
Turn off the computer and disconnect the power cord, modem cable (if
installed), and all external peripheral devices.
2
Remove the cover. (See “Opening and closing” on page 49 and
“Preventing static electricity discharge” on page 47.)
3
If necessary, carefully move the cables aside to gain access to the DIMMs.
4
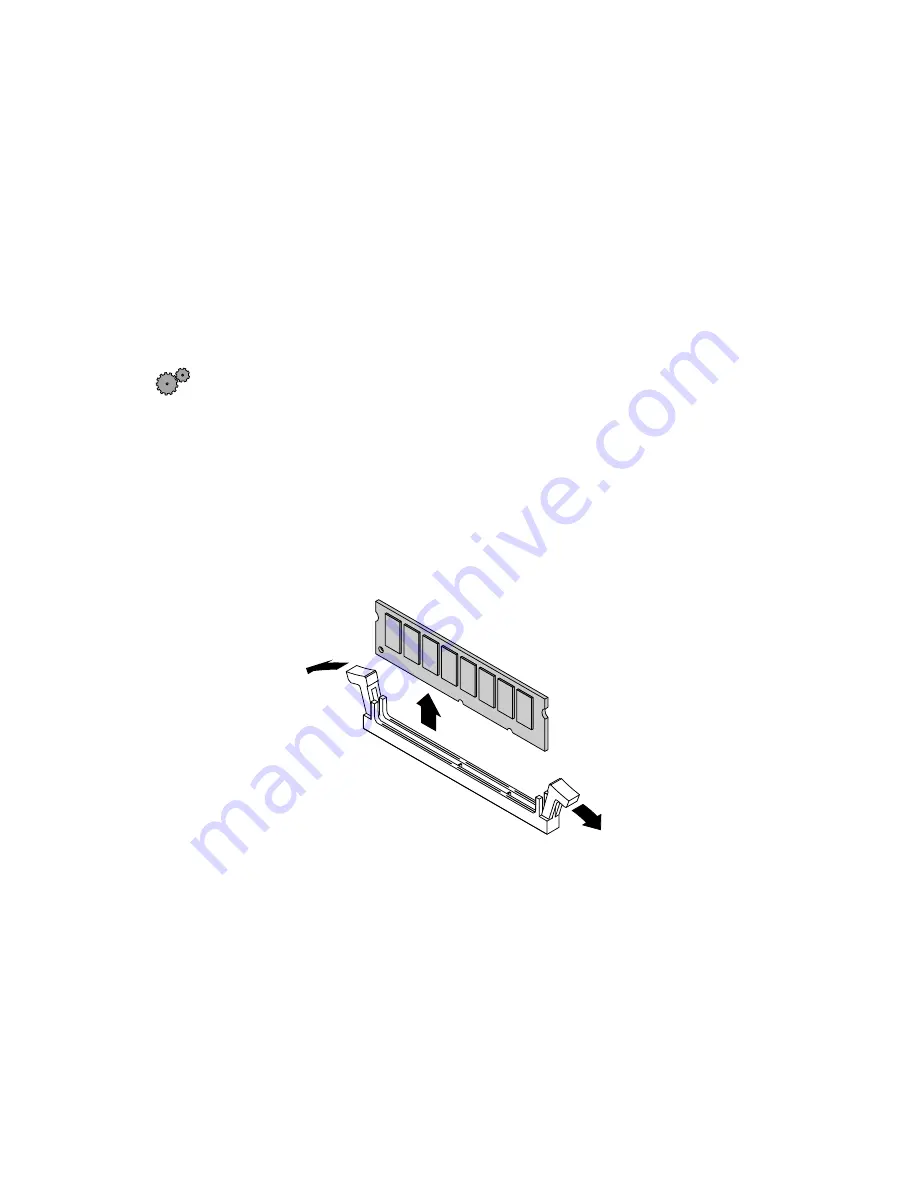
Remove the DIMM by pressing open the socket latches on each side of
the DIMM socket, then lift the DIMM out of the socket. Store the DIMM
in an antistatic container.
5
If you are adding memory to an empty socket, open the socket latches.
Summary of Contents for E-3600
Page 1: ...Gateway E 3600 System Manual October 2001...
Page 2: ......
Page 6: ...vi...
Page 20: ...12 Checking Out Your Gateway Computer...
Page 26: ...18 System Setup...
Page 42: ...34 Working with the Gateway Desktop case 4 Remove the fan cover...
Page 43: ...Replacing the power supply 35 5 Remove the power supply screws Power supply screws...
Page 54: ...46 Working with the Gateway Desktop case...
Page 58: ...50 Working with the Gateway Mid Tower case 6 Swing the side panel away from the case...
Page 86: ...78 Using the BIOS Setup Utility...
Page 112: ...104 Managing Your Computer...
Page 132: ...124 Troubleshooting...
Page 148: ...140 Reference Data Section 2 O M R Q P N L J S A B G F E D C H I K...


