30 Maintaining and Troubleshooting Your E-4200 System
3.
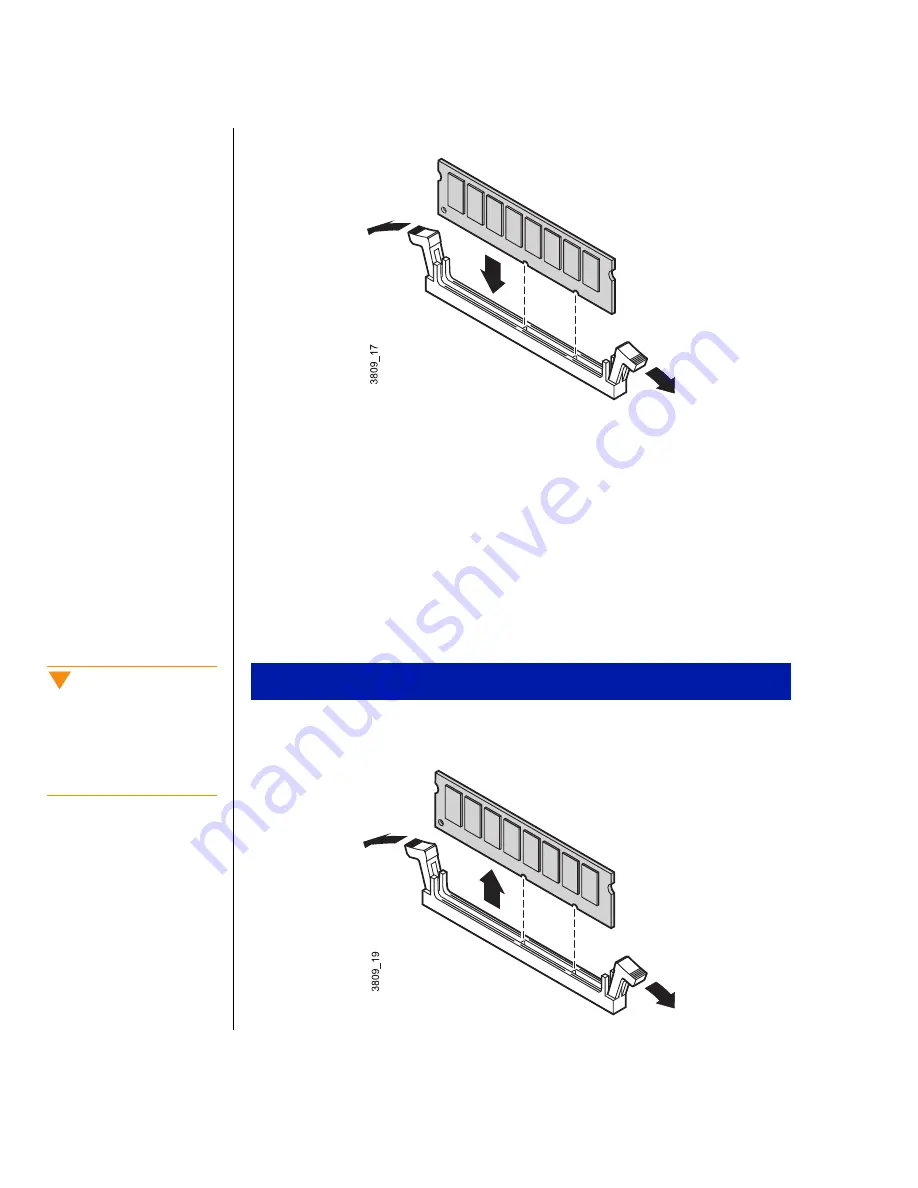
Pull open the socket clamps on each side of the DIMM socket.
4.
Insert the DIMM into the socket and align the two notches in the
DIMM with the two notches in the DIMM socket.
5.
Gently press the DIMM into the socket until it doesn’t move any
farther. (Inserting the DIMM automatically locks each of the socket
clamps on each end of the DIMM.)
6.
Close the case, as described in Chapter 1.
7.
Reconnect the power cord and turn on the system.
1.
Gently push out the plastic socket clamps on each end of the DIMM.
The DIMM should pop up slightly from the socket.
To remove DIMMs
Caution!
Never try to remove a
DIMM without releasing the
clamps. You may break the
socket, causing serious
damage.
Summary of Contents for E-420
Page 1: ...Maintaining and Troubleshooting Your E 4200 System ...
Page 11: ...viii Maintaining and Troubleshooting Your E 4200 System ...
Page 76: ...3 Chapter 3 BIOS Setup About the BIOS setup utility 66 Updating the BIOS 67 ...
Page 98: ...A Appendix Specifications 88 Regulatory Compliance Statements 90 ...
Page 103: ...92 Maintaining and Troubleshooting Your E 4200 System ...
Page 107: ...96 Maintaining and Troubleshooting Your E 4200 System ...
Page 108: ......


