CHAPTER 5: Upgrading Your Computer
54
5
If you are replacing a drive, note any jumper settings on
the old drive (if any) and set the jumpers on the new
drive to be the same.
- OR -
If you are adding a new drive, set the jumpers as
instructed by the drive’s user guide.
6
Secure the new hard drive into the cage using the screws
that you removed previously or that were provided with
the drive.
7
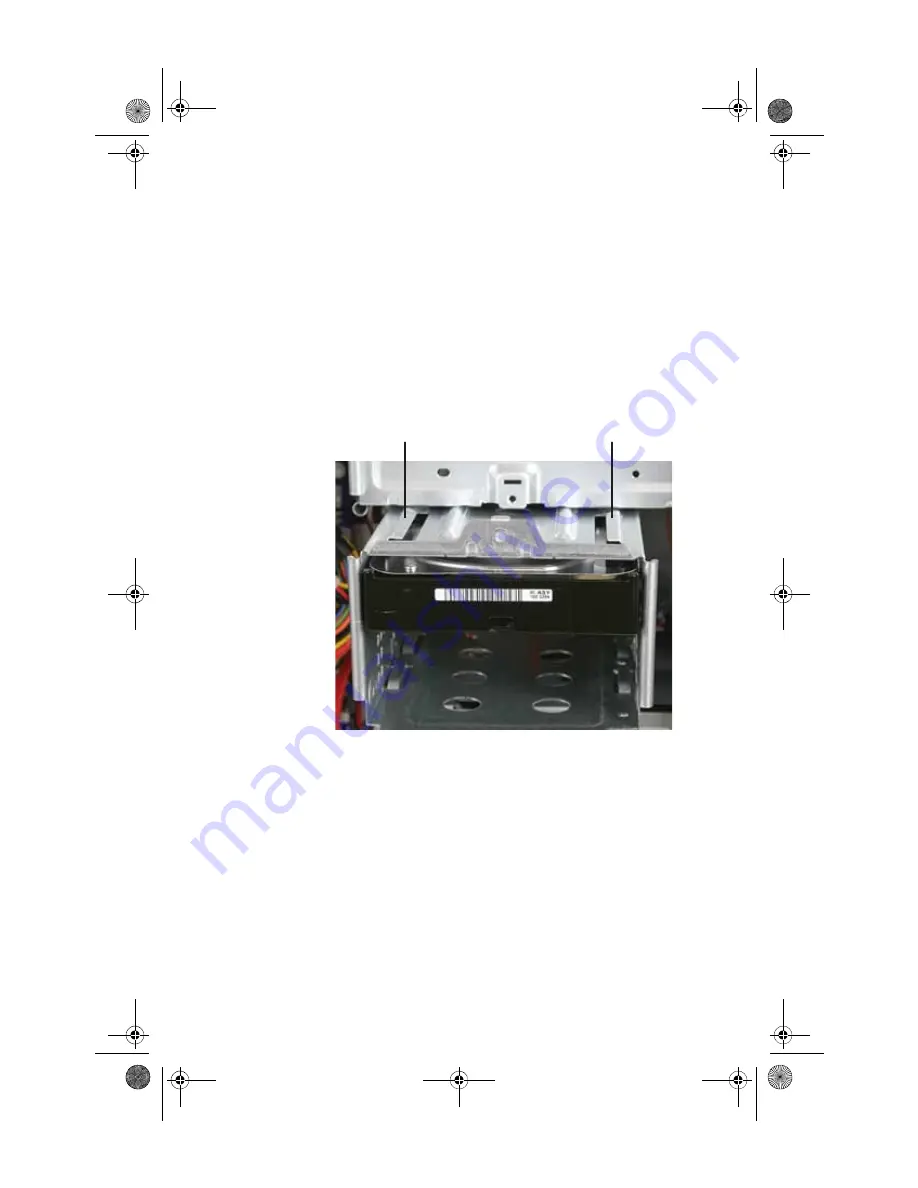
Install the hard drive cage back into the computer by
aligning the rails on the top of the cage with the slots
on the bottom of the optical drive cage.
8
Secure the hard drive cage to your computer with the
thumbscrew you removed previously.
9
Connect the drive cables on the right side of the
computer. If you are replacing a drive, use your notes
from
Step 2
.
10
Replace the side panels by following the instructions in
“Replacing the side panels” on page 48
.
11
Reconnect all external cables and the power cord.
12
Turn on your computer.
Hard drive cage mounting rail
Hard drive cage mounting rail
8513213.book Page 54 Tuesday, August 26, 2008 5:08 PM
Summary of Contents for FX6710
Page 1: ...8513213 book Page a Tuesday August 26 2008 5 08 PM...
Page 2: ...8513213 book Page b Tuesday August 26 2008 5 08 PM...
Page 10: ...CHAPTER 1 About This Reference 4 8513213 book Page 4 Tuesday August 26 2008 5 08 PM...
Page 48: ...CHAPTER 4 Advanced Hardware Setup 42 8513213 book Page 42 Tuesday August 26 2008 5 08 PM...
Page 116: ...CHAPTER 7 Troubleshooting 110 8513213 book Page 110 Tuesday August 26 2008 5 08 PM...
Page 126: ...APPENDIX A Legal Notices 120 8513213 book Page 120 Tuesday August 26 2008 5 08 PM...
Page 135: ...8513213 book Page 129 Tuesday August 26 2008 5 08 PM...
Page 136: ...MAN JOPLIN FX HW REF GDE R0 8 08 8513213 book Page 130 Tuesday August 26 2008 5 08 PM...


