60
www.gateway.com
5
Remove the battery. For more information, see
.
6
Remove the hard drive bay cover screw, slide the hard drive bay
cover, then remove it. For the location of the hard drive bay cover,
see
.
7
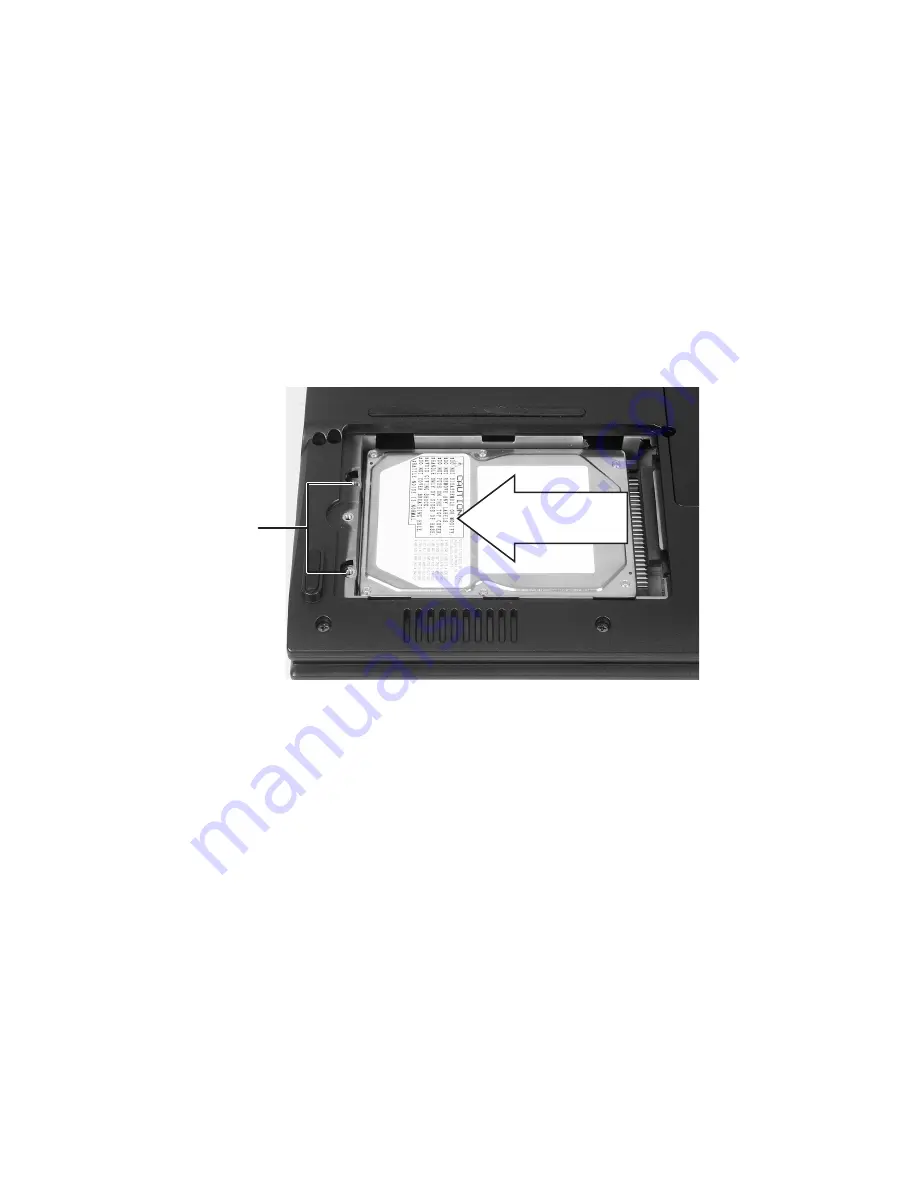
Remove the two screws securing the hard drive kit to the notebook,
slide the old hard drive kit away from the hard drive connector, then
lift the hard drive kit out of your notebook.
8
If your new hard drive already includes the hard drive kit bracket,
go to
.
-OR-
If you need to move the hard drive kit bracket from your old hard
drive kit to your new hard drive, go to
9
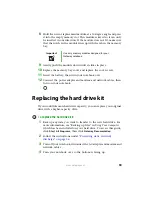
Remove the screws that secure the hard drive to the hard drive kit
bracket.
10
Remove the bracket from the old drive.
11
Insert the new drive into the bracket so the screw holes line up.
12
Replace the screws that secure the bracket to the drive.
Screws
Summary of Contents for M320
Page 1: ...User Guide M320 Notebook ...
Page 2: ......
Page 14: ...8 www gateway com ...
Page 42: ...36 www gateway com ...
Page 61: ...Chapter 6 55 6QHSBEJOH PVS PUFCPPL Adding and replacing memory Replacing the hard drive ...
Page 68: ...62 www gateway com ...
Page 100: ...94 www gateway com ...
Page 134: ...128 www gateway com ...
Page 146: ...140 www gateway com ...
Page 156: ...150 www gateway com ...
Page 157: ......

