51
www.gateway.com
Replacing the LCD panel assembly
13
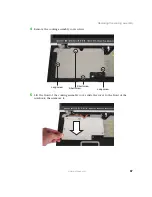
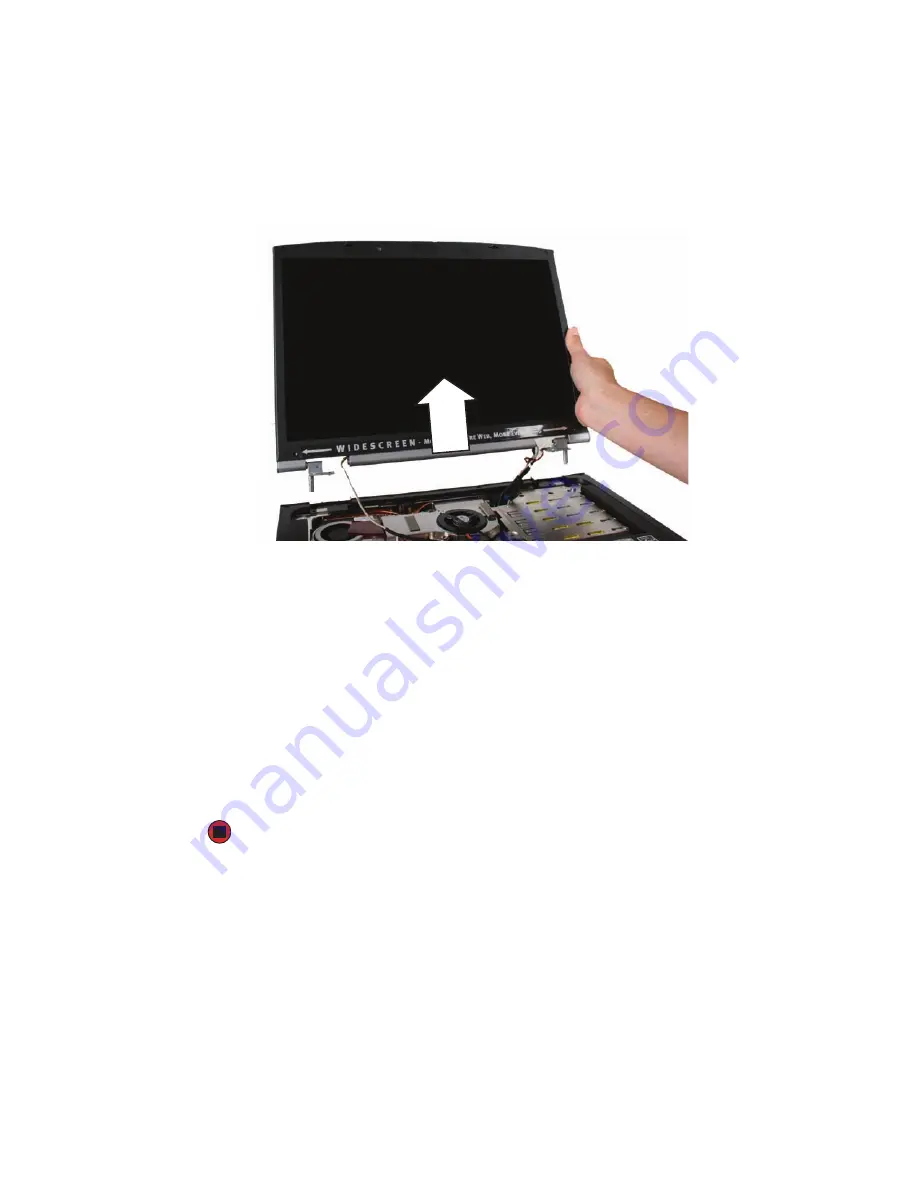
Lift the LCD panel assembly up and away from the notebook. The LCD panel assembly
is now completely detached from the notebook.
14
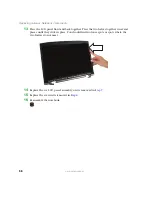
Place the new LCD panel assembly onto the notebook, then replace the two hinge
screws.
15
Reattach the cable removed in
to the appropriate connector on the system
board.
16
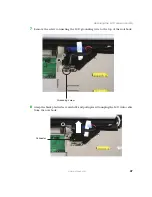
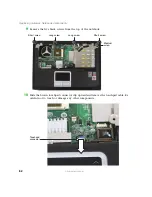
Slide the antenna cables through the access hole, under the system board, then into
the mini-PCI card area.
17
Plug the LCD video cable removed in
into the notebook.
18
Replace the grounding wire and screw removed in
19
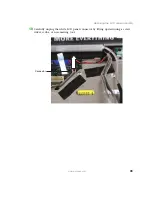
Plug the LCD panel connector removed in
into the notebook.
20
Reassemble the notebook.
Summary of Contents for MX7120
Page 1: ......
Page 2: ......
Page 4: ...ii www gateway com...
Page 13: ...9 www gateway com Replacing the memory module in the memory bay Memory bay...
Page 18: ...14 www gateway com Replacing Gateway Notebook Components Mini PCI bay...
Page 96: ...92 www gateway com Replacing Gateway Notebook Components...
Page 97: ......

