


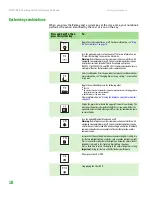


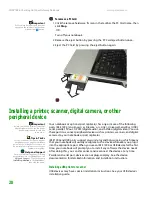
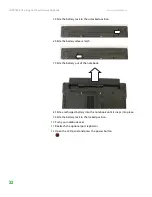

Using the CD or DVD drive
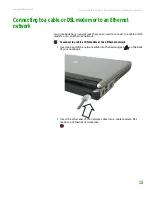
www.gateway.com
25
Using the CD or DVD drive
You can use your notebook to enjoy a wide variety of multimedia features.
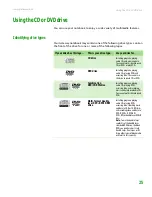
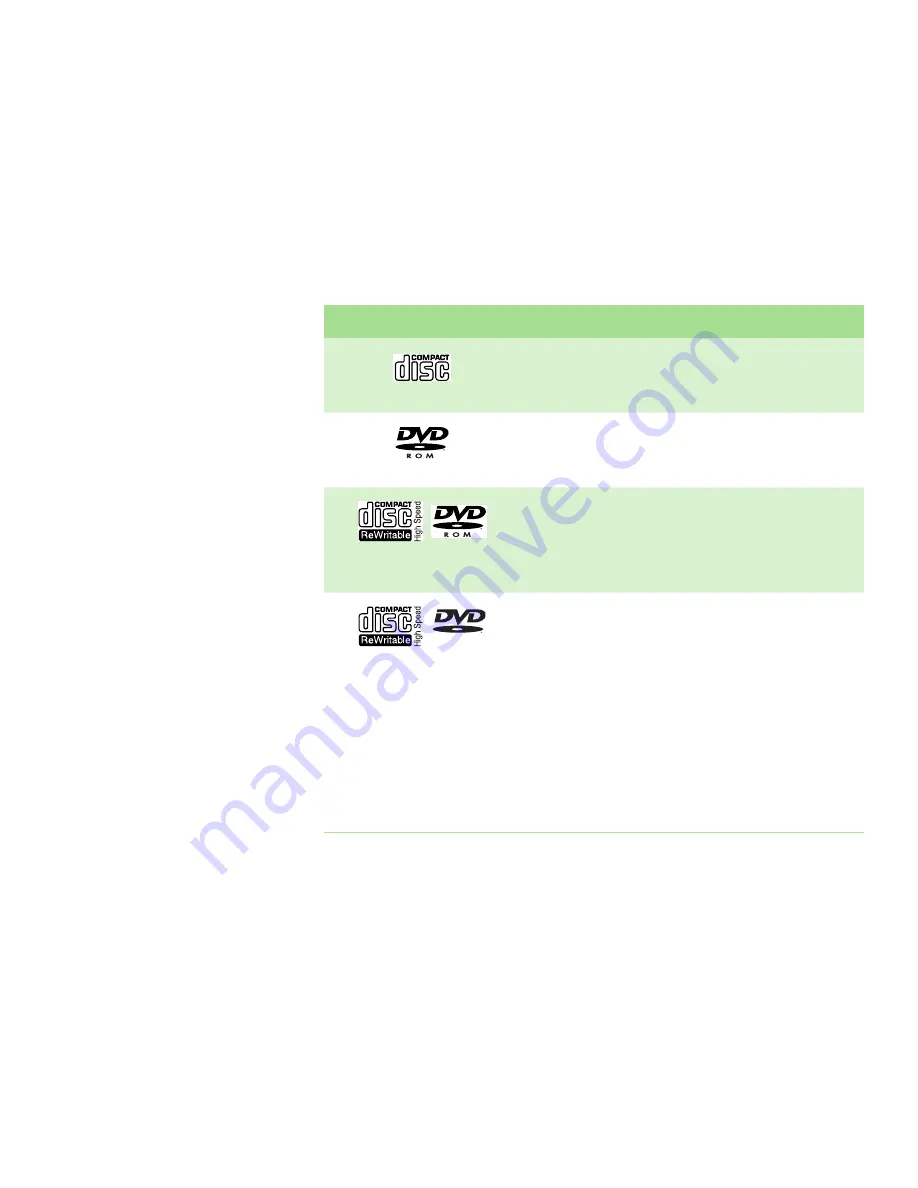
Identifying drive types
Your Gateway notebook may contain one of the following drive types. Look on
the front of the drive for one or more of the following logos:
If your drive has this logo...
This is your drive type...
Use your drive for...
CD drive
Installing programs, playing
audio CDs, and accessing data.
You cannot use this drive to create
CDs or DVDs or play DVDs.
DVD drive
Installing programs, playing
audio CDs, playing DVDs, and
accessing data. You cannot use
this drive to create CDs or DVDs.
Combination
DVD/CD-RW drive
Installing programs, playing
audio CDs, playing DVDs,
accessing data, and recording
music and data to recordable CDs.
You cannot use this drive to create
DVDs.
Multi-format double
layer DVD
±
RW/CD-RW
drive
Installing programs, playing
audio CDs, playing DVDs,
accessing data, recording music
and data to CD-R or CD-RW discs,
and recording video and data to
DVD-R, DVD+R, DVD-RW,
DVD+RW, or double layer DVD+R
discs.
Note:
To use the double layer
capability of the double layer
recordable DVD drive, the blank
DVDs you purchase must state
Double Layer, Dual Layer, or DL.
Using other types of blank media
will result in less capacity.
ROM/R/RW
Summary of Contents for Notebook
Page 1: ...HARDWARE REFERENCE Gateway Notebook...
Page 2: ......
Page 8: ...CHAPTER 1 About this reference www gateway com 4...
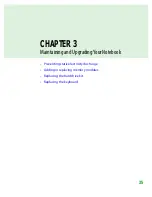
Page 54: ...CHAPTER 3 Maintaining and Upgrading Your Notebook www gateway com 50...
Page 66: ...APPENDIX A Safety Regulatory and Legal Information www gateway com 62...
Page 71: ......
Page 72: ...MAN GAMBIT HW REF GDE R0 3 06...


