CHAPTER 3: Maintaining and Upgrading Your Notebook
www.gateway.com
44
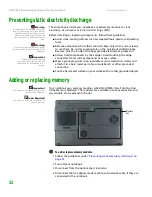
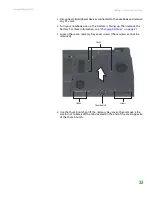
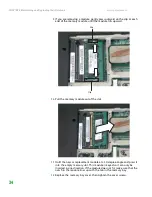
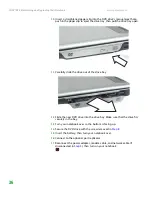
Installing the keyboard
To install the keyboard:
1
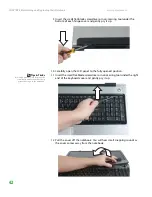
Place the new keyboard
keys-up
on your soft cloth with the space bar
toward you.
Important
The keyboard cable is correctly oriented if
the cable is not twisted.
2
Make sure the black keyboard connector clip is raised, insert the cable into
the connector, then lower the black clip to lock the connector in place.
3
Insert the tabs on the front edge of the keyboard into the slots under the
palm rest. You may need to press down on the keyboard keys along the
front edge of the keyboard to seat the retaining tabs into their
corresponding slots.
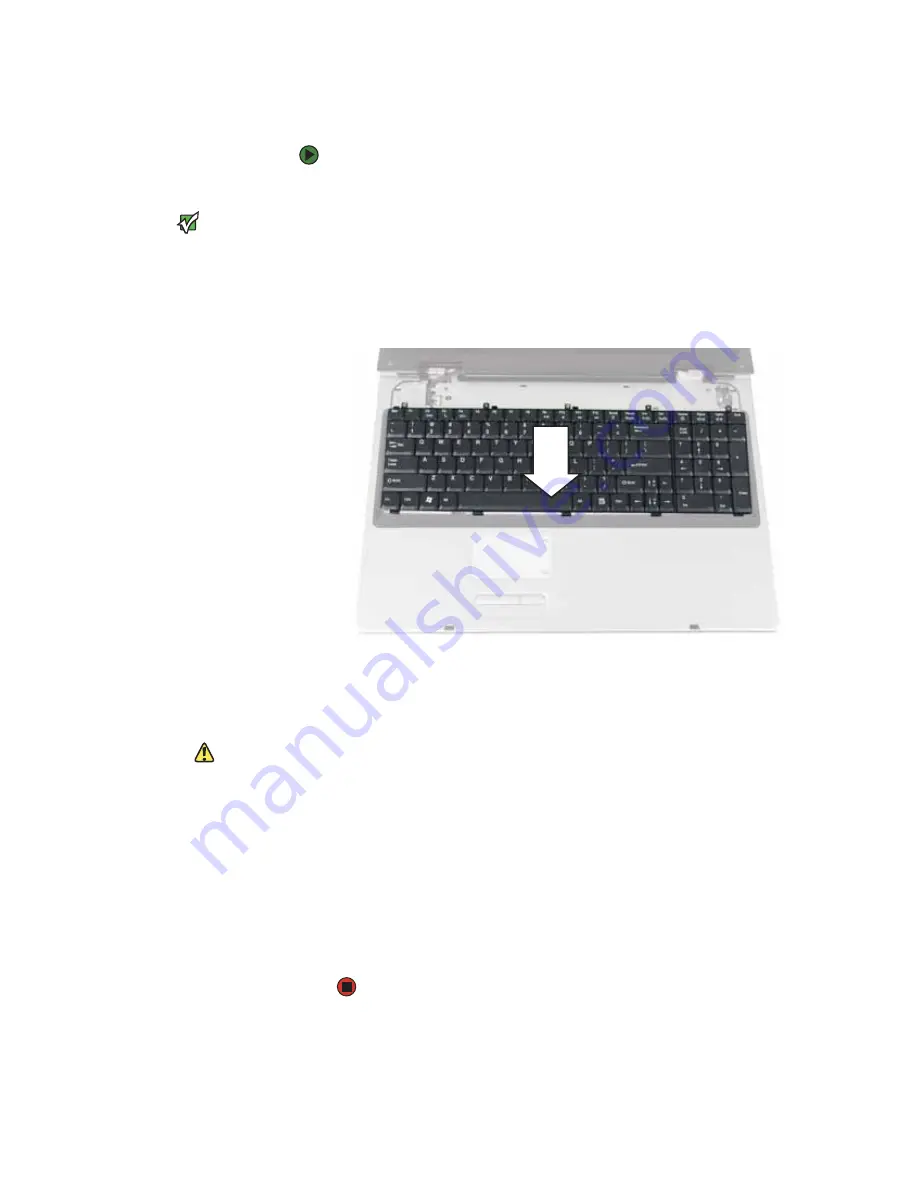
4
Gently press the keyboard down until it is flat all the way across. The
keyboard should easily fall into place. Be careful not to damage the
LCD panel.
5
Replace the keyboard screws removed in
Caution
If the keyboard cover is not correctly
replaced, your notebook could be
damaged when you try to close the LCD
panel.
6
Place the keyboard cover on the notebook, then press down on the cover
in several places until it clicks in place. The cover is correctly mounted
when you can run you finger along the cover and find no loose spots. The
cover should be flat all the way across.
7
Close the LCD panel.
8
Replace the four hinge cover screws removed in
on
9
Insert the battery, then turn your notebook over.
10
Connect to the optional port replicator.
11
Reconnect the power adapter, modem cable, and network cable (if
disconnected in
), then turn on your notebook.
Summary of Contents for NX860
Page 1: ...HARDWARE REFERENCE Gateway Notebook...
Page 2: ......
Page 8: ...CHAPTER 1 About this reference www gateway com 4...
Page 34: ...CHAPTER 2 Checking Out Your Gateway Notebook www gateway com 30...
Page 60: ...APPENDIX A Safety Regulatory and Legal Information www gateway com 56...
Page 64: ...Index www gateway com 60...
Page 65: ......
Page 66: ...MAN SONIC C HW REF R1 1 06...


