Replacing the system board
www.gateway.com
27
10
Replace the back panel by following the instructions in
.
11
Reconnect all external cables and the power cord.
12
Turn on your computer, and press
F2
during startup to open the BIOS
Setup utility.
13
In the BIOS Setup utility, restore any settings that you wrote down in
14
Save all your settings and exit the BIOS Setup utility.
Replacing the system board
To replace the system board:
1
Remove the back panel by following the instructions in
2
Remove the PCI riser card and half-height PCI card (if installed) by
following the instructions in
“Adding an expansion card” on page 23
.
3
Remove the processor fan assembly by following the instructions in
“Replacing the processor fan” on page 14
4
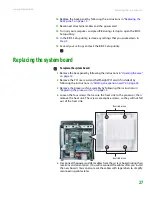
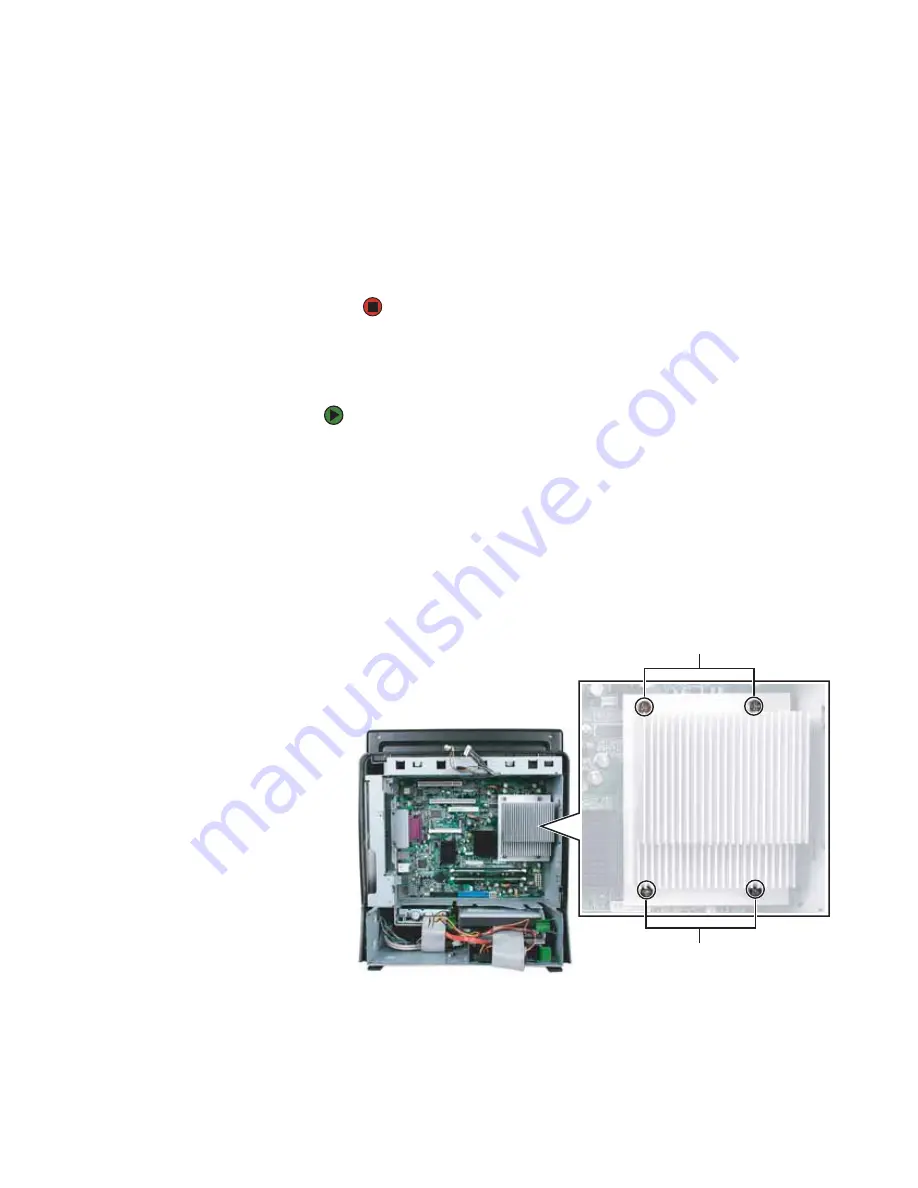
Loosen the four screws that secure the heat sink to the processor, then
remove the heat sink. The screws are captive screws, so they will not fall
out of the heat sink.
5
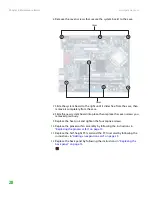
Disconnect the power and data cables from the system board, noting their
locations and orientation. (You will reconnect the cables after you install
the new board.) You can also mark the cables with tape labels to simplify
reconnecting cables later.
Heat sink screws
Heat sink screws
Summary of Contents for Profile 6
Page 1: ...HARDWARE REFERENCE Gateway Profile 6...
Page 2: ......
Page 4: ...Contents www gateway com ii...
Page 8: ...Chapter 1 About This Reference www gateway com 4...
Page 9: ...CHAPTER 2 5 HardwareFeatures Front Back Right side Side port panel...
Page 33: ......
Page 34: ...MAN PFL6 HW REF R0 3 06...


