58
Chapter : Replacing Components in Your Gateway Solo 1450
www.gateway.com
To replace the system board:
1
Disconnect the power cord, remove the battery, and prepare your
notebook by following the instructions in “Preparing your notebook” on
page 5.
2
Remove the hard drive kit by following the instructions in “Replacing
the hard drive kit” on page 6.
3
Remove the memory modules by following the instructions in “Adding
or replacing memory modules” on page 11.
4
Remove the modem by following the instructions in “Replacing the
modem” on page 15.
5
Remove the keyboard cover by following the instructions in “Replacing
the keyboard cover” on page 19.
6
Remove the hinge covers by following the instructions in “Replacing the
hinge covers” on page 21.
7
Remove the LCD panel assembly by following the instructions in
“Replacing the LCD panel assembly” on page 24.
8
Remove the keyboard by following the instructions in “Replacing the
keyboard” on page 32.
9
Remove the cooling assembly by following the instructions in “Replacing
the cooling assembly” on page 37.
10
Remove the CD or DVD drive by following the instructions in “Replacing
the CD or DVD drive” on page 42.
The CD or DVD drive and the cooling assembly share a chrome screw.
The chrome screw referenced in Step 4 of “Replacing the CD or DVD
drive” on page 42 was removed in Step 5 of “Replacing the cooling
assembly” on page 37.
11
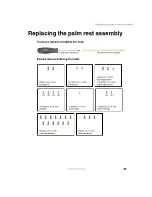
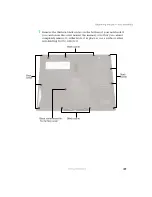
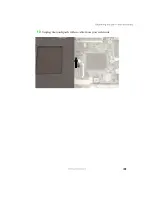
Remove the palm rest assembly by following the instructions in
“Replacing the palm rest assembly” on page 45.
12
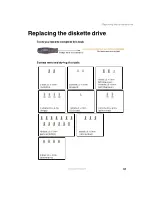
Remove the diskette drive by following the instructions in “Replacing the
diskette drive” on page 51.
Summary of Contents for Solo1450
Page 1: ...Gateway Solo 1450 Service Guide...
Page 2: ......
Page 4: ...ii...
Page 44: ...39 Replacing the cooling assembly www gateway com 6 Unplug the cooling fan...
Page 71: ...66 Chapter Replacing Components in Your Gateway Solo 1450 www gateway com...
Page 72: ......


