TIRE CHANGER FOR TRUCK TWC-1600
21
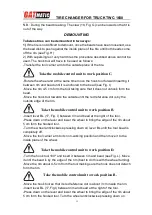
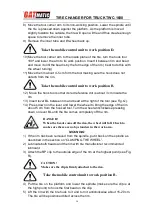
10)Tip the tool carrier arm to its non-work position.
11)Move the platform (4, Fig. A) directly under the wheel.
12)Lower the spindle until the wheel is resting on the platform.
13)Move the platform towards the outside until the tire together with the split
ring comes completely off the rim.
14)Remove the rim from the spindle.
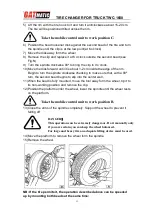
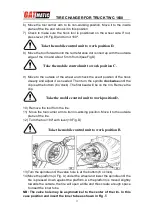
15)Position the tire on the platform with the splint ring turned towards the
spindle.
16)Clamp the split ring on the spindle as explained in the section of CLAMPING
THE WHEEL.
17) Lift the wheel.
18) Move the tool carrier arm back to its work position.
19)Position the spindle so that the bead breaker disk is lined up with the bead.
20)Turn the spindle and move the disk forward until the tire comes completely
off the split ring.
MOUNTING
WHEELS WITH 3-PIECE SPLIT-RINGS
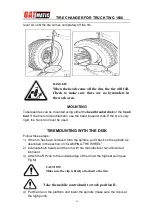
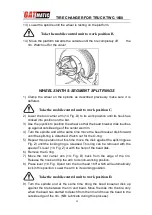
1) Move the tool carrier arm to its non-working position. If the rim has been
removed from the spindle, put it back on the spindle as described in the
section on “CLAMPING THE WHEEL”
If the tire is tubed, position the rim with the valve slot at the bottom (6
o’clock).
2) Lubricate both beads and the rim with tire manufacturer recommended
lubricant.
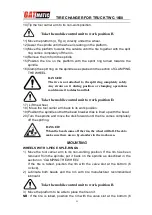
3) Move the platform to be able to place the tire on it.
NB
: If the tire is tubed, position the rim with the valve slot at the bottom (6
Take the mobile control unit to work position B.
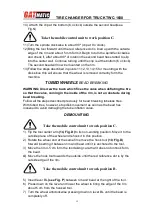
DANGER!
The tire is not attached to the split ring completely safely.
Any strain on it during position or clamping operations
could cause it to detach and fall.
Take the mobile control unit to work position D.
DANGER!
When the beads come off the rim, the wheel will fall. Check to
make sure there are no by-standers in the work area.
Take the mobile control unit to work position B.

