___________________________________________________Chapter 6 – Testing and Repair, Page 6-19
Replacing UV Lamp Sockets – Cont.
33.
Once the testing is complete install the remaining nuts that hold the UV Module in place and torque
all five nuts to 7-9 in - lbs.
34.
Reconnect the Lamp / Ballast Connector plug.
35.
Close the UV Module Access Doors.
36.
Turn on all circuits that supply power to the UV Lamps.
37.
Turn on power to the Gaylord Command Center.
Replacing UV Ballast
DANGER: Replacing UV Ballasts as outlined on the following pages MUST be performed by a Gaylord
Certified Service Agent. For a list of Gaylord Certified Service Agencies (CSA’s) visit
and go “Service Agencies” or call Gaylord Industries at 503-691-2010.
Safety Precautions
Caution: Tasks involved in replacing UV Ballasts involve potential exposure to high doses of UV light
and live electrical components. There is a risk of serious injury to skin and eyes from UV light. There is
a risk of shock, injury, and /or death from contact with live electrical components.
Personal Protective Equipment
1.
Eye protection that prevents 100% of UV light being transmitted through the lens must be worn at all
times when working on UV Lamp Modules on any CG3-UVi-SPC Ventilator that is energized and/or
has the potential to be energized and expose personnel to UV light.
2.
Whenever service work is performed it is recommended that long sleeve shirts and pants be worn to
minimize the potential for inadvertent exposure of the skin to UV light.
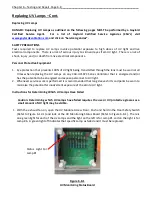
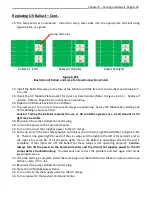
Lamps #1 and #2,
Ballast #1.
Lamps #3 and #4,
Ballast #2
Lamps #5 and #6,
Ballast #3.
Figure 6-19-1
UV Monitoring Status Board


