


13
On the following pages are eight basic exercises that will comprise your
basic workout. Before performing any of the exercises, first read
through these instructions and refer to your video for correct exercise
execution. You can also refer to the videos for variations of these eight
exercises and for additional exercises
When you are ready to begin your workout, be sure your equipment
is set up correctly and you’ve warmed up adequately. Then begin with
the first exercise and continue through all of the exercises in one
continuous cycle, unless you need to take a break. We recommend that
you perform 20 - 40 gliding repetitions of each exercise. A single
repetition is counted when both legs have glided forward and back
(R + L = 1 repetition). Take time to cool down and stretch at the end of
your workout.
Remember, you will notice that your feet shift a little bit when using
your unit. It is recommended that beginners keep their toes against the
toe plate until they feel comfortable with their balance.
GENERAL WORKOUT RECOMMENDATIONS
Be sure to drink plenty of water before,
during and after your workout.
Hands Free (Advanced Position)
Stand in an upright position on the foot platforms with your
hands on the front crossbar. When you feel balanced, release
your hands from the crossbar and bring them into a bent
elbow position at your sides as if you were running or power
walking. Practice this position with your feet stationary, then
progress to a "Basic Glide”.
Note: Exercising without holding onto the handlebars
poses a risk of losing your balance and falling, resulting
in possible serious injury, should be done with care.
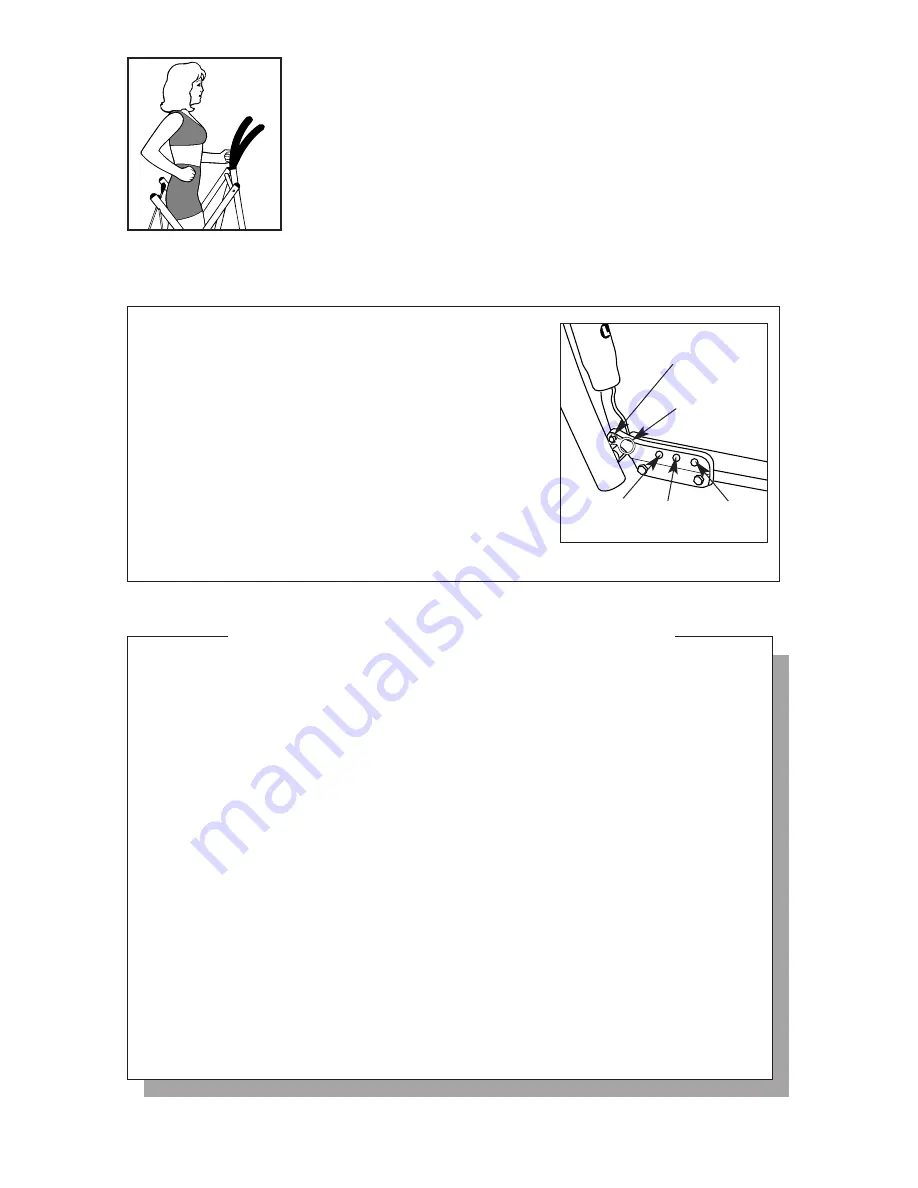
There are 4 levels of resistance on the unit. Begin
exercising at Level 1 (zero resistance) and slowly
advance to the next level only when the current
level becomes too easy.
Note: The levels increase as you move the Pin
towards you to the next position, see Figure 1.
If you do not wish to use the Hydraulics, zero
resistance, remove the Clip and move the Hydraulic
Pin into Level 1. Replace both Clips, see Figure 1.
clip
RESISTANCE LEVELS
Figure 1: Resistance Levels
Level
2
Level
3
Level
4
Level 1
(zero resistance)


