ATTACHING THE RAIN FLY
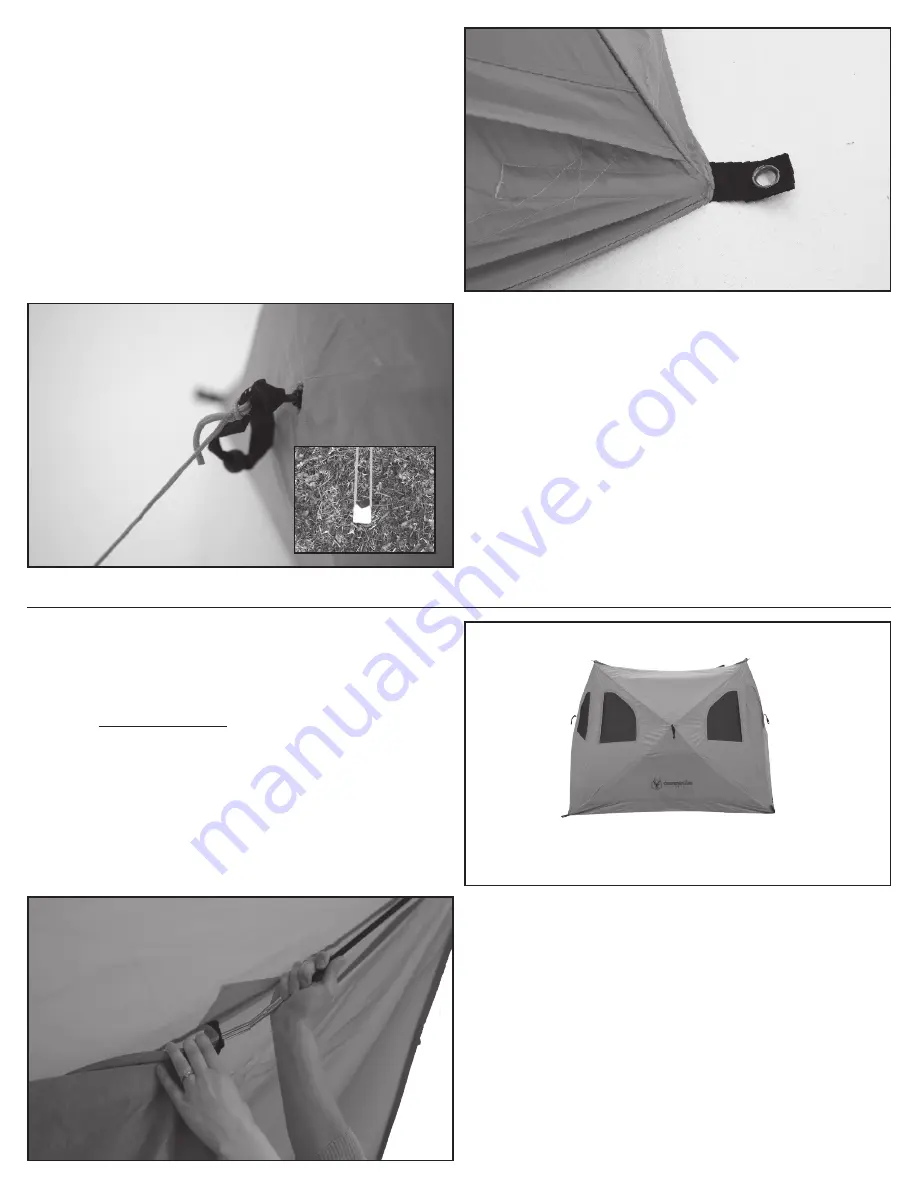
5. Locate the ground stakes and tie-down ropes in the duffle bag
then fasten the stakes through each grommet. Hammer stakes
through each grommet completely. [ SEE FIGURE 5 ]
FIGURE 5
6. Tie the rope to each eye bolt, centered on each hub.
[ SEE FIGURE 6 ] Then loop the other end to a ground stake.
[ SEE FIGURE 6A ] Use the slider on the tie-down rope to
achieve proper tension.
FIGURE 6
1. The tent must be free standing with all four (4) walls popped out
and the ROOF COLLAPSED. [ SEE FIGURE 7 ]
NOTE: It’s important that the roof is collapsed to prevent
bending of pole ends.
2. Slide the rain fly loosely over the tent roof. The short connecting
poles should be on the underside of the rain fly.
FIGURE 7
3. Starting at one corner, insert the male end of the short poles
attached to the rain fly into the female end of the roof pole on
each tent corner. Repeat this for all four corners. [ SEE FIGURE 8 ]
FIGURE 8
FIGURE 6A


