AFJ-24S User Manual
82
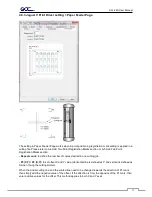
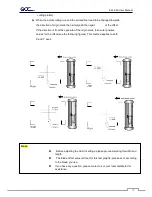
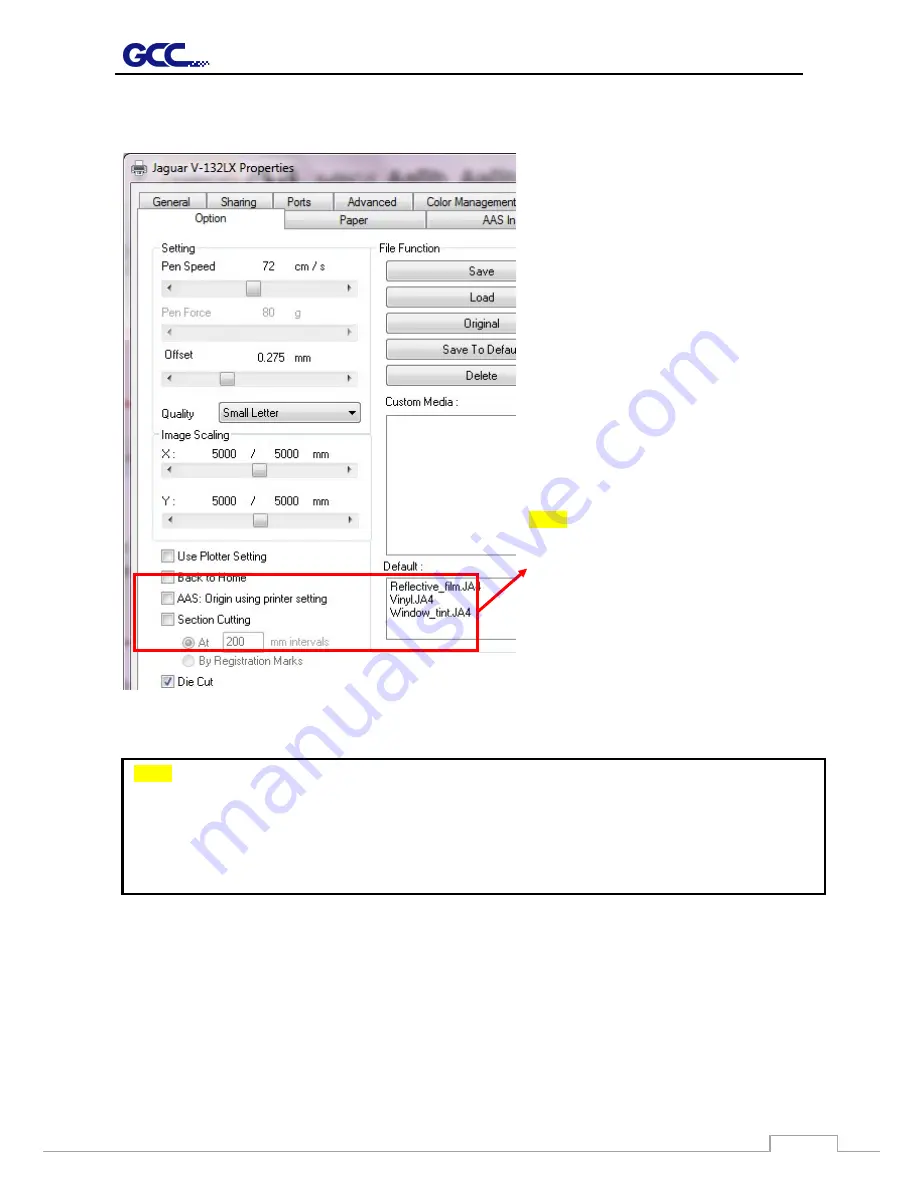
To activate the Die Cut function, go to “Option”, tick “Die Cut”, and enter the amount you wish for the
“Length” and “Force” of both Die Cut and Kiss Cut, then click “OK”.
When the job is completed and you untick the Die Cut function, you will be able to adjust the pen speed,
pen force, and offset in the section on the top following normal operating procedures.
Note:
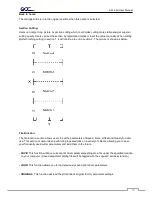
The length setting for the cutting line of Die
Cut is in the range of 0-2000mm whereas
that of Kiss Cut is 0-100mm.
Note:
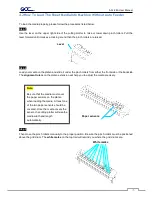
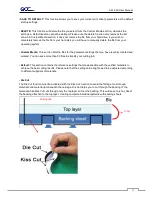
1. The extension of the blade has to be set to cut through both the top layer and the backing in the very
beginning. You then adjust the tool force for the best cutting performance.
2. Once the Die Cut function is activated, it will perform on all the line segments on the object.
Summary of Contents for AFJ-24S
Page 1: ...V 2 2022 Aug http www GCCworld com AFJ 24S User Manual...
Page 12: ...AFJ 24S User Manual 12 RS232 cable 1 pc Installation guide 1 copy Media blocks 2 pcs...
Page 19: ...AFJ 24S User Manual 19 Download the driver according to the type of connection...
Page 44: ...AFJ 24S User Manual 44...
Page 142: ...Appendix GreatCut Plug In A 6...
Page 166: ...Appendix GreatCut Plug In A 6 Step 5 Press the button on the right of Jog marks...
Page 182: ...Appendix GreatCut Plug In A 6 Step 11 Go to GreatCut window press Output button...
Page 183: ...Appendix GreatCut Plug In A 6...
Page 185: ...Appendix SignPal 12 Instruction A 7...
Page 198: ...Appendix SignPal Instruction A 6...
Page 200: ...Appendix SignPal Instruction A 6 4 Select File Document Setup in SignPal and select paper size...
Page 205: ...Appendix SignPal Instruction A 6...


