69
Windows 2000/XP Software Installation -
Using the Add Printer Wizard
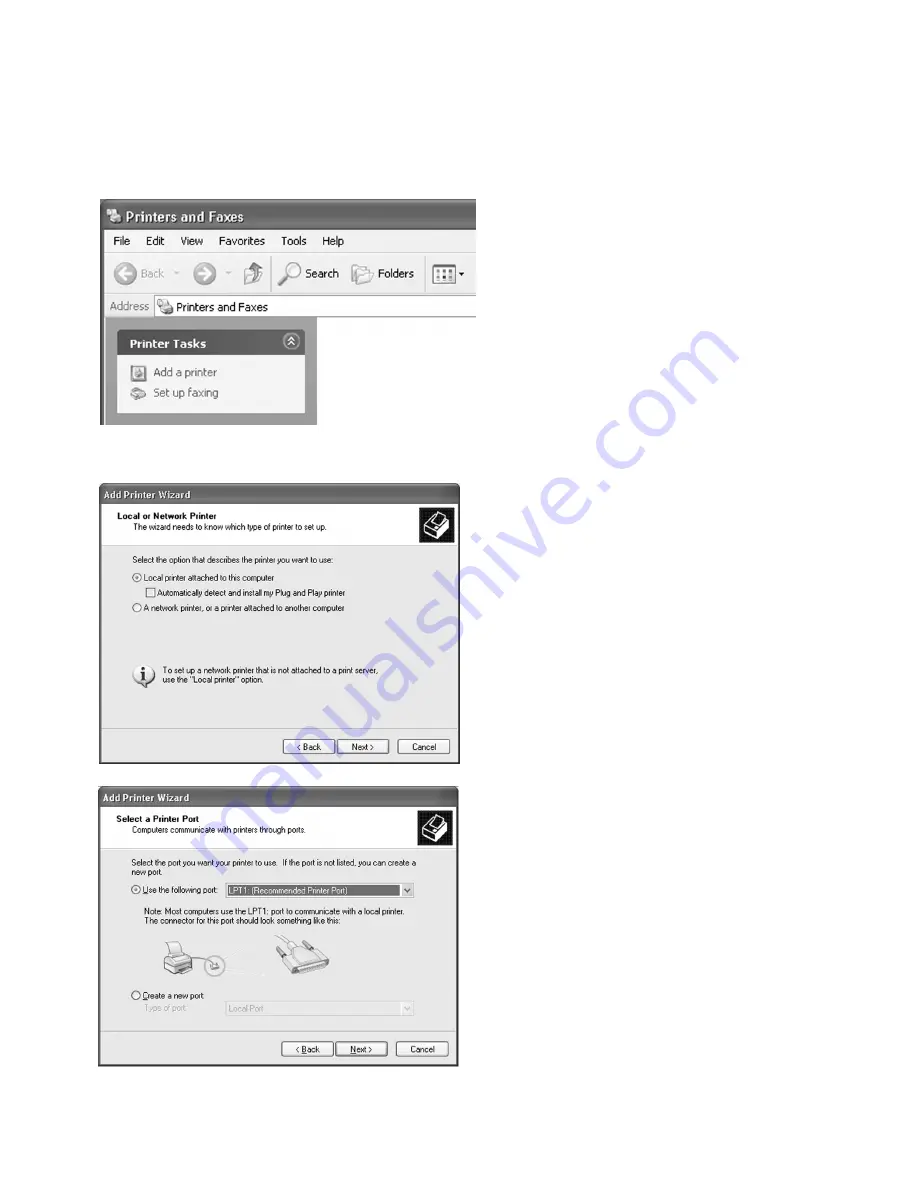
1.
Go to the Start menu of Windows. In
Win2000, go to Settings and select
Printers. In WinXP, go to Printers and
Faxes. In the Printers window, double-
click the Add Printer icon (Win2000) or
click the Add a Printer icon (WinXP) to
start the Add Printer Wizard.
Click “Next” at the Add Printer Wizard
welcome screen.
2.
The next window of the Add Printer
Wizard will ask if the printer is connected
to the local computer or to a Network
Printer Server.
Select “Local Printer” unless the printer
that you are selecting is attached to
another PC or accessed via an NT or
2000 server. De-select the box marked
“Automatically detect and install my Plug
and Play printer.” Click Next.
3.
This window asks for a printer port to be
selected. If the printer is attached to a
local port on the PC, select “Use the
following port” and select the appropriate
Parallel (LPT) or USB port from the pull-
down menu. Click Next. Skip to Step 9.
In order to access the printer over a
TCP/IP network, a new TCP/IP port must
be created. Click the radio button next
to “Create a new port,” and select
“Standard TCP/IP Port” from the "Type of
Port" pull-down menu. Click Next.


